Zelda: Tears of the Kingdom tower locations
The Zelda: Tears of the Kingdom towers are much like the ones you can find in Breath of the Wild, but there are a few crucial differences. You might spot them and their spotlights far in the distance as you soar the skies, and it’s definitely worth your time to locate them all. So grab your paraglider, mount your horse, and let’s get exploring.
Just before we activate this guide, leap into the air, and soar through the skies of knowledge, be sure to check out our huge array of fantastic content. We have guides explaining Zelda: Tears of the Kingdom crystallized charges, Zelda: Tears of the Kingdom Zonai, Zelda: Tears of the Kingdom enemies, Zelda: Tears of the Kingdom fusion, Zelda: Tears of the Kingdom geoglyphs, and Zelda: Tears of the Kingdom bubbul gems.
Let’s dive into our Zelda: Tears of the Kingdom towers guide:
How many Zelda: Tears of the Kingdom towers are there?
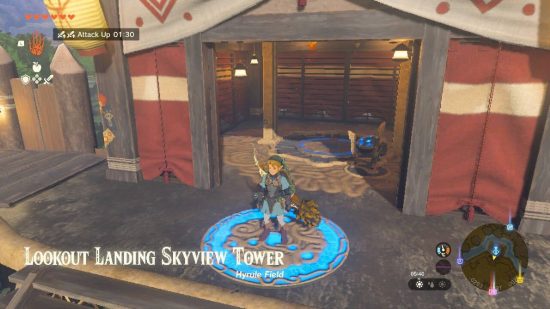
There are 15 Zelda: Tears of the Kingdom towers, including the Zelda: Tears of the Kingdom Lookout Landing tower, which you unlock as part of the first story quest at the beginning of the game.
What happened to the Sheikah towers in Tears of the Kingdom?
While the pair don’t explicitly state it, dialogue from Purah and Robbie in Zelda: Tears of the Kingdom Lookout Landing hints towards them dismantling the Sheikah technology – including the towers – and retrofitting it into their own designs. The Zelda: Tears of the Kingdom towers possess the same blue light that Sheikah tower technology uses in Breath of the Wild, and when activating a tower, Guardian legs grab Link to thrust him skyward.
Many of the Zelda: Tears of the Kingdom towers appear in different locations, so it’s clear that the old ones are either completely dismantled, or they retreated back into the ground once Calamity Ganon was vanquished. The Sheikah technology exists to help destroy Ganon, so it’s possible that it all goes dormant again when you finally vanquish the Demon King in Breath of the Wild.
What are the Zelda: Tears of the Kingdom tower locations?
We are working on this guide as we explore The Legend of Zelda: Tears of the Kingdom, so check back soon for explanations on all 15 towers and how to unlock them. Below is every tower we have found, its location, and any unlock requirements.
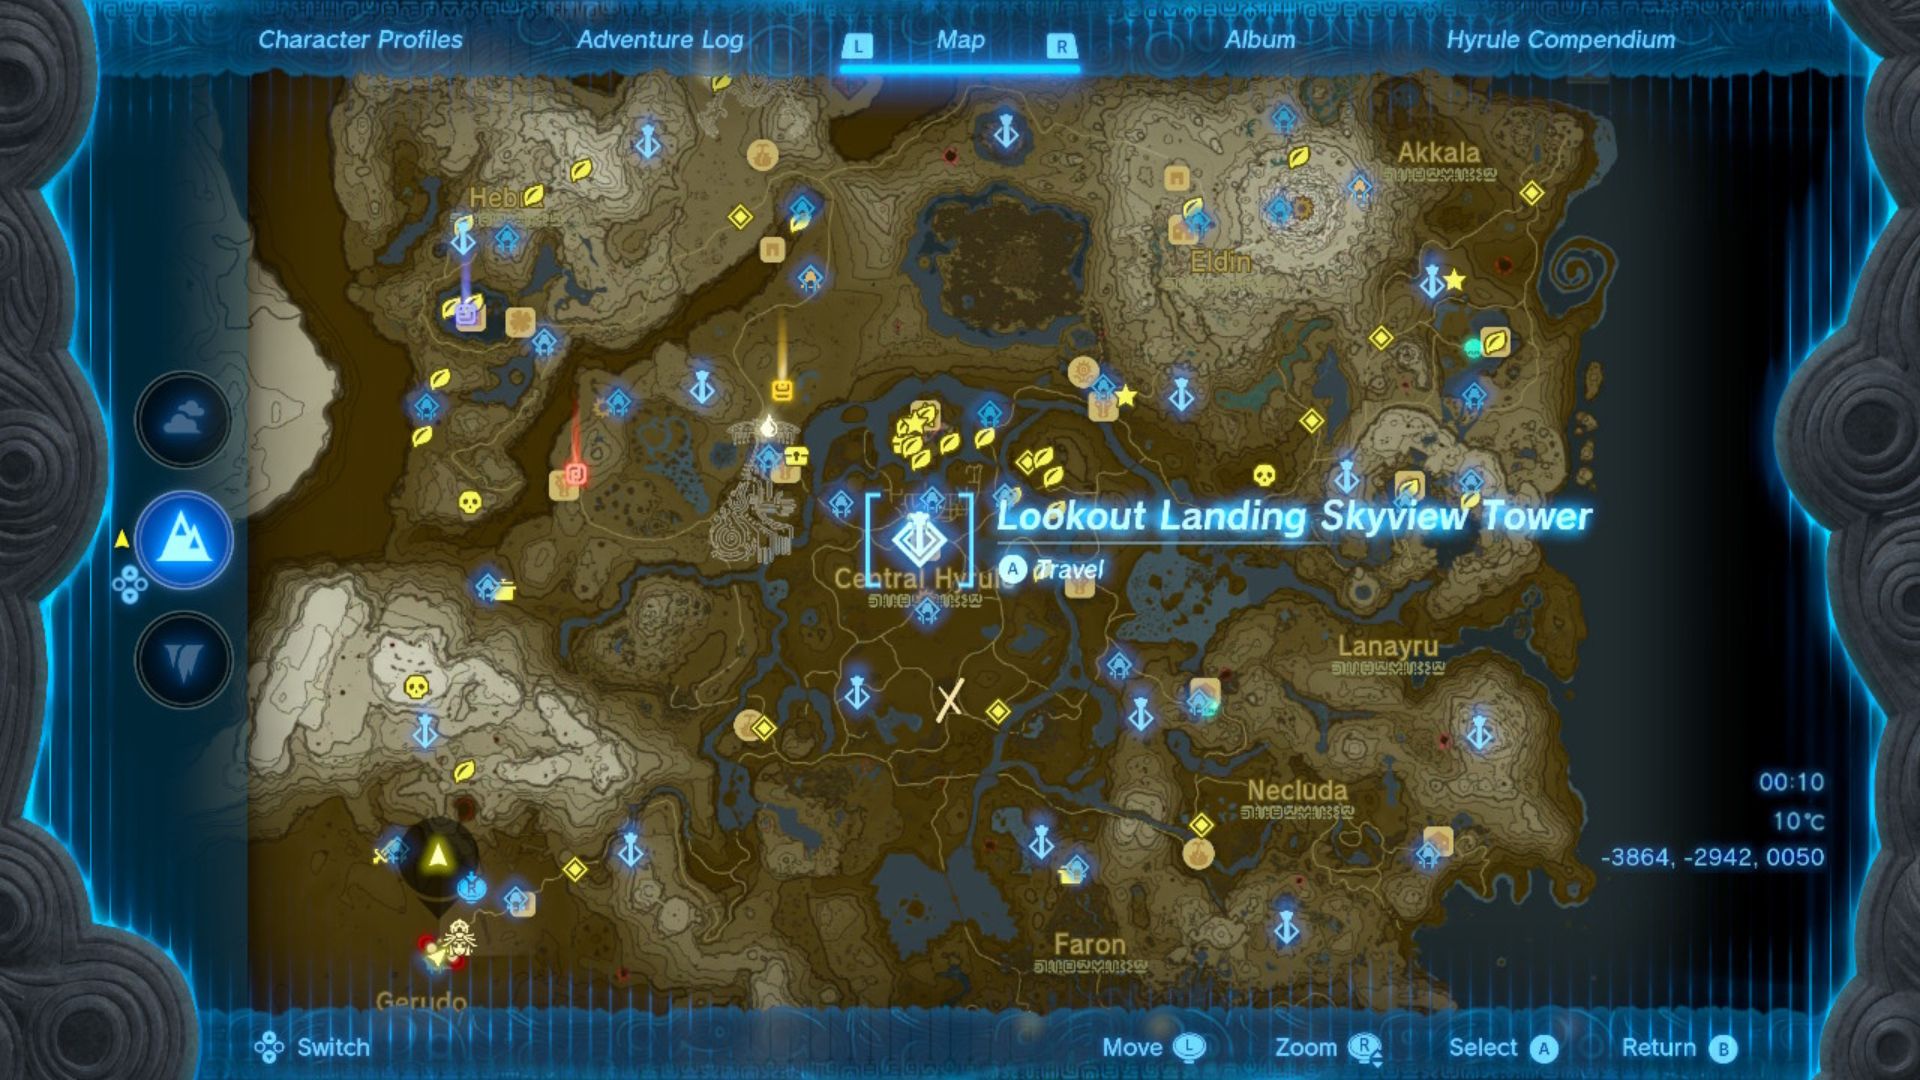
Lookout Landing tower
- Co-ordinates: -0293, 0137, 0025
You unlock the Lookout Landing tower as part of the main story quest, shortly after landing on the surface of Hyrule. When on the ground, head towards the visible tower and interact with Purah. Once you complete her mission, the Lookout Landing tower is available to use.
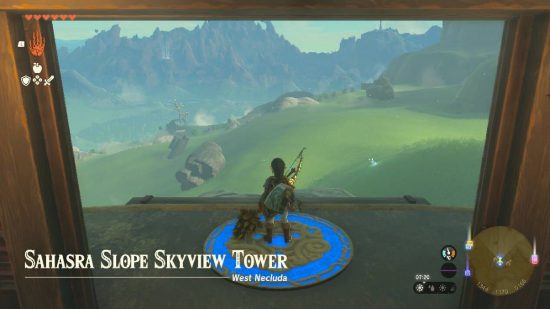
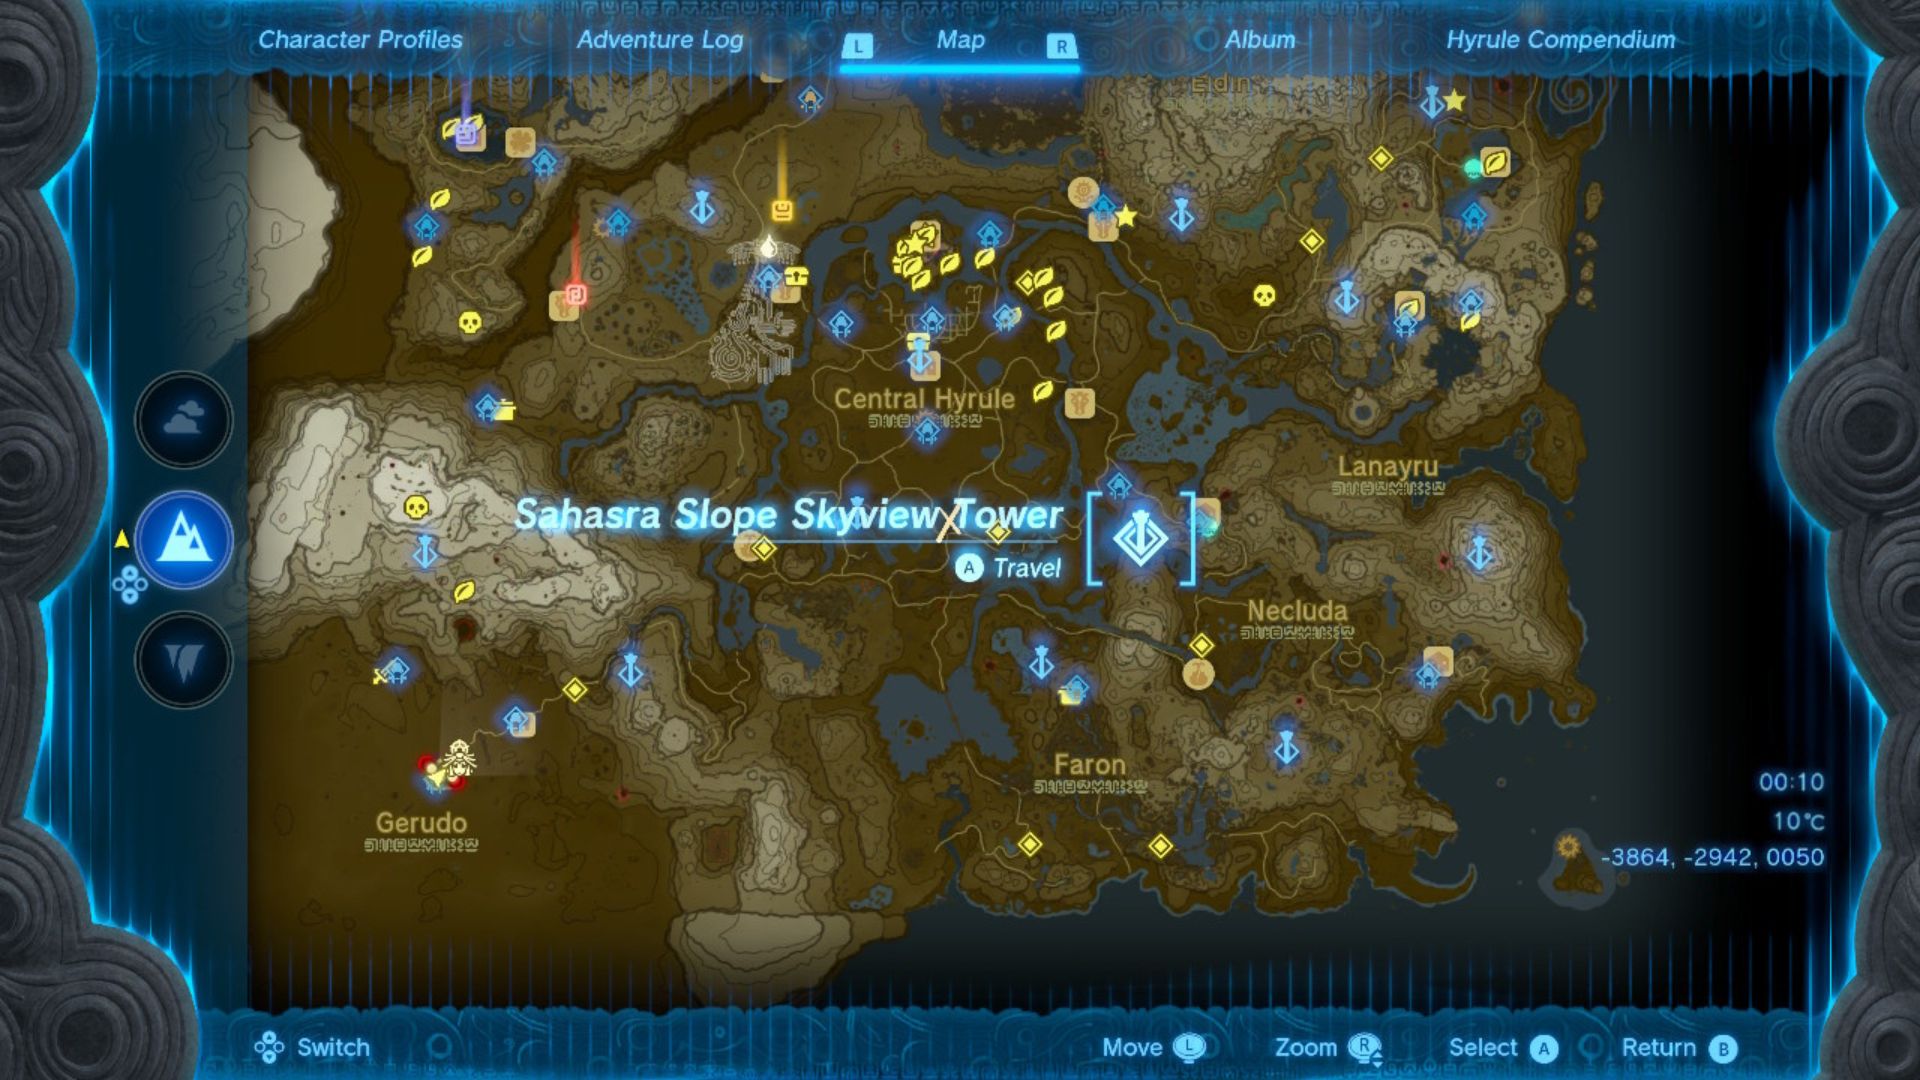
Sahasra Slope tower
- Co-ordinates: 1344, -1169, 0166
The Sahasra Slope tower is locked, and you can’t walk in through the main entrance. Instead, you must ascend from the cave beneath the tower. If you have trouble finding the cave, look outside the tower to find and shoot the blupee, which runs towards the cave entrance. From here, just explore the cave, and ascend at the part where a round portion of the rock ceiling clearly protrudes outwards.
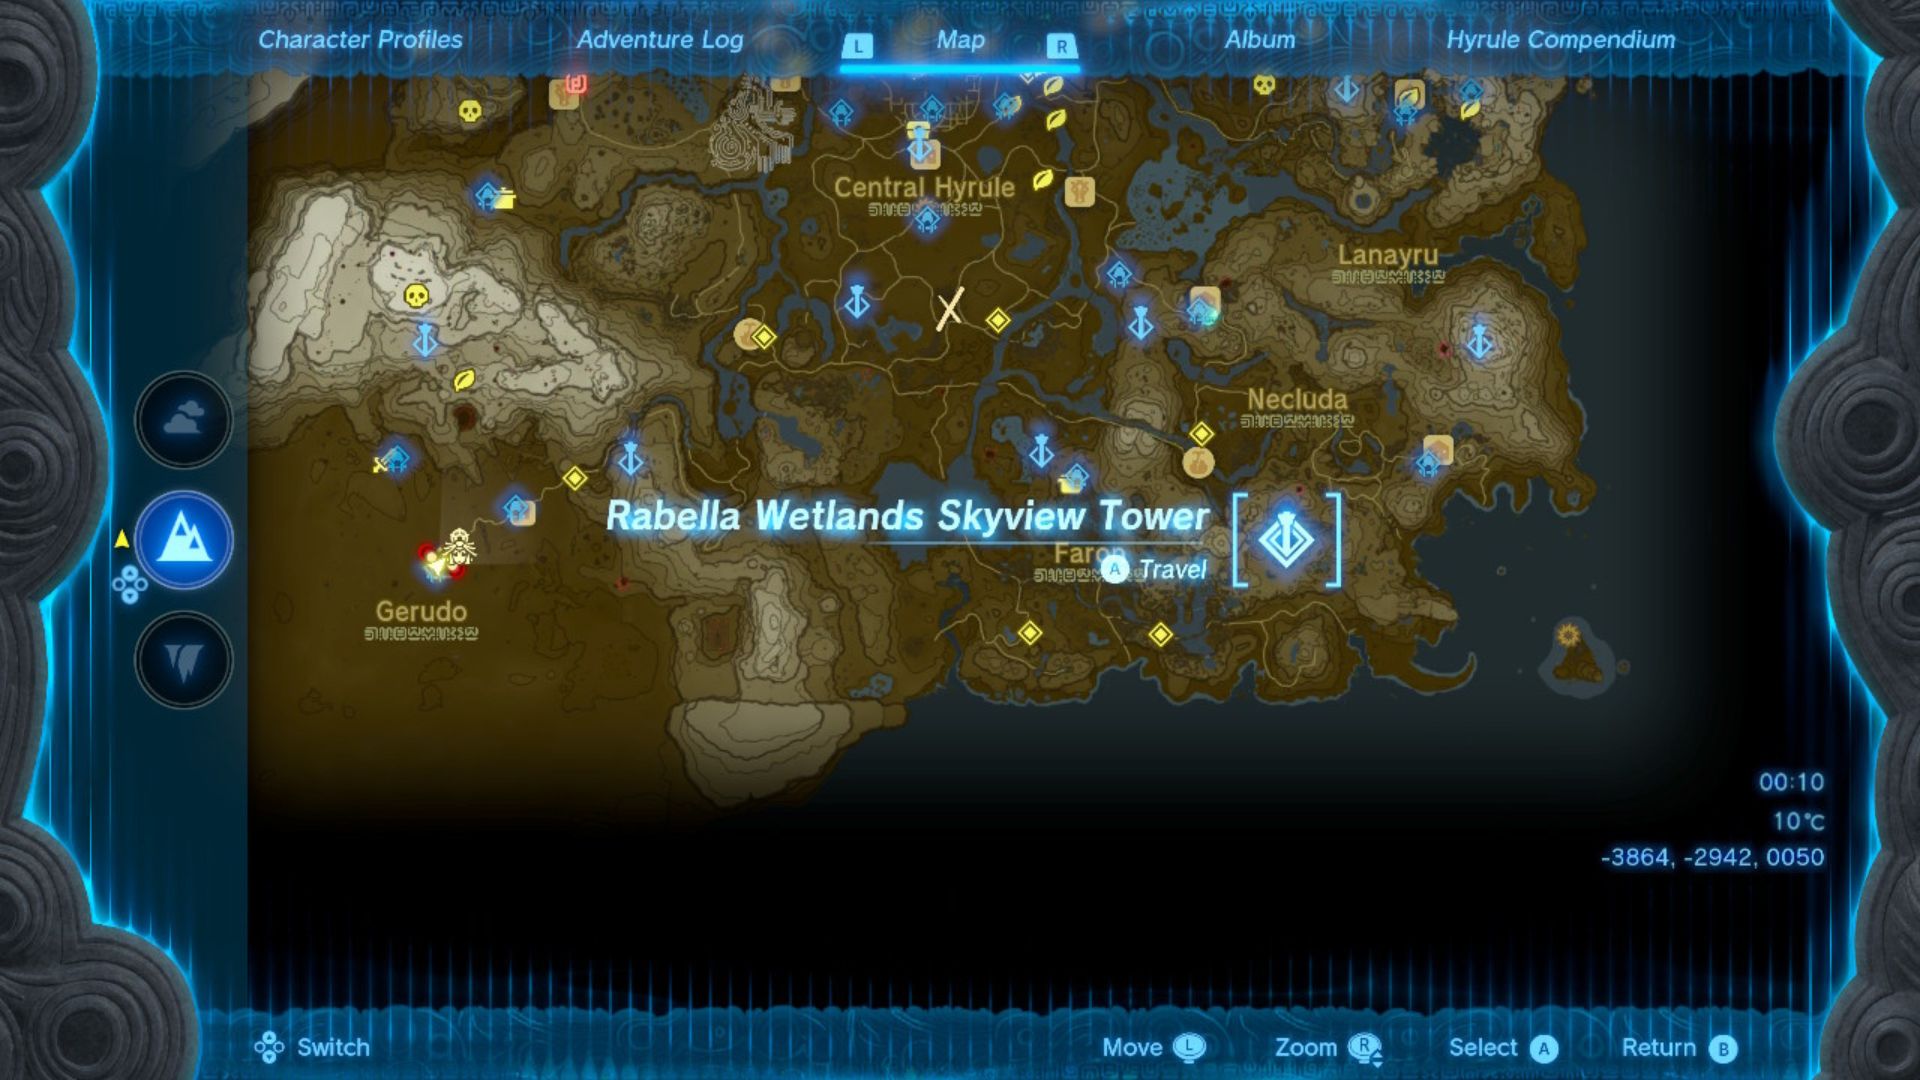
Rabella Wetlands tower
- Co-ordinates: 2419, -2762, -0222
When you approach the Rabella Wetlands tower, you find it surrounded by spiked plants. However, it’s raining constantly, so you can’t easily light the spiked plants on fire. To overcome this, you need to use ultrahand to grab nearby planks, then create a roof over the spiked plants by combining plenty of the planks. Then, shoot an arrow with a fire plant, a bomb, or a similar fire-inducing material to set the spiked plants on fire and open the tower.
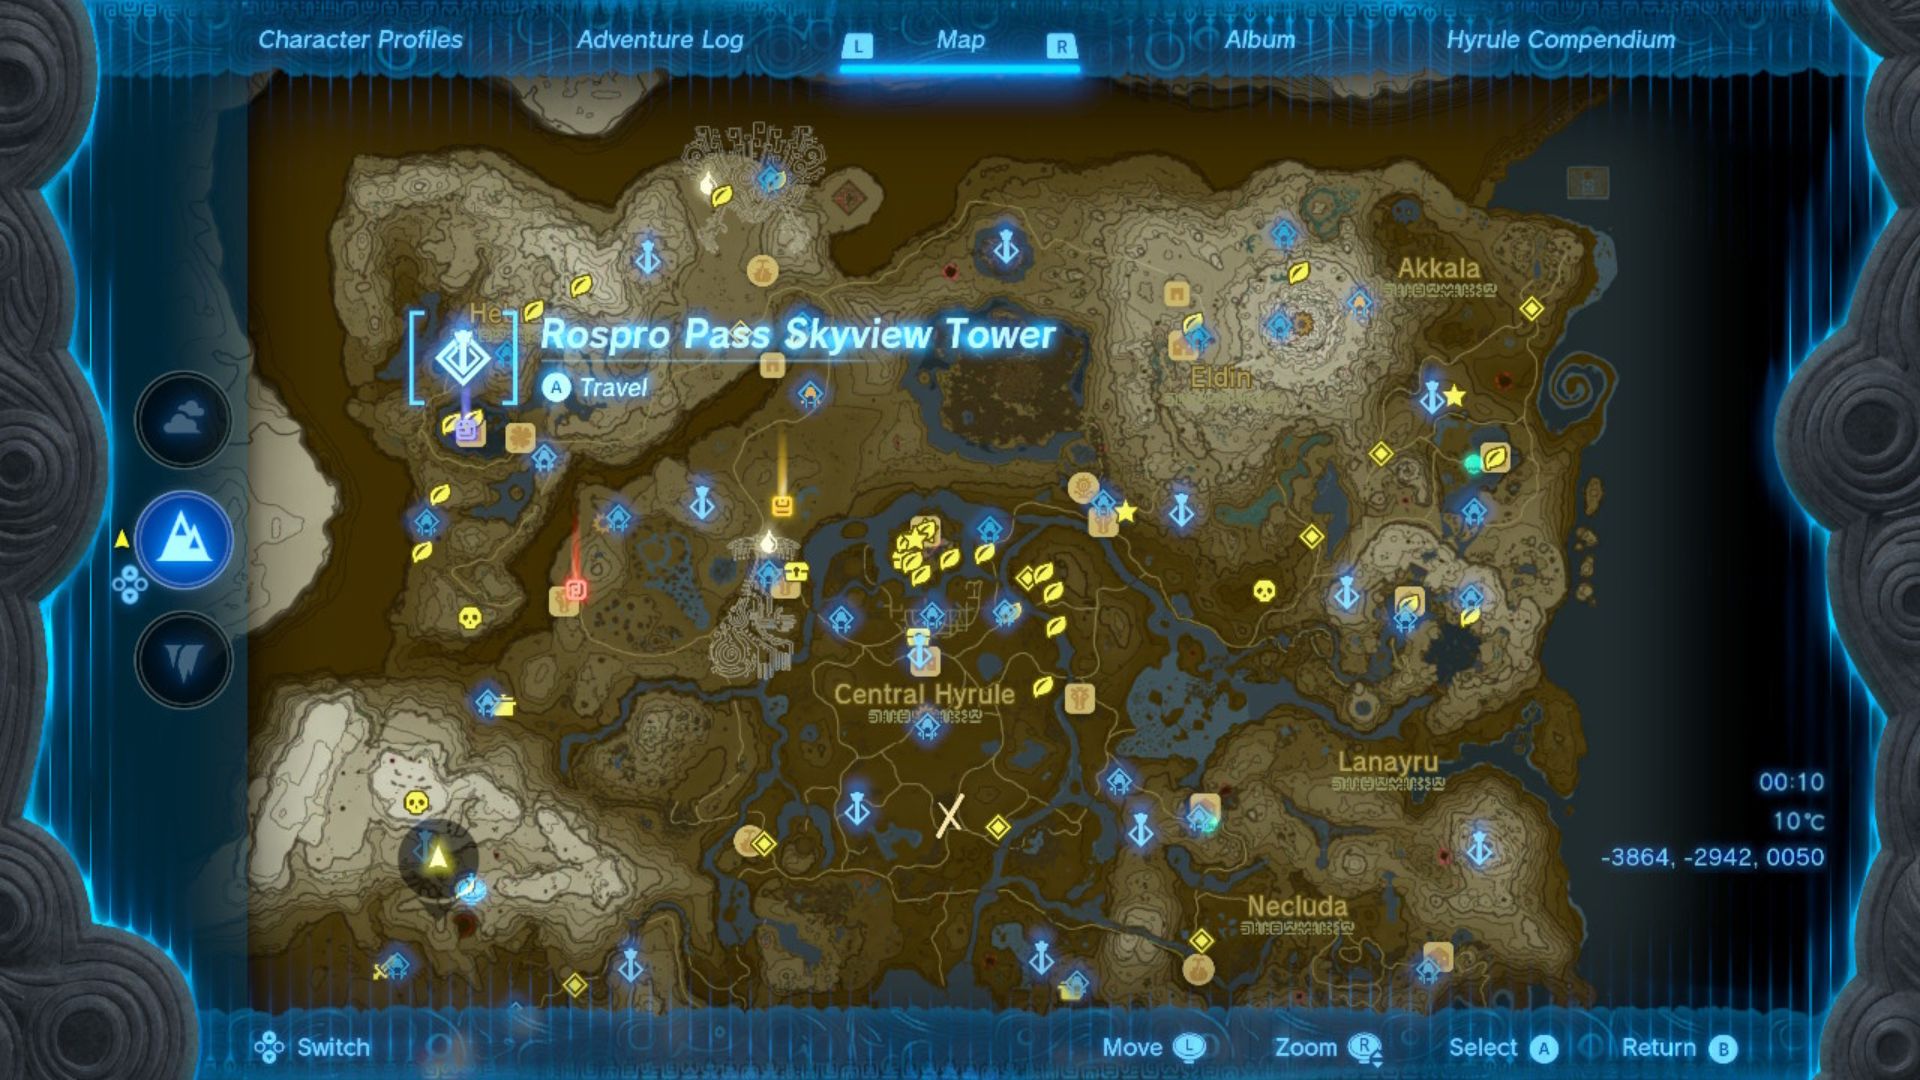
Rospro Pass tower
- Co-ordinates: -3687, 2341, 0233
Spiked plants cover the entrance to Rospro Tower, but it’s still very easy to access. Either climb high enough and glide onto the entrance of the tower or use fire-infused materials to set the spiked plants on fire. A nice easy tower.
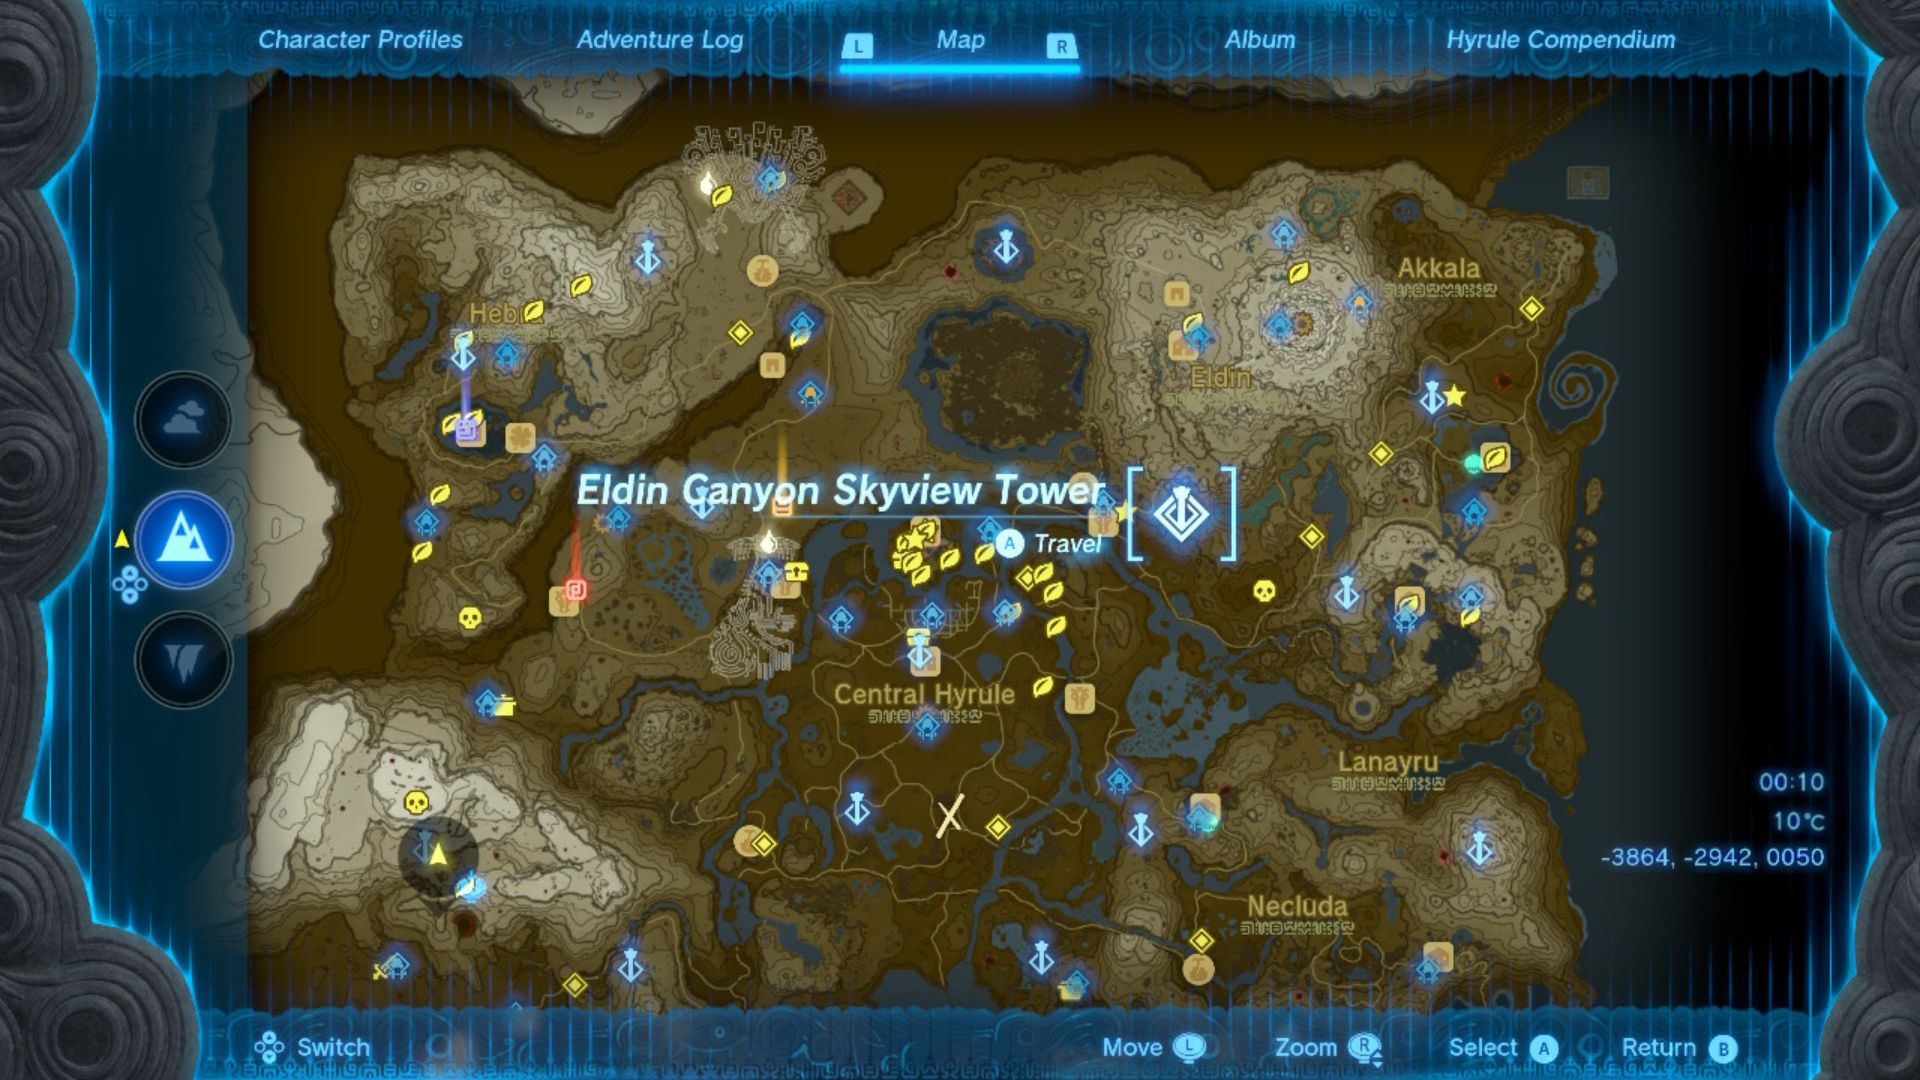
Eldin Canyon tower
- Co-ordinates: 1636, 1182, 0225
The Eldin Canyon tower is locked, and you can’t ascend from underneath, either. However, the top of the tower is open, so you must enter from above. Either climb high enough that you can glide in, or build a Zonai construct with rockets, balloons, or similar objects, and use that to reach the exposed entrance at the top of the tower. Alternatively, you can try and glide in from a nearby sky island.
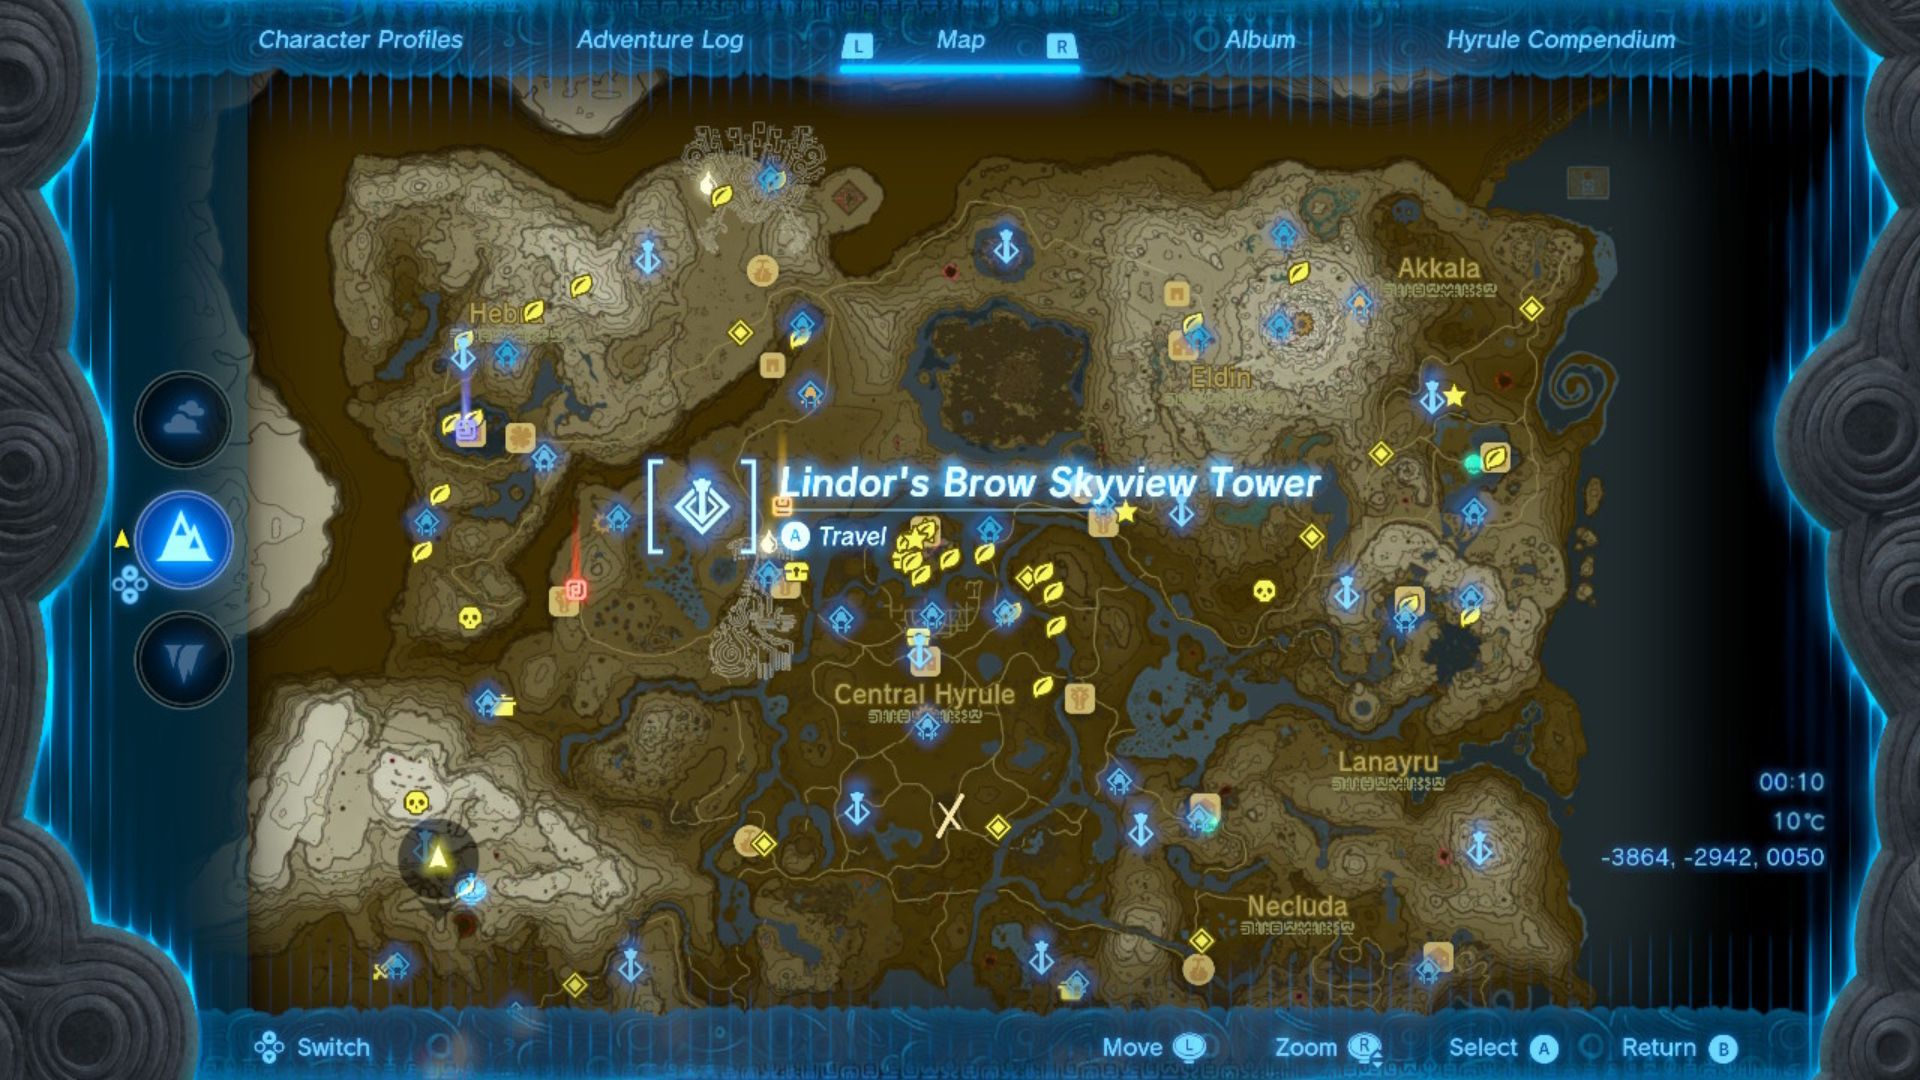
Lindor’s Brow tower
The Lindor’s Brow tower is hidden behind a moat of water. The only way to reach it is to use Ultrahand to create a bridge from all the parts lying around. So hop to it! Get your hard hat on and get to work.
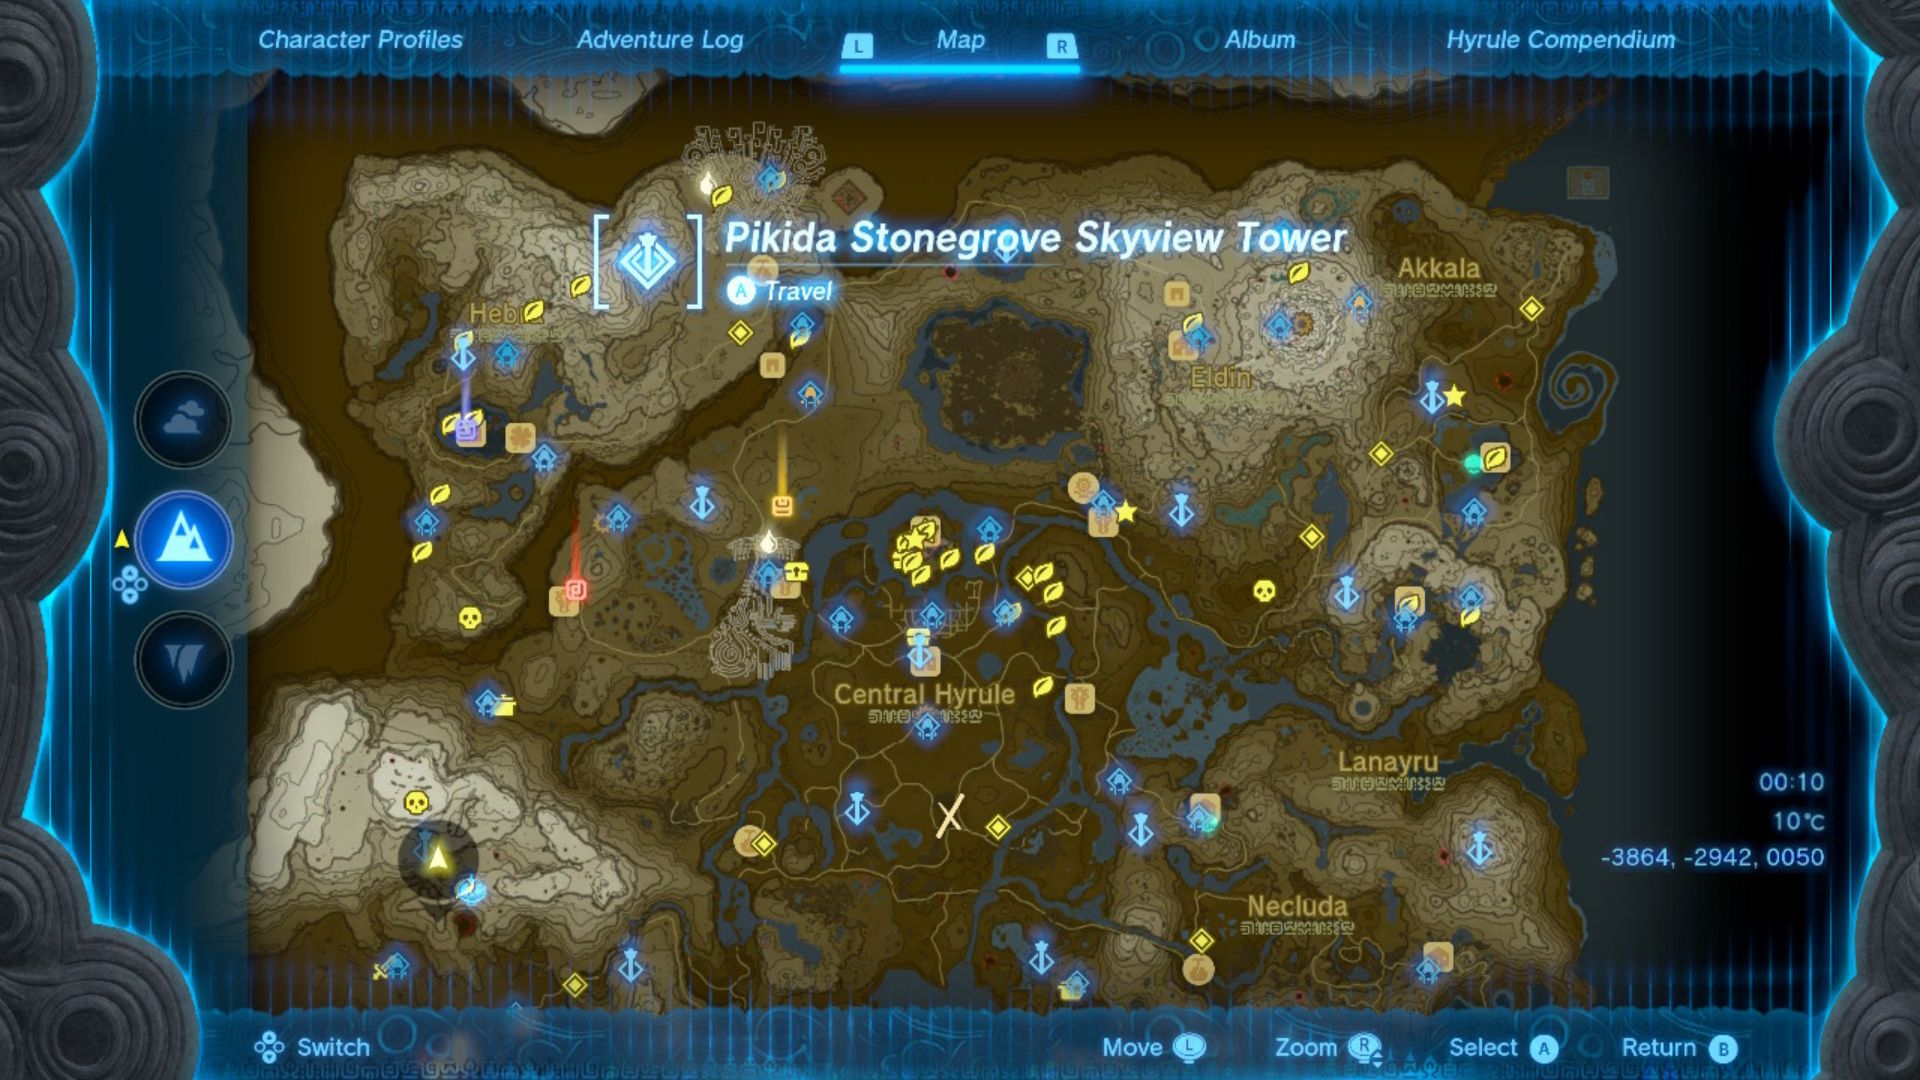
Pikida Stonegrove tower
Reaching Pikida Stonegrove tower is quite tough if you’re coming from the land. That’s why we recommend getting some air and flying to it. If not, there’s a whole load of rigamarole with Ultrahand and bridge-making.
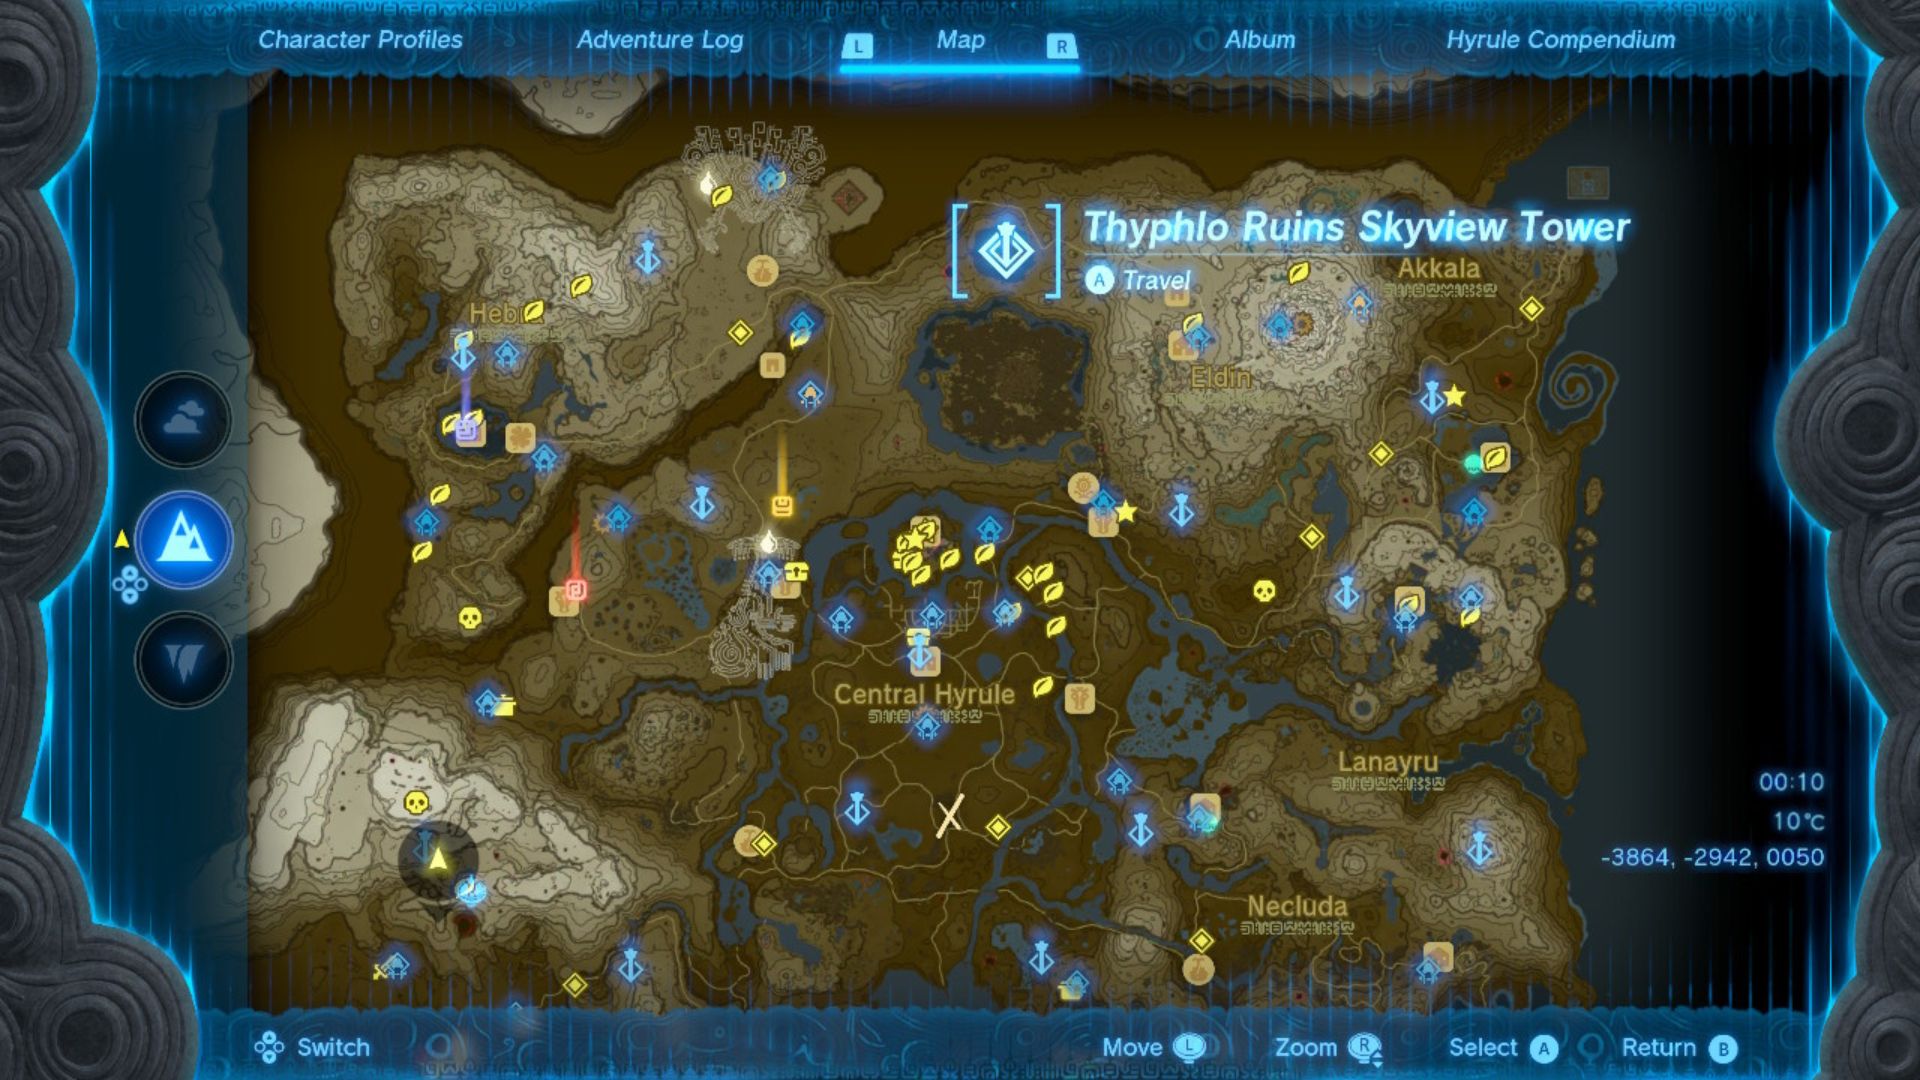
Thyphlo Ruins tower
Unlike most other towers, Thyphlo Ruins tower asks you to get to the top of it for the privilege of opening it. Something is blocking the top from opening up, so the engineer on-site can’t repair it. Use the Zonai platforms or some other form of tricker to climb up to the top (I strapped eight rockets to a Zonai platform and shot past all the enemies and fast past the roof of the tower…) and remove the object on the roof with Ultrahand.
Upland Zorana tower
Unless you’ve started the Zora quest, the Upland Zorana tower can be a bit of a headscratcher. You need to get water onto the gunk that’s clogging up the door, and you have two options we know of. Either attach a splash fruit to the end of an arrow and shoot it at the door (or just throw it with the R bumper to save an arrow), or get out a Zonai hydrant and get its faucet pouring away. Your choice.
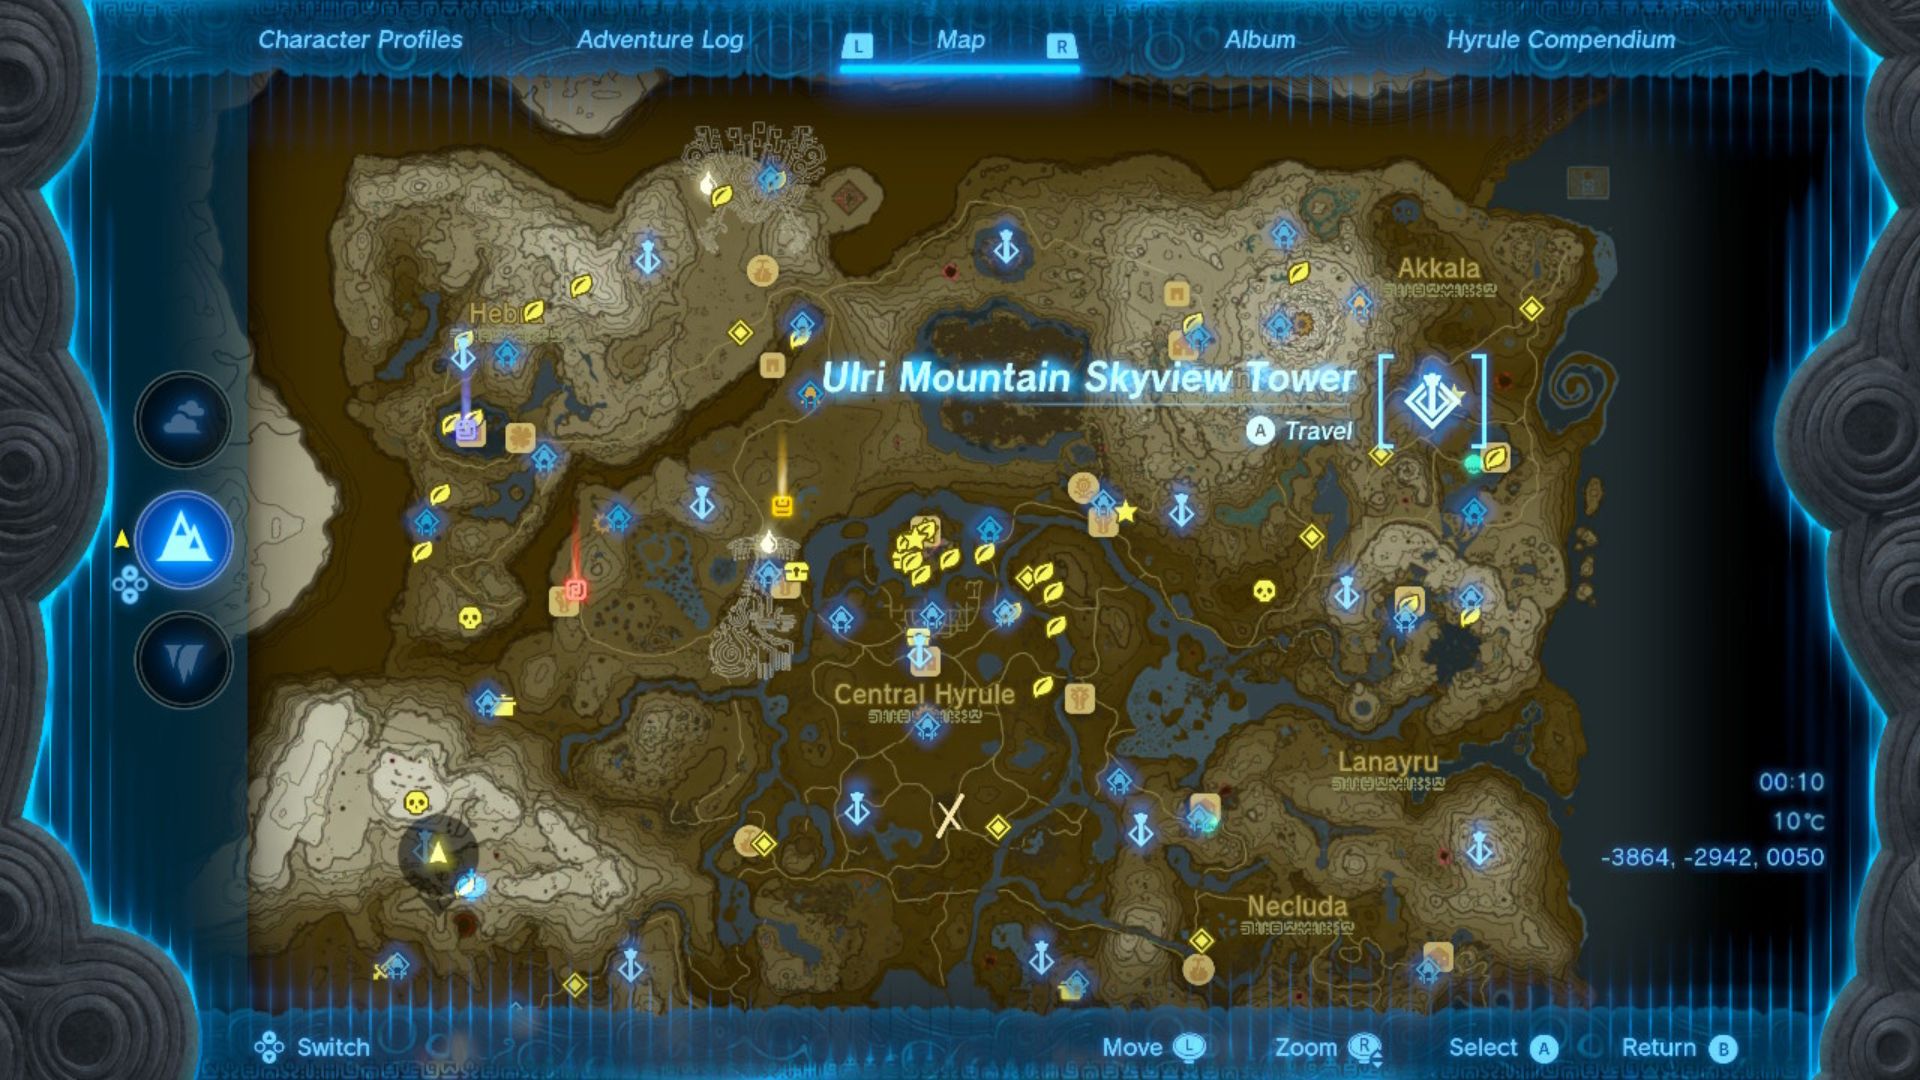
Ulri Mountain tower
To get into Ulri Mountain tower, head to the front door and talk to the confused-looking engineer. He tells you an aerocuda has taken the control panel. Head towards it, just behind the tower, and shoot it down. Here, either pick up the control panel the Aerocuda dropped or use Ultrahand and get it back to the tower. Voila! Mission accomplished.
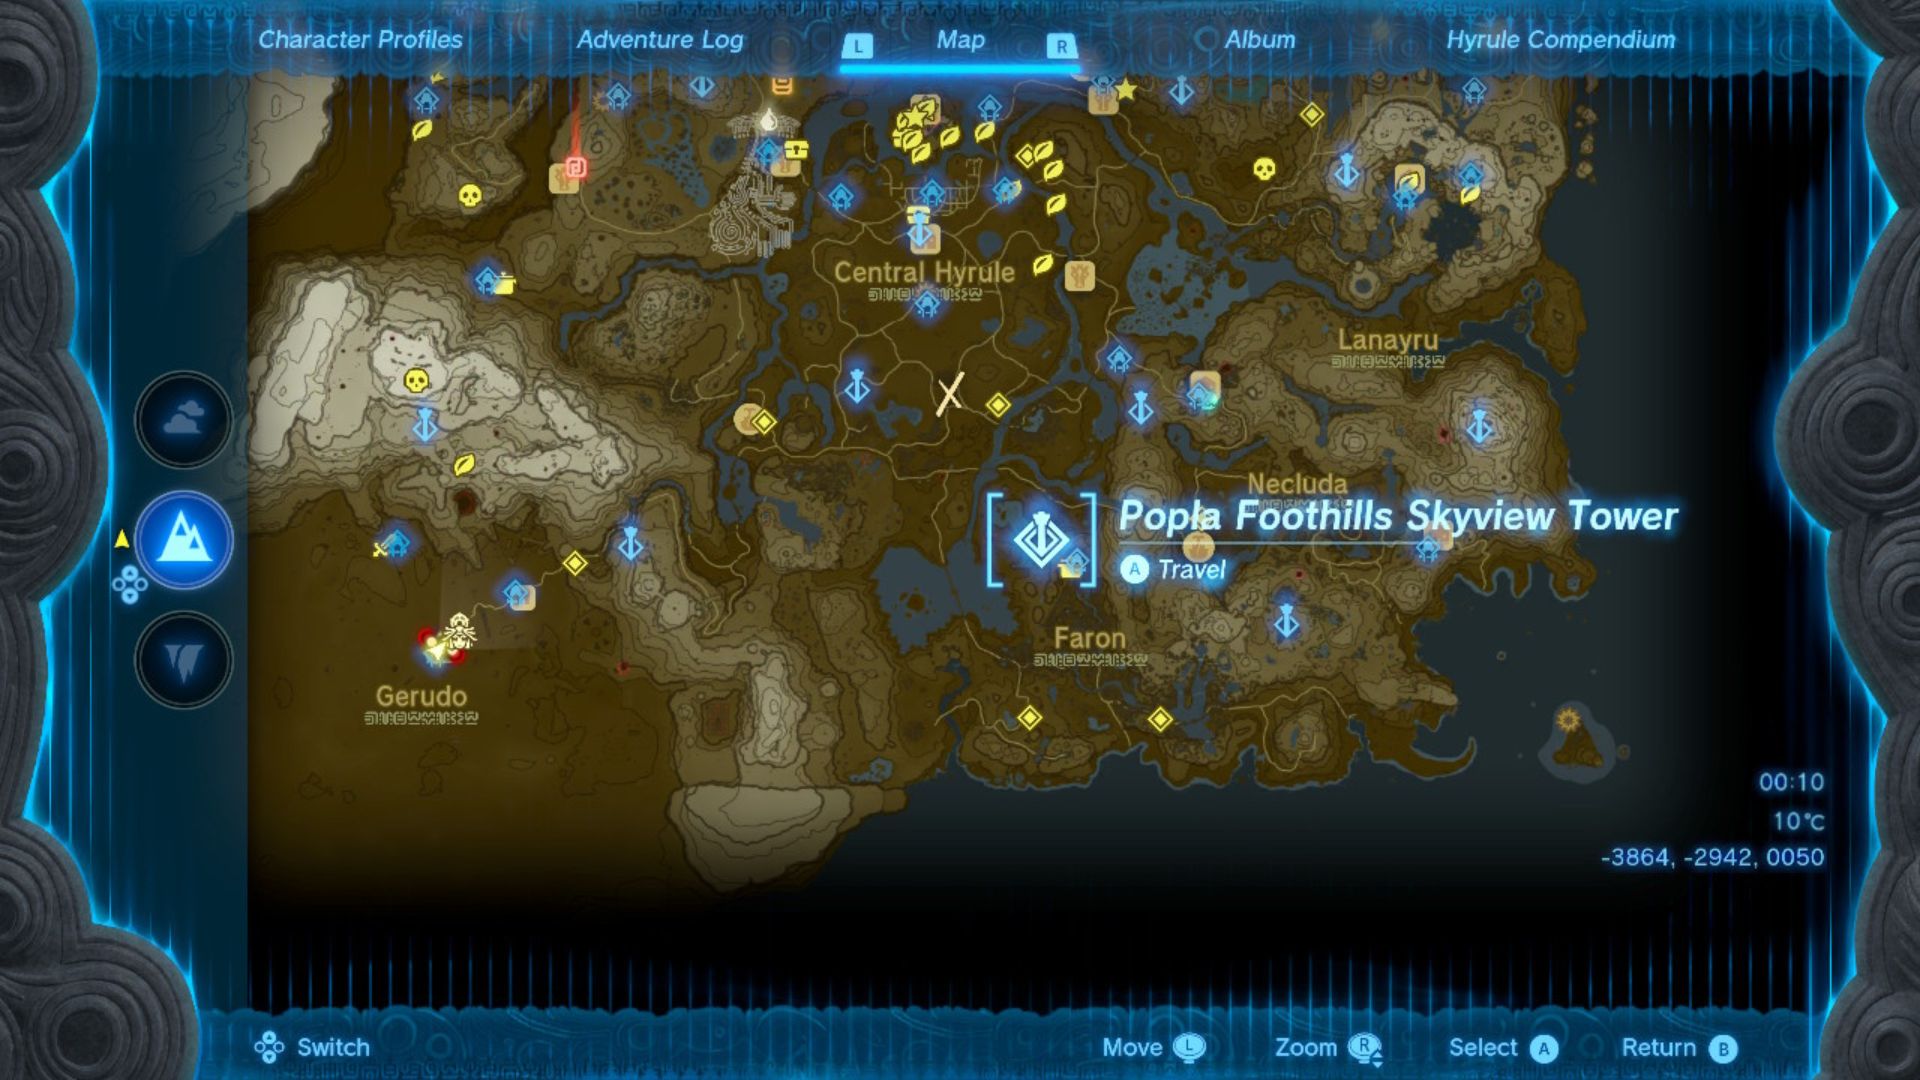
Popla Foothills tower
Popla Foothills tower is a bit of a headscratcher. Where is everyone? What do I do? Well, look around. Oh hey! A well! Head into it, walk around, talk to the fella inside who was meant to fix the tower but his greedy little eyes got in the way, and he tells you what to do.
Head back outside, fly around the edge of the south side of the cliff surrounding the tower looking for a cave entrance. Next, go through the cave, get back to the man, help him escape, and head back out. Now the tower is all yours, little Linky.
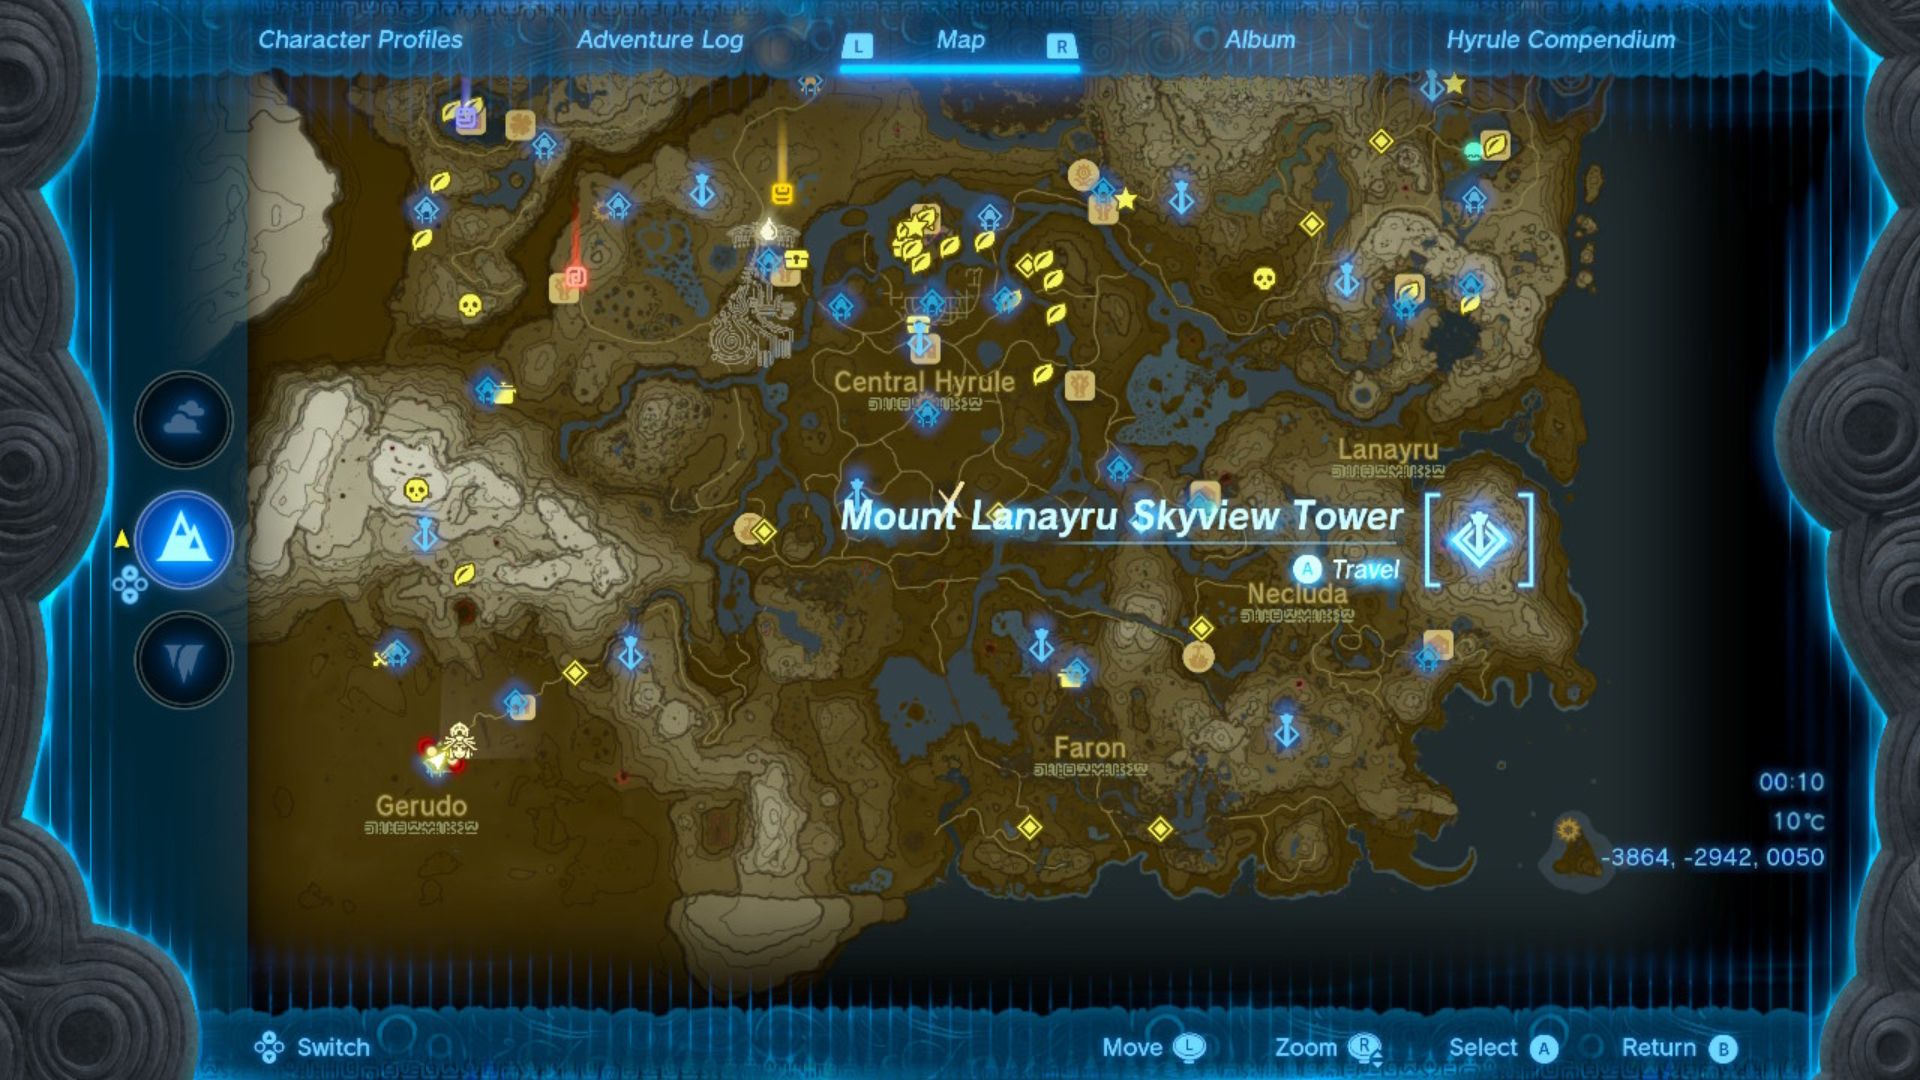
Mount Lanayru tower
Mount Lanayru tower is at the top of a very cold mountain. Now, Link may be hardy, but I doubt he could do K2 alpine-style, so we may as well use all the powers at his disposal. Find a way to get high into the air and glide to the top of the mountain for the easy way. For a bit more fun (and some secrets to find along the way), hunt down Link’s own North Face jacket, cook up some spicy elixirs, and get climbing.
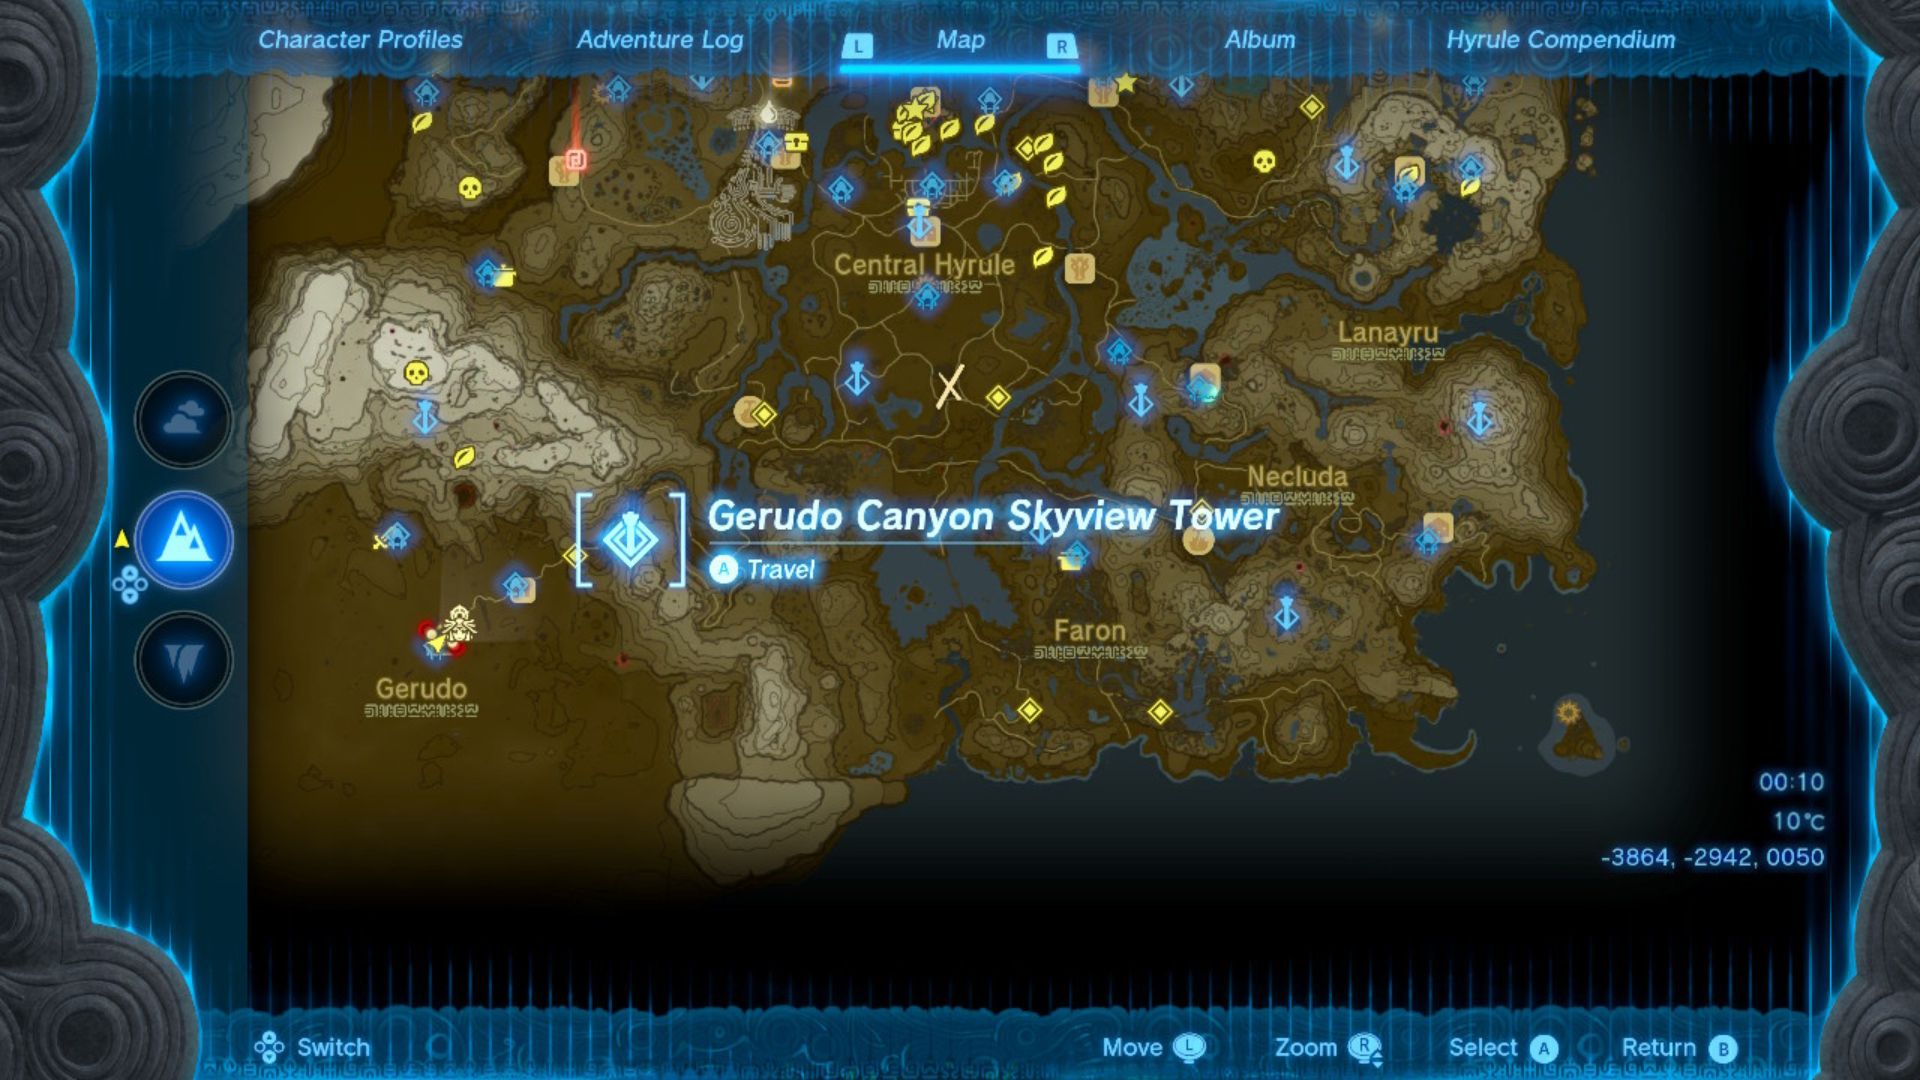
Gerudo Canyon tower
Gerudo Canyon tower is like if Elevator Action Returns returned. Well, actually it’s not, but it is all about what we Brits call lifts. Once you find it, you need to help the engineer go up in the elevator. Attach something to its empty side at the top of the scaffold to weigh it down, and hey presto! Engineer comes flying up, Link goes flying up. A plain old win-win.
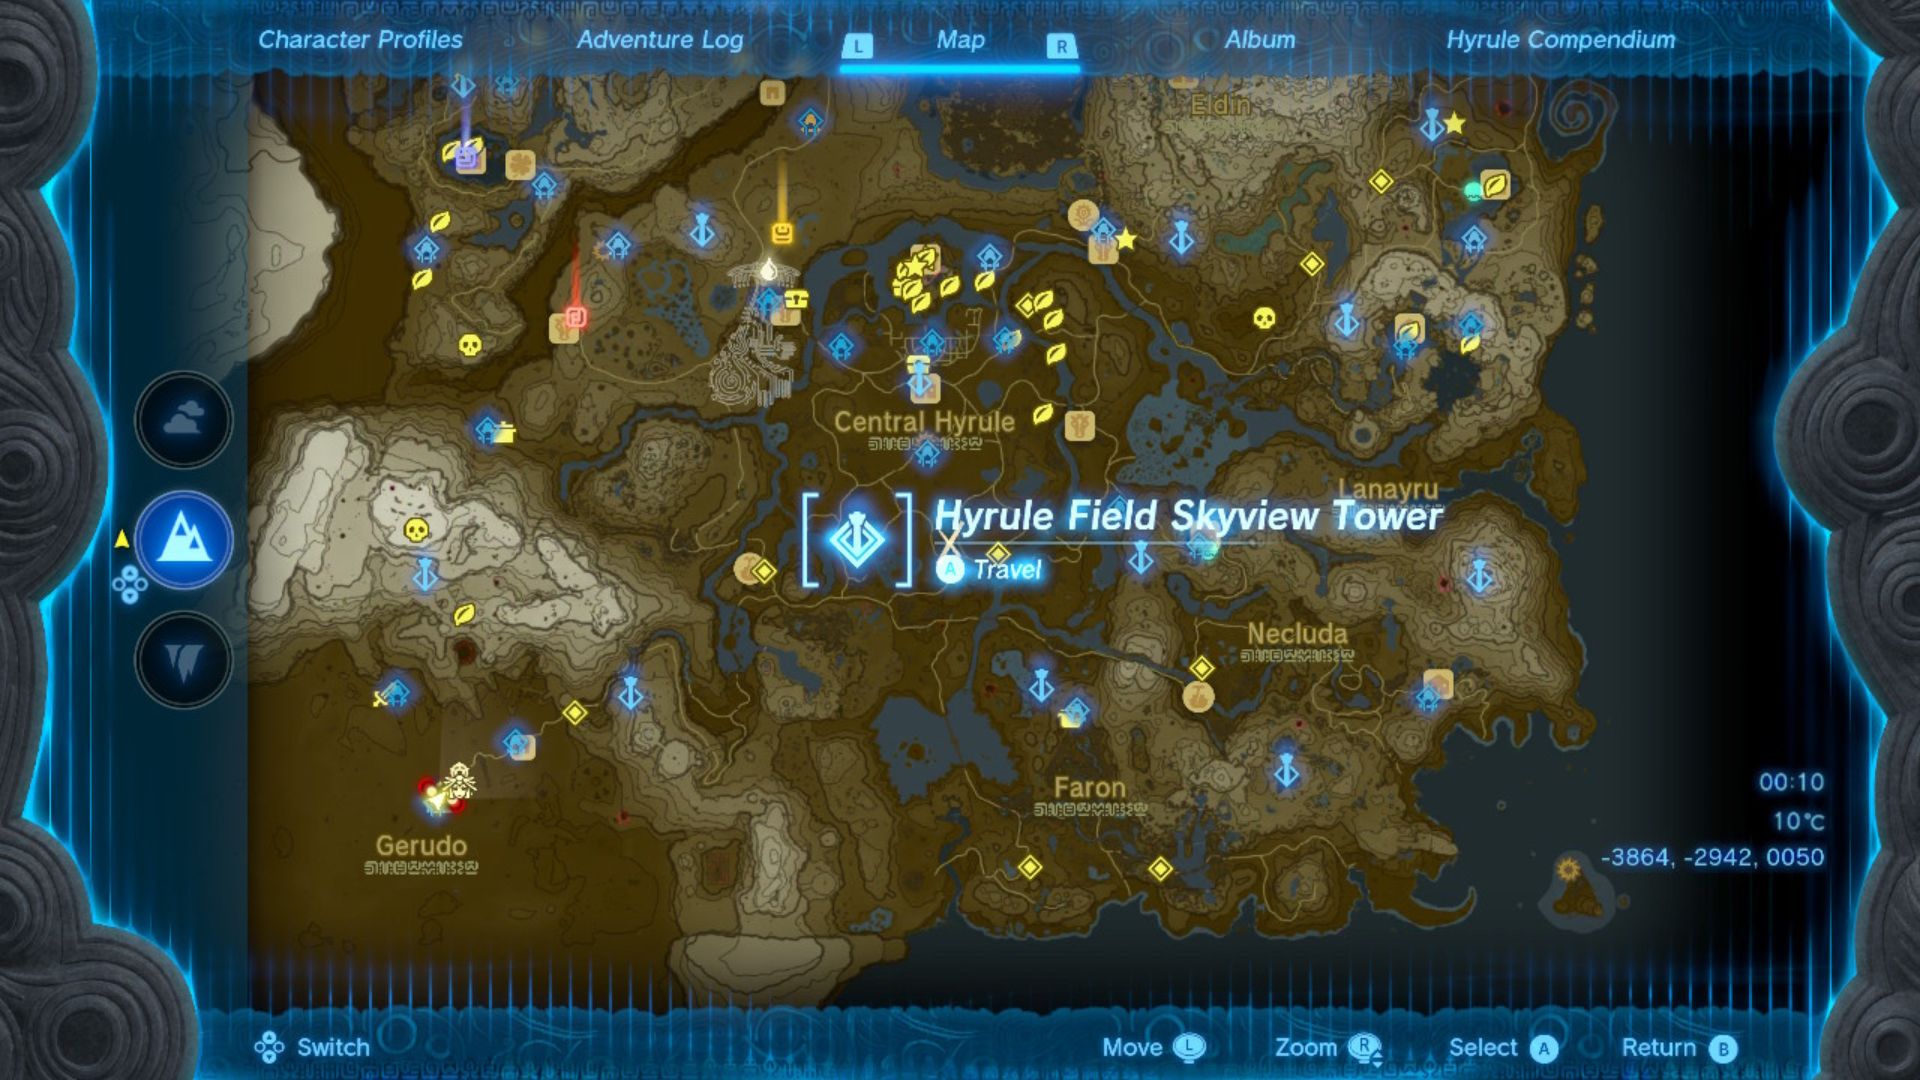
Hyrule Field tower
Fight time! Hyrule Field tower is a combat challenge. Cook up elixirs, fuse together a bunch of good weapons, and be prepared to dodge bombs. Don’t forget to use recall against incoming bomb barrels to reverse that caller charge, so to speak…
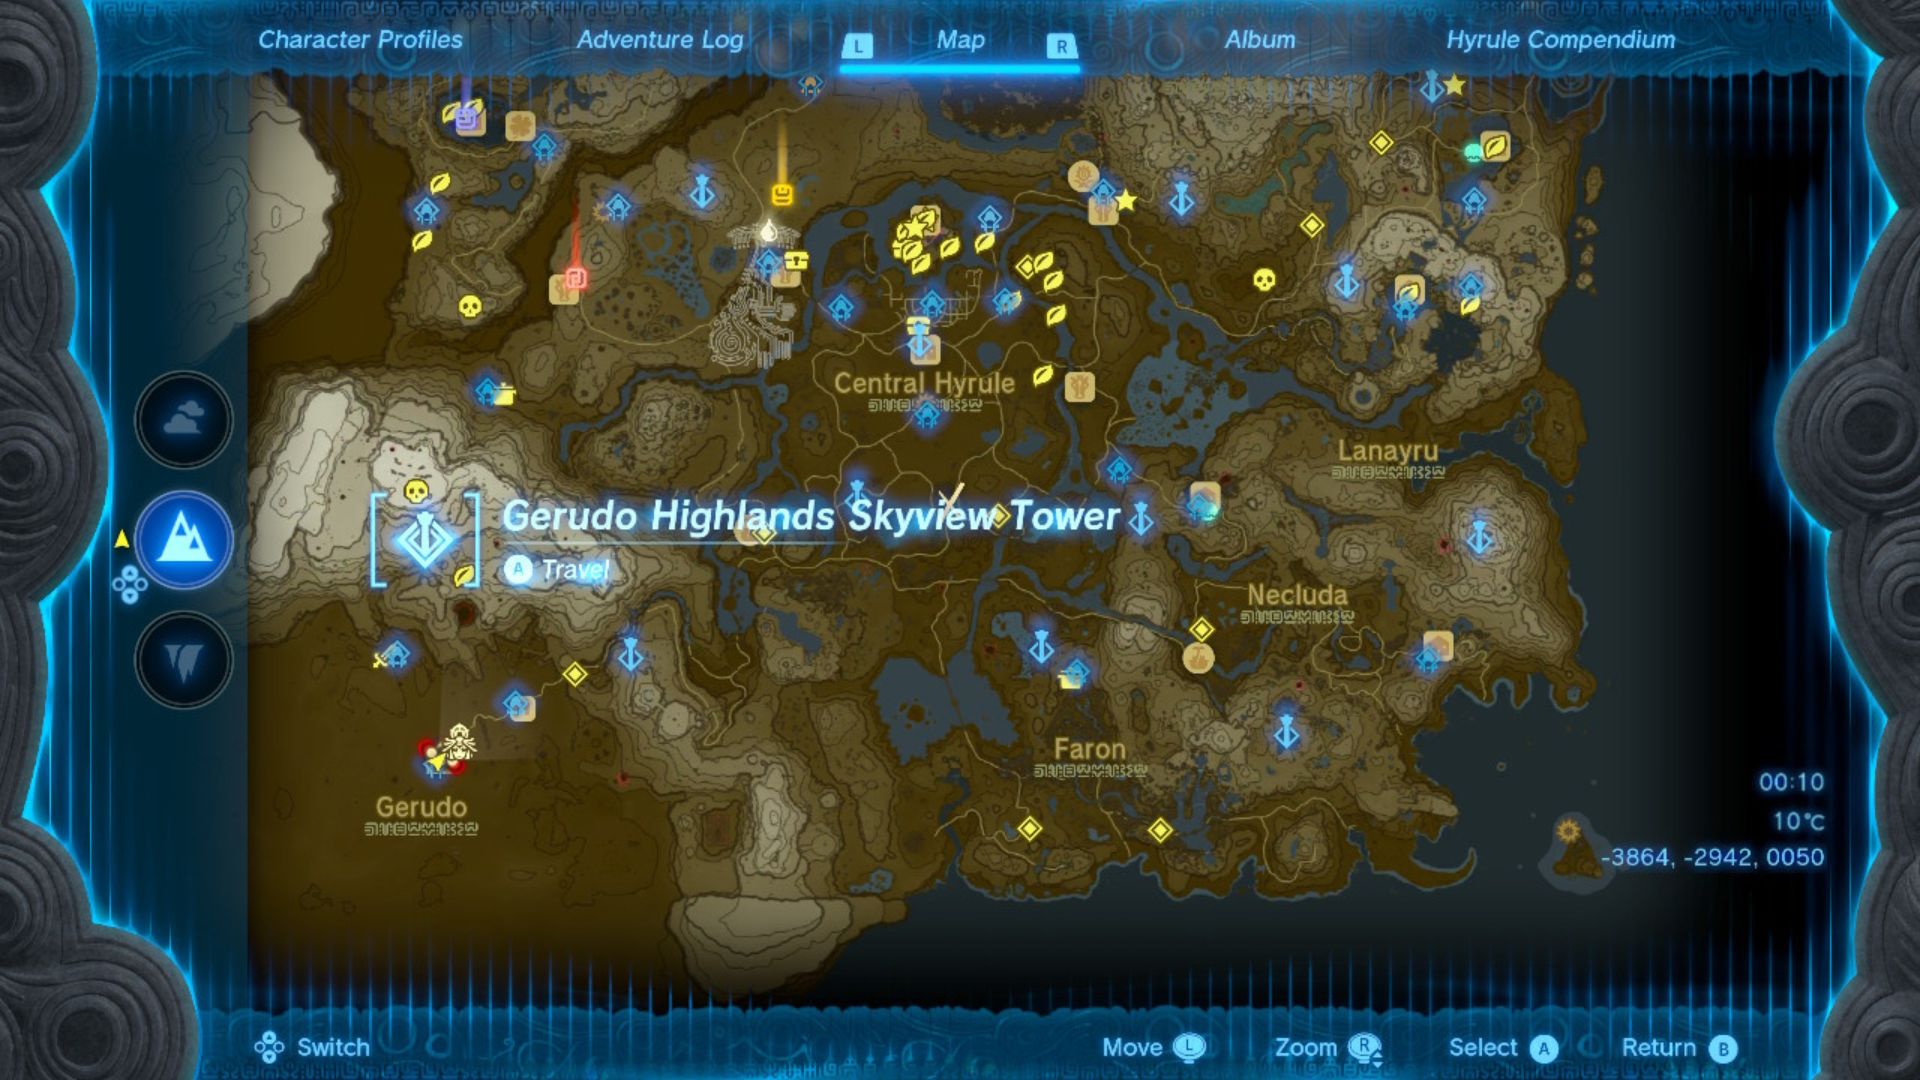
Gerudo Highlands tower
This one had me stumped for ages. Gerudo Highlands tower is buried in snow, so there’s no easy way to get in. Luckily, there’s a campsite nearby where you can find out about how the builders used a nearby cave to camp and look after their gear.
Head into the cave and keep heading deeper. Eventually, you’re underneath the tower. And that means it’s time to use Ascend. Once you’re in it’s business as usual. Lovely.

That’s all the Zelda: Tears of the Kingdom towers we have for today. For even more great Zelda content, be sure to check out our Zelda: Tears of the Kingdom shrines and Zelda: Tears of the Kingdom koroks guides next.

