How to clean your computer
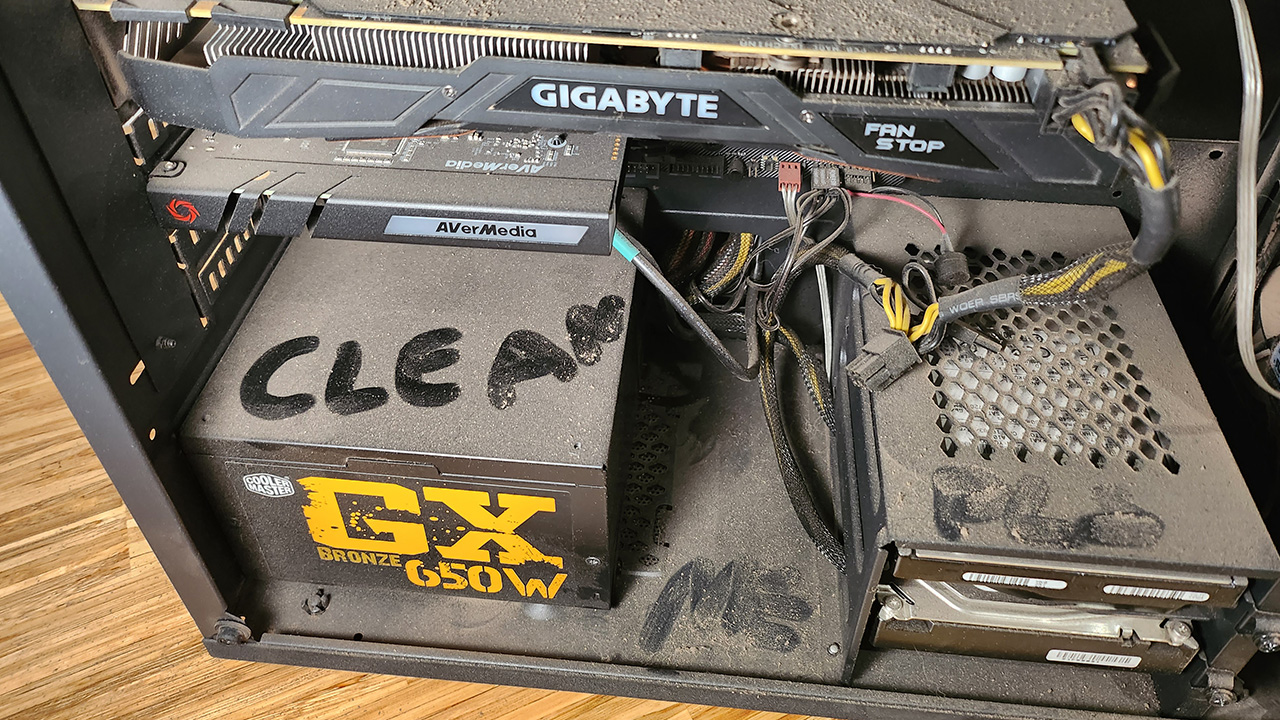
Anyone that owns a PC has to contend with dust buildup. It’s the bane of PC cooling. Even if you keep your area clean, some buildup will occur over time. It’s made much worse of you have a carpeted room and especially if you have pets.
You can configure your fans however you like, use as many dust filters as you can fit, and make sure your PC is well away from carpets and floor-bound fluff, but at some point, the dust comes for us all.
You can’t escape it, and it’s a good idea to clean your PC now and then if you want to keep your components’ temperatures manageable. Here are the methods we use to safely and thoroughly clean out our computers.
Dust is the enemy
Too much dust leads to higher temperatures and a loss of performance
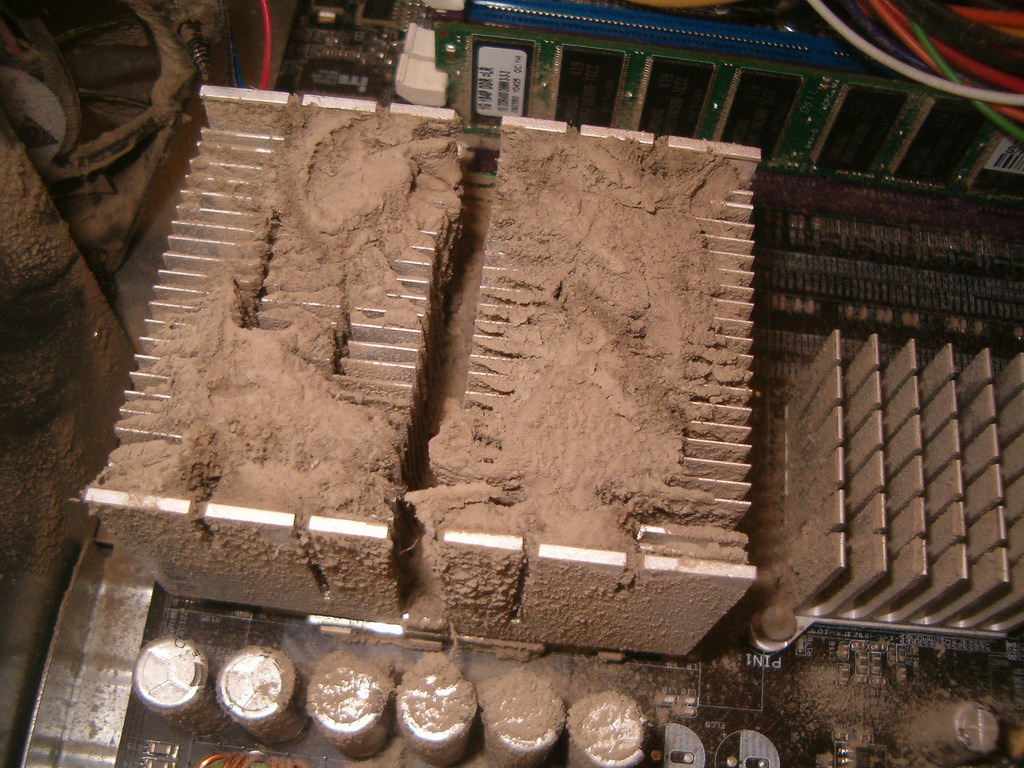
The most important thing to consider when cleaning your case is that we want to make it possible for cool, fresh air to get into the case and hot air to get out. If dust filters are clogged or there’s excess dust collected around the heat sinks, that’s not going to be possible and your system could overheat.

Along with overheating, dust buildup can cost you performance. As temperatures rise, your CPU and GPU will begin to drop below their maximum boost and turbo clocks. In severe cases it can lead to significant throttling, if not shutdowns when your system is under a heavy load.
To counter that, you want to do everything you can to eliminate dust and leave your system fresh and clean.
Note: Whenever cleaning your PC or its components, you need to take extra special care about static damage. Using an anti-static wristband is ideal, but if you don’t have one to hand, make sure to regularly ground yourself by touching your case or PSU housing.
Before you start
Getting ready to clean your PC
One of the first signs of a significant dust buildup is when you can see it on the dust filters adjacent to your intake fans. It’s best not to just wipe it off or point a can of compressed air at your PC and hope for the best.
Before you begin, there are a few common sense things to consider.
- Turn off your PC and unplug the power cable from the rear. If you want to be extra safe, unplug everything.
- Wear a dust mask or respirator if you want to avoid breathing in any of the dust and dirt you remove from your case.
- Move your computer to somewhere well ventilated if possible, or at least open a window or door to let fresh air into the room.
- Remove the side panels and (if possible) the front panel of your case.
Tools to help
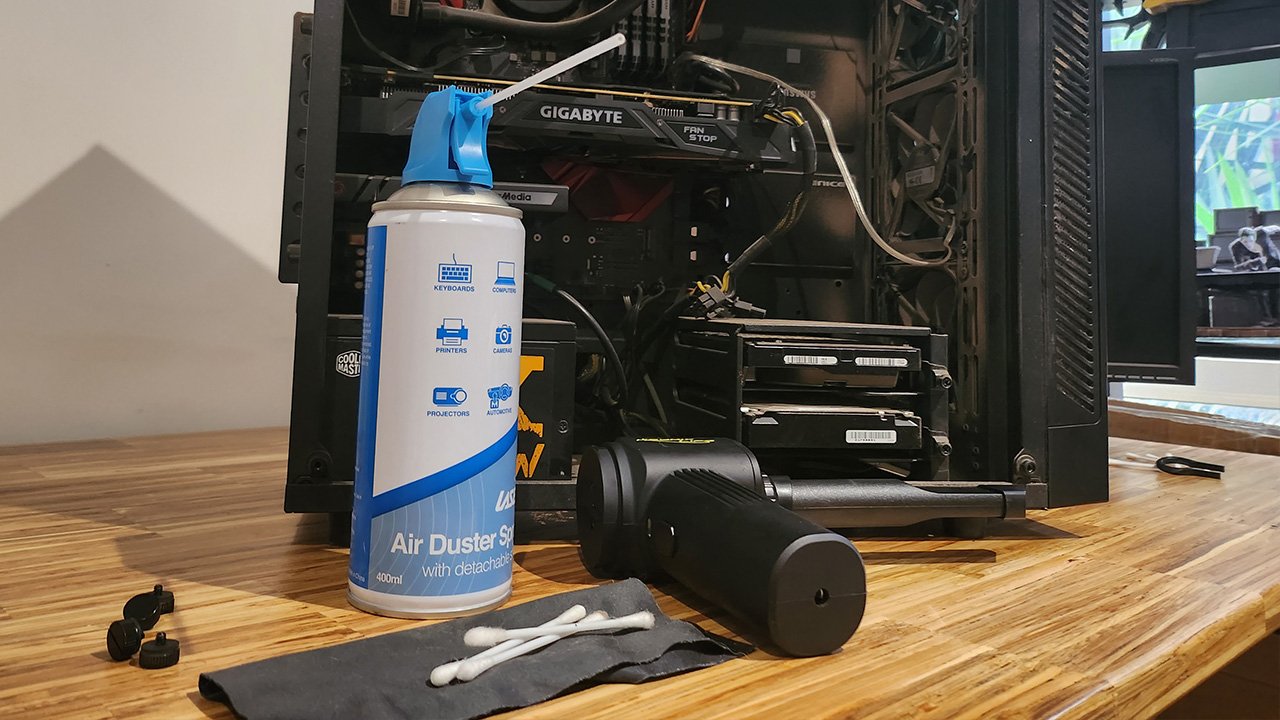
- Microfibre cloth – You might want to rub something in there.
- Compressed air – let’s face it, if you want to clean anything on a PC one of these is always good to have on hand.
- A mini vacuum/blower – If you’re sick of buying compressed air you can get one of these pretty cheap. They’re not as direct or as powerful but they’ll do the job and you can just recharge it instead of needing a new can.
- Antistatic wristband – You can use your case to ground you, but one of these is never a bad idea.
- Actual tools – depending on your case and parts, you might need screw drivers or special bits to get things open.
How to clean your PC
Dust begone
1. Get rid of the dust — Dust is one of the biggest enemies when it comes to keeping a PC clean, and it can get everywhere.
You’ve likely already knocked loose a bunch of dust just moving your PC, use a vacuum cleaner to clean up any dust that ends up on the floor. However, don’t use the vacuum directly on the interior of your case, as there is a real risk of static damage.
Use your can of air, or blower to get as much dust out of your PC as possible. You can often do a pretty good clean without needing to remove any components this way.
If your PC hasn’t been cleaned in a while, there’s a good chance you have dust caked onto the fans, vents, and heat sinks. In this case, a quick dusting might not be enough.
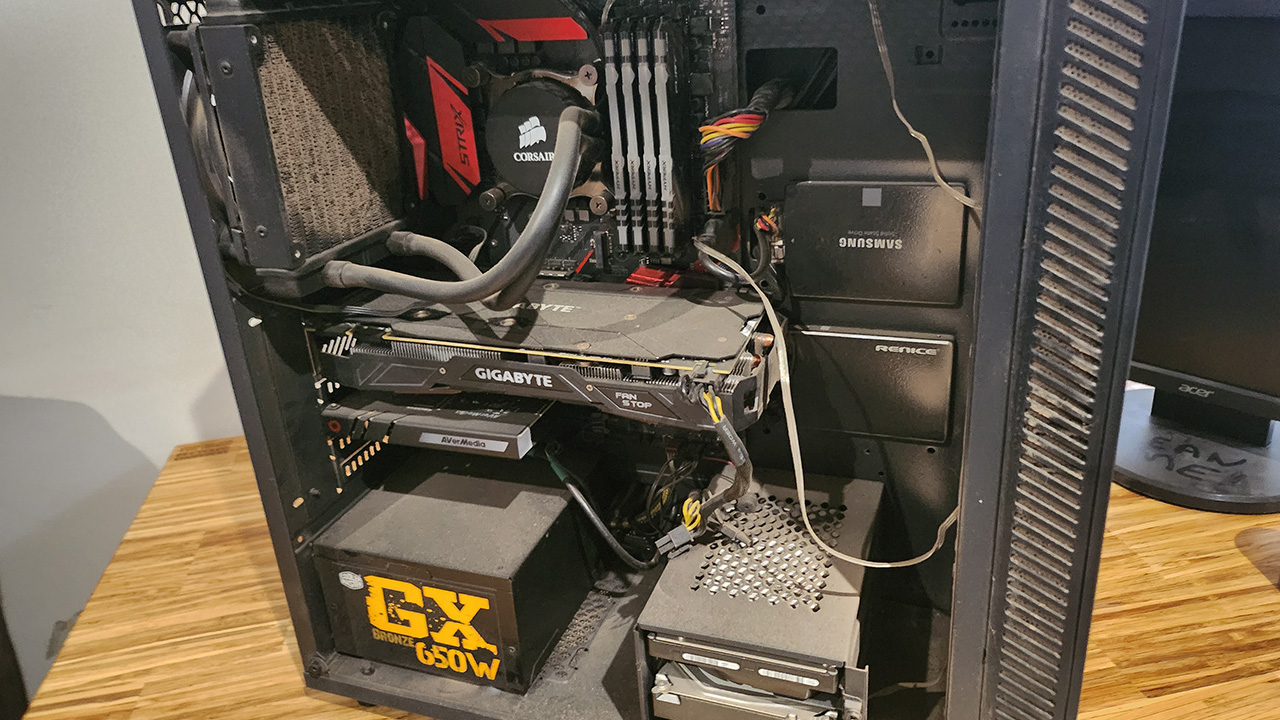
2. Remove everything you want to clean —If you display your PC like a work of art as much as a functional tool or gaming machine, then you’ll want to do more than just give it a light dusting. For that, we’d recommend removing everything from the case. That means redoing all of your cable management, draining the water-cooling loop, and unhooking all your drive caddies. The end result, though, is worth it.
Note: We still recommend an anti-static wrist band when handling any components. If you don’t have one to hand, periodically touch your PC case to ground yourself.
If there’s only a few things that need the intensive clean treatment, feel free to just grab those out. That being said, it’s worth doing a thorough clean now and then and now’s as good a time as any. Just make sure you reapply thermal paste if you remove the heat sync. If you’re not sure how, read our guide.
3. Lay it out —Lay everything you’ve removed out on a non conductive surface. This should give you a good opportunity to see what really needs your cleaning attention. You can give them another once over with the compressed air or blower while they’re here.
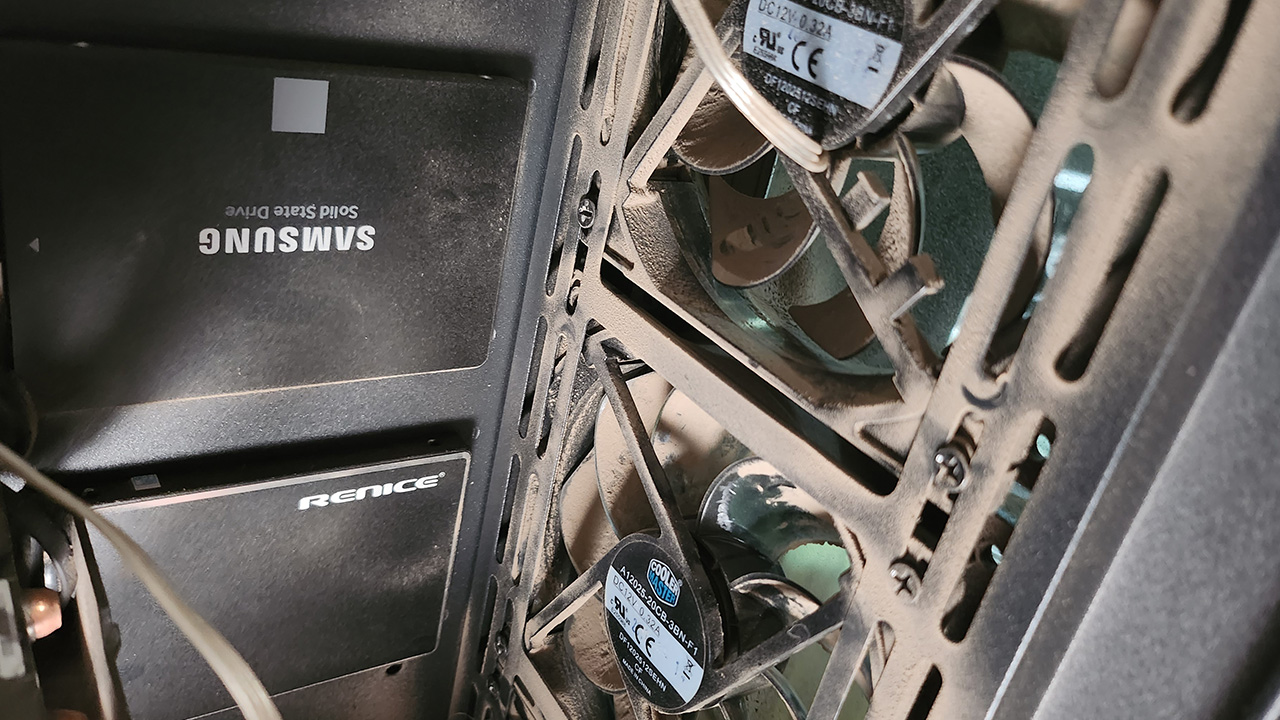
4. Wipe everything down — Grab your lint free cloth and wipe any dust build up you can still see. Pay particular attention to any crevices, plastic shrouds, and heat sinks. Thoroughly clean any dust filters too. For fans you can hold the blades still to give them a better clean on the individual blades.
5. Use some Isopropyl — If there are any fingerprint or oily marks or other stubborn grime, use cotton swabs and isopropyl alcohol or equivalent to wipe them clean. Be very careful and of course, make sure to leave them to dry before putting them back together.
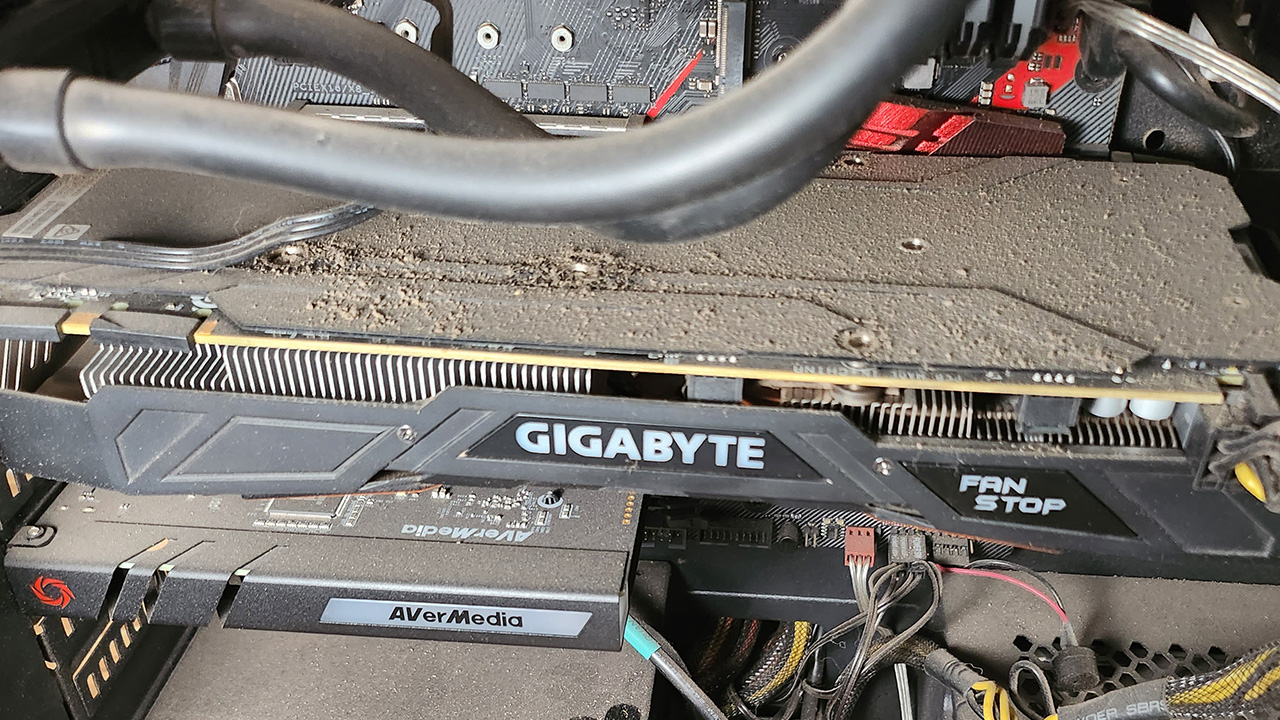
6. Opening components — Some components, like a graphics card, can get dust build-up inside a covered area. Cleaning these may require disassembling the card, which is possible if you have the right tools (small hex and Torx bits are often required). Hopefully this won’t be required, but if your PC has been extra dusty there might be some caked inside.
There are certain components, like the interior of your PSU, that you aren’t going to be able to clean effectively without taking it apart and voiding your warranty. Doing so can be dangerous, too. Instead, we’d recommend using a can of compressed air with a long straw attached to give it a little blast to dislodge any stubborn dust. When you next turn it on, its own fan and natural airflow should blow any loosened dust out of the rear.
When you’re finished cleaning, put everything back together. Take this opportunity to do a little cable management as it can help avoid dust build up by making for a cleaner passage of air through your system.
How often should I clean my PC?
To maintain a healthy system, we recommend a light dusting at least every three to six months, or more often if you have pets or live in an especially dusty environment. For deep cleanings, every six months to a year is recommended if you want to maintain peak performance, or every couple of years at the very least to avoid any potential overheating issues.

