
How to Fix the Switch 2 Pro Controller D-Pad Using the Tape Fix – Feature

Justin rips open one of Nintendo’s latest controllers to fix the D-Pad since the company that invented it forgot how to make them properly.
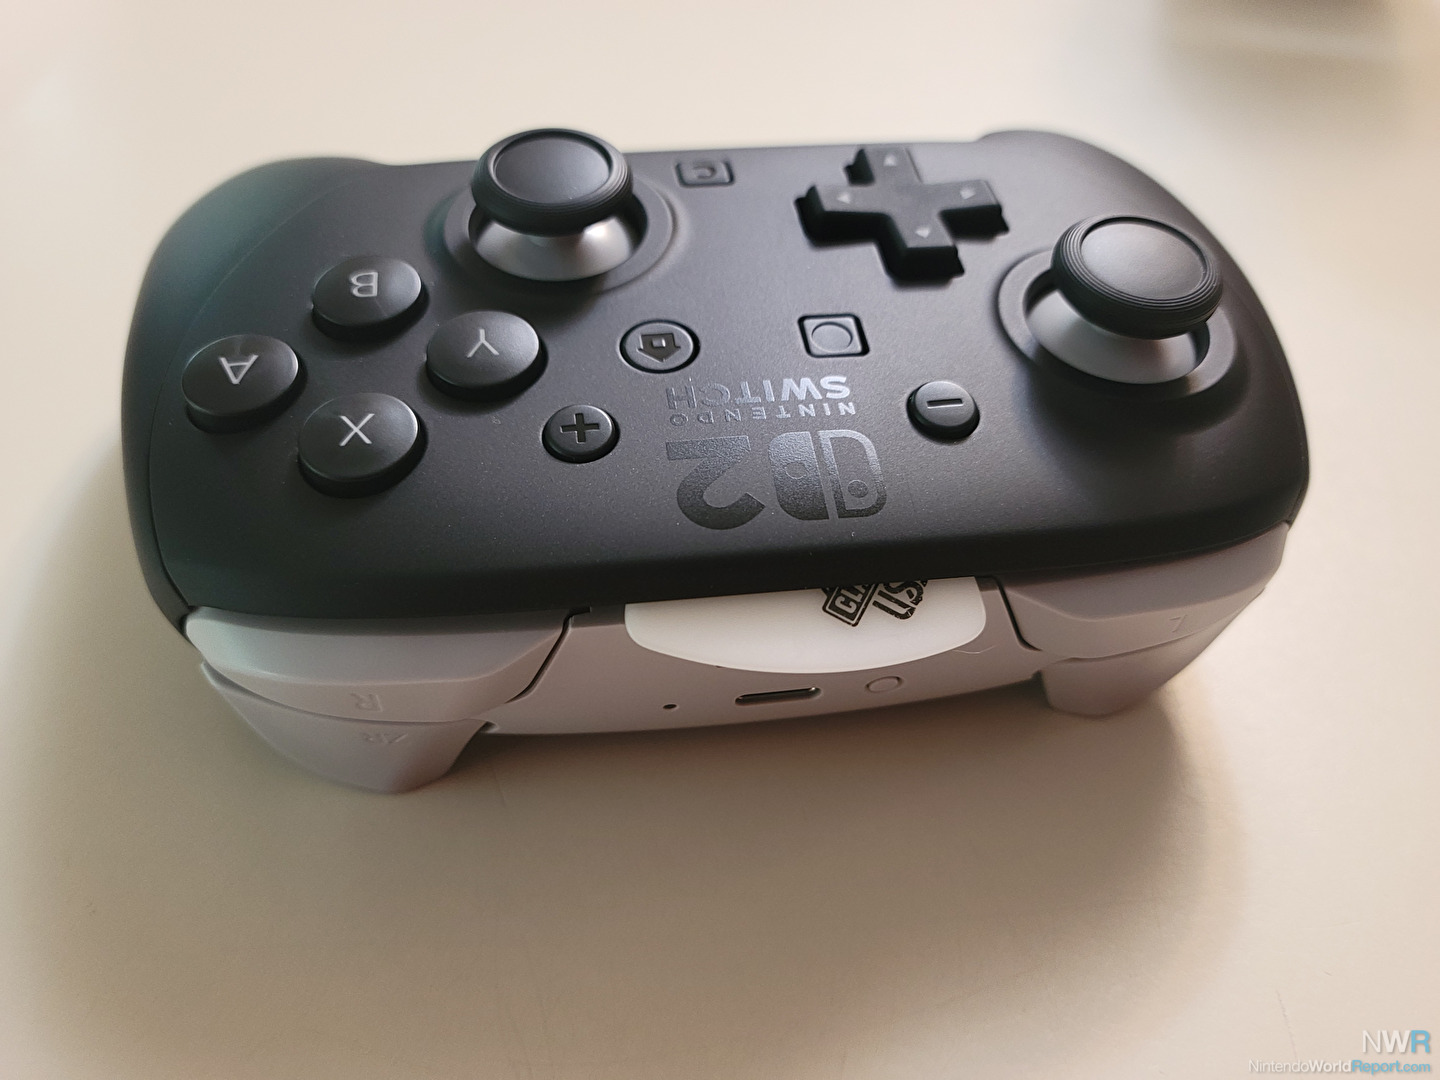
Yes, I’ve explained it in my Switch 2 Pro Controller first impressions, but the D-Pad on Nintendo’s latest expert gaming pad still sucks. The company that invented and perfected the device just can’t make them work properly anymore. I should be fair though, as this isn’t just a Nintendo problem these days as many third party D-Pads are just as busted. I don’t know why making a functional D-Pad is such a lost art as we can go back to the stack of NES controllers I own and measure every dimension to make a working and perfect piece of equipment.
For those of you that think the D-Pad is working fine I challenge you go open the Switch 2 System Settings, Controllers & Accessories, and then Test Input Devices. Hold one Direction on the D-Pad and rock it around a bit. You’ll notice that inputs perpendicular to the button you pressed is being triggered. While this may not matter in some D-Pad games, it can be disastrous in others. Fighting games are a big one, and even doing a running ducking jump in the original Super Mario Bros. is nearly impossible.
However, there is a way to greatly improve the Switch 2 Pro Controller D-Pad. This solution is only for the brave though since it requires you to open that controller up to preform what is known as a Tape Fix. This fix has become popular on modern controllers because D-Pads are so frequently made poorly these days. That said, please review a word of Warning below.
The Following is for Educational Use Only
If You Attempt the Following You Do So At Your Own Risk
If You Open Your Controller You Void Your Warranty
If You Do Anything Listed On This Page You Do So At Your Own Risk
If You Do Anything Listed On This Page Nintendo World Report Is Not Responsible
If You Do Anything Listed On This Page The Author Is Not Responsible
The Author Is Not An Expert on Electronics Repair
If you do the Tape Fix to your controller the D-Pad will still not be perfect, but overall will function much better than it does brand new. I should also note that you may have to press a bit harder in each direction to get an input to function after this is complete.
Things You Need:
Nintendo Switch 2 Pro Controller
Small Screwdriver Kit
Guitar Picks
Clear Packing Tape
Sharp Razor Blade/Box Cutter
Tweezers
Good to Have Items:
Toothpicks
ACID FREE Silicone Glue
First thing you may notice is there are no screws visible on the Nintendo Switch 2 Pro Controller. This is because the front plate is mostly held on by adhesive and a few clips. To me, this is crappy design and when putting it back together YOU MAY have to glue it back yourself a bit but your mileage may vary. (More on the possible glue later.)
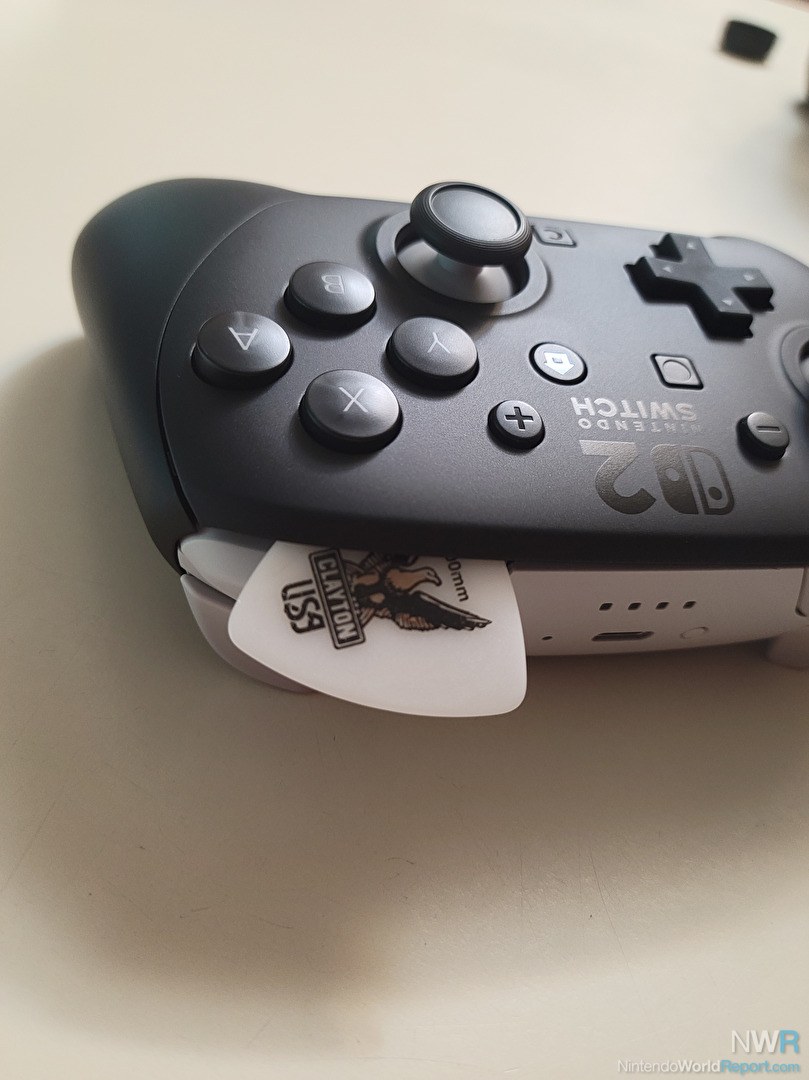
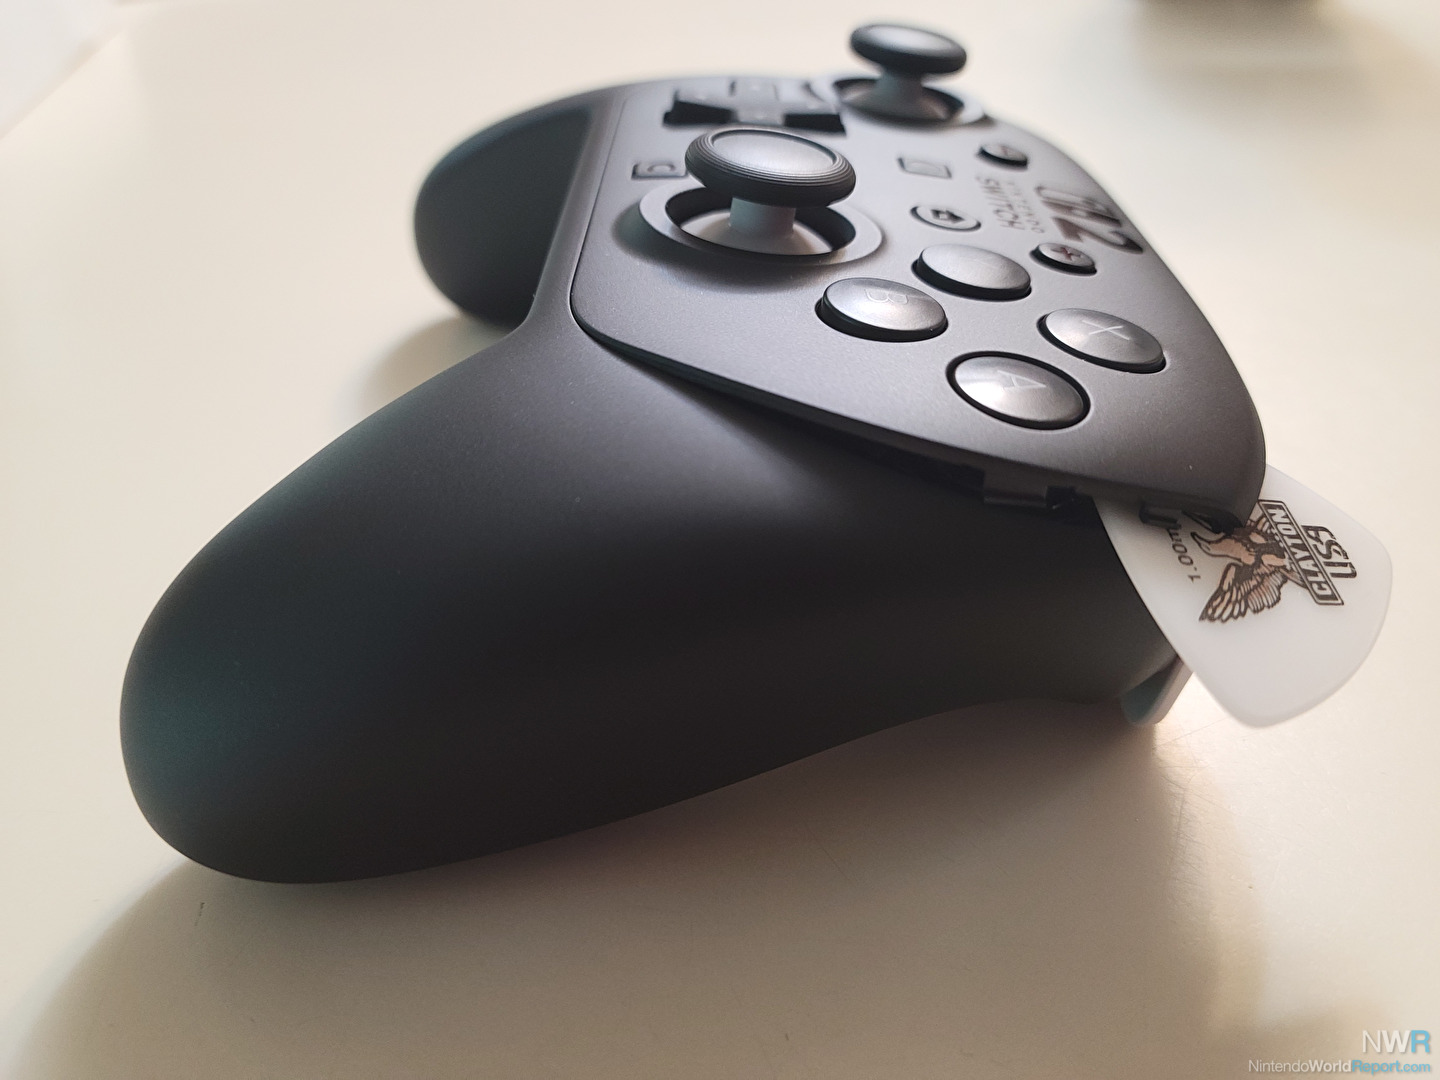
To Remove the front plate off the Switch 2 Pro Controller you need to take something flat, like Guitar Picks, and start by wedging them in the crease between the black and gray parts on the top of the controller. Really push it in too as you’re trying to break up the adhesive holding it down. You should feel it tearing it apart and you push and slide it in carefully.
You’ll want to work your way around the controller carefully breaking up the adhesive and sometimes prying the top off a bit. This is a little tricky, so take your time and be careful not to break any clips.
Eventually you’ll start to work your way around and prying the face plate off should seem more reasonable.
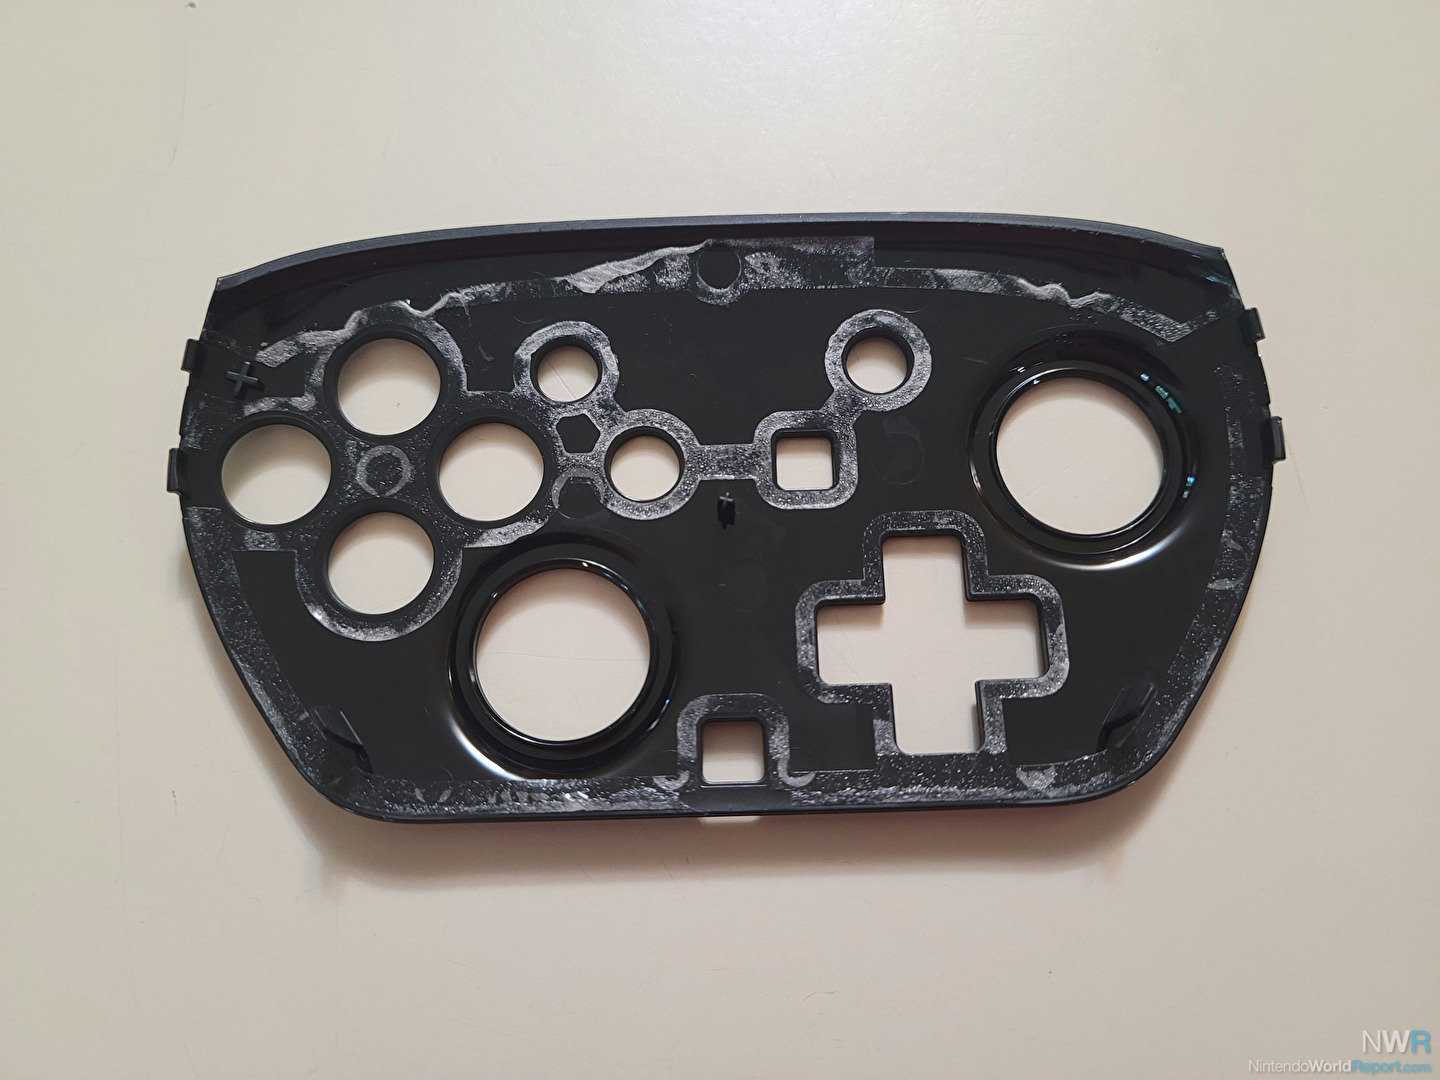
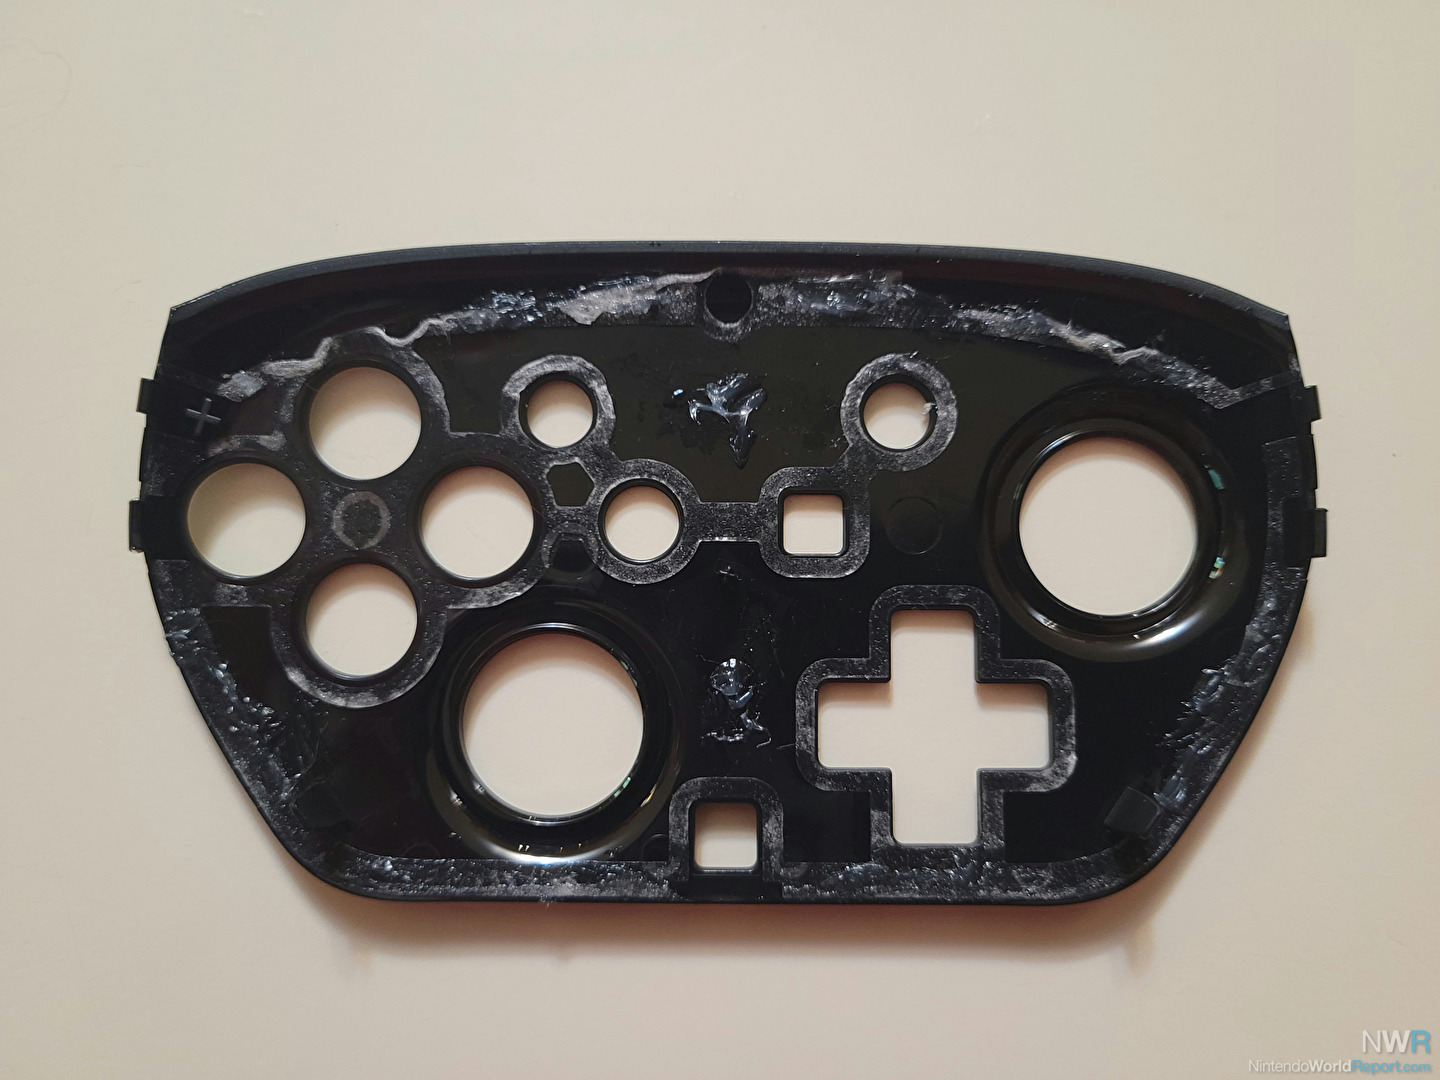
Eventually you should be able to pop the face plate off and as you can see it’s mostly just adhesive holding it down. Annoying for repair work.
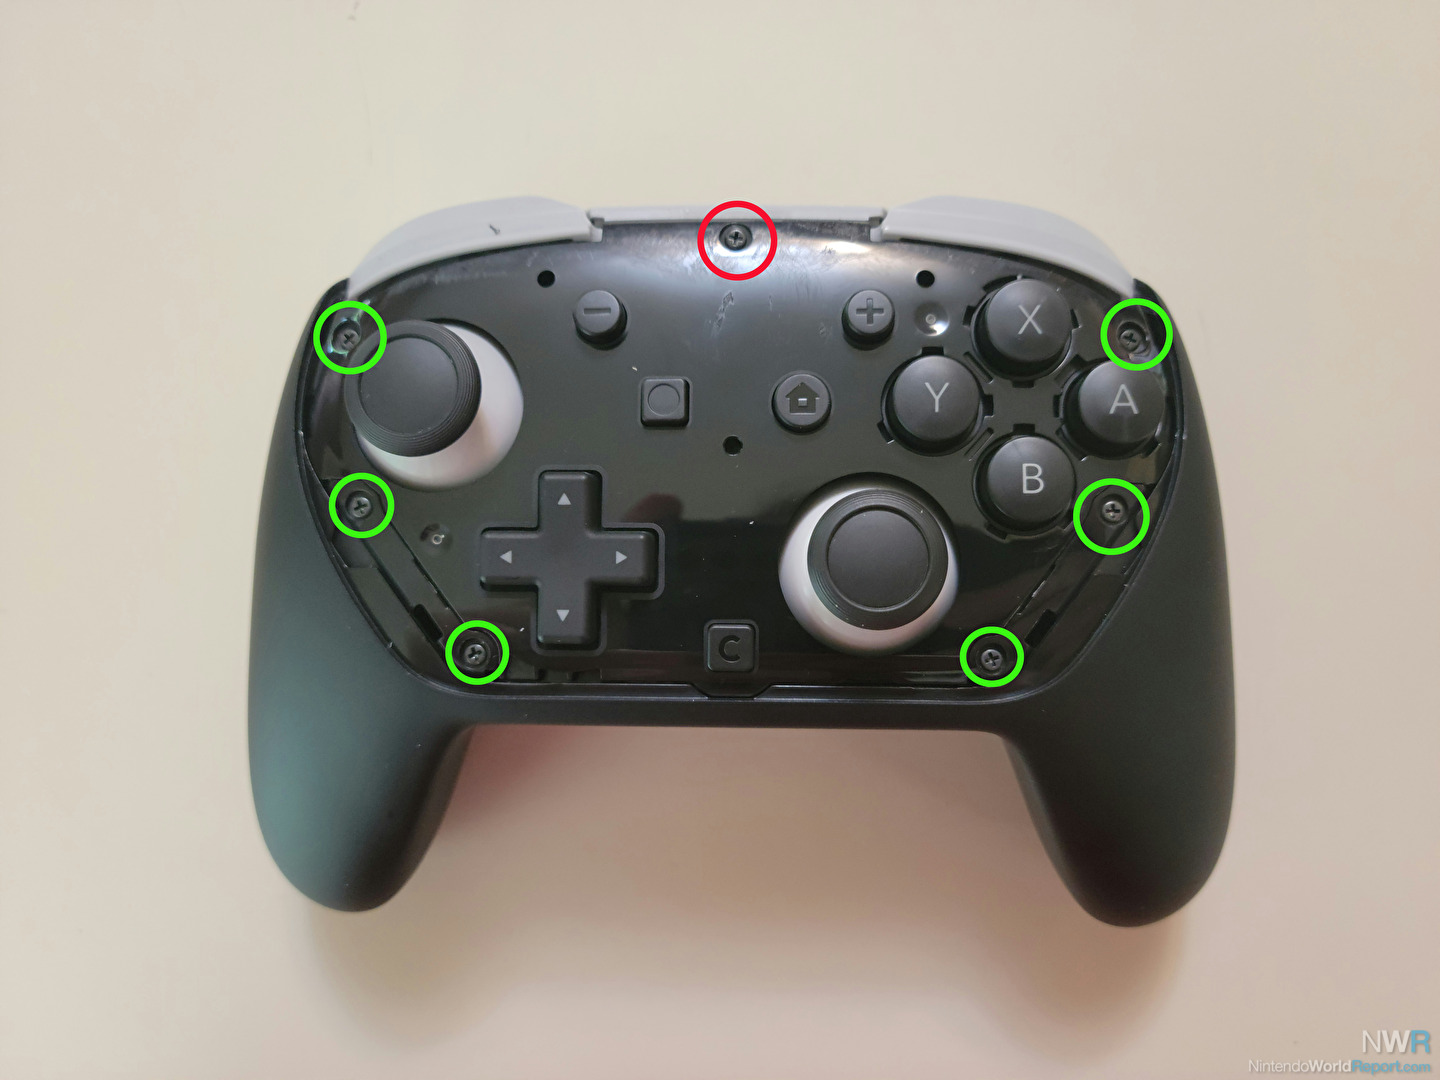
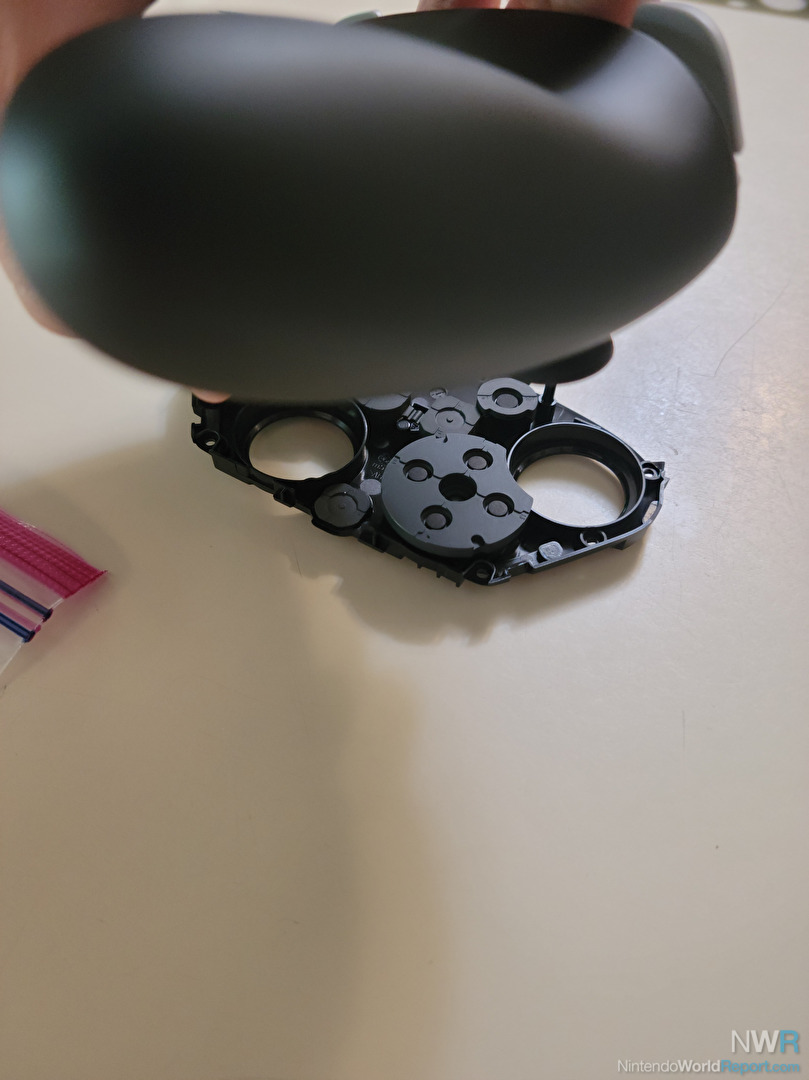
From here you should see the next layer of the Switch 2 Pro Controller. Remove the seven screws as shown above. Just note that the top center screw, with the red circle, is shorter than the rest, so you’ll want to be sure to put that back in the same spot when putting it back together.
This next part is a little tricky. You’ll want to remove the two pieces on the bottom left and right of the controller. These are the same pieces the two lower screws on each side were in. They do not pull straight out! They come out at a bit of a diagonal pointed inward toward the center of the controller. I found it easiest to pry the lower end up through the little hole a little then to rotate the upper part out. It wasn’t too hard to slide out after that.
Carefully do the same to the other side.
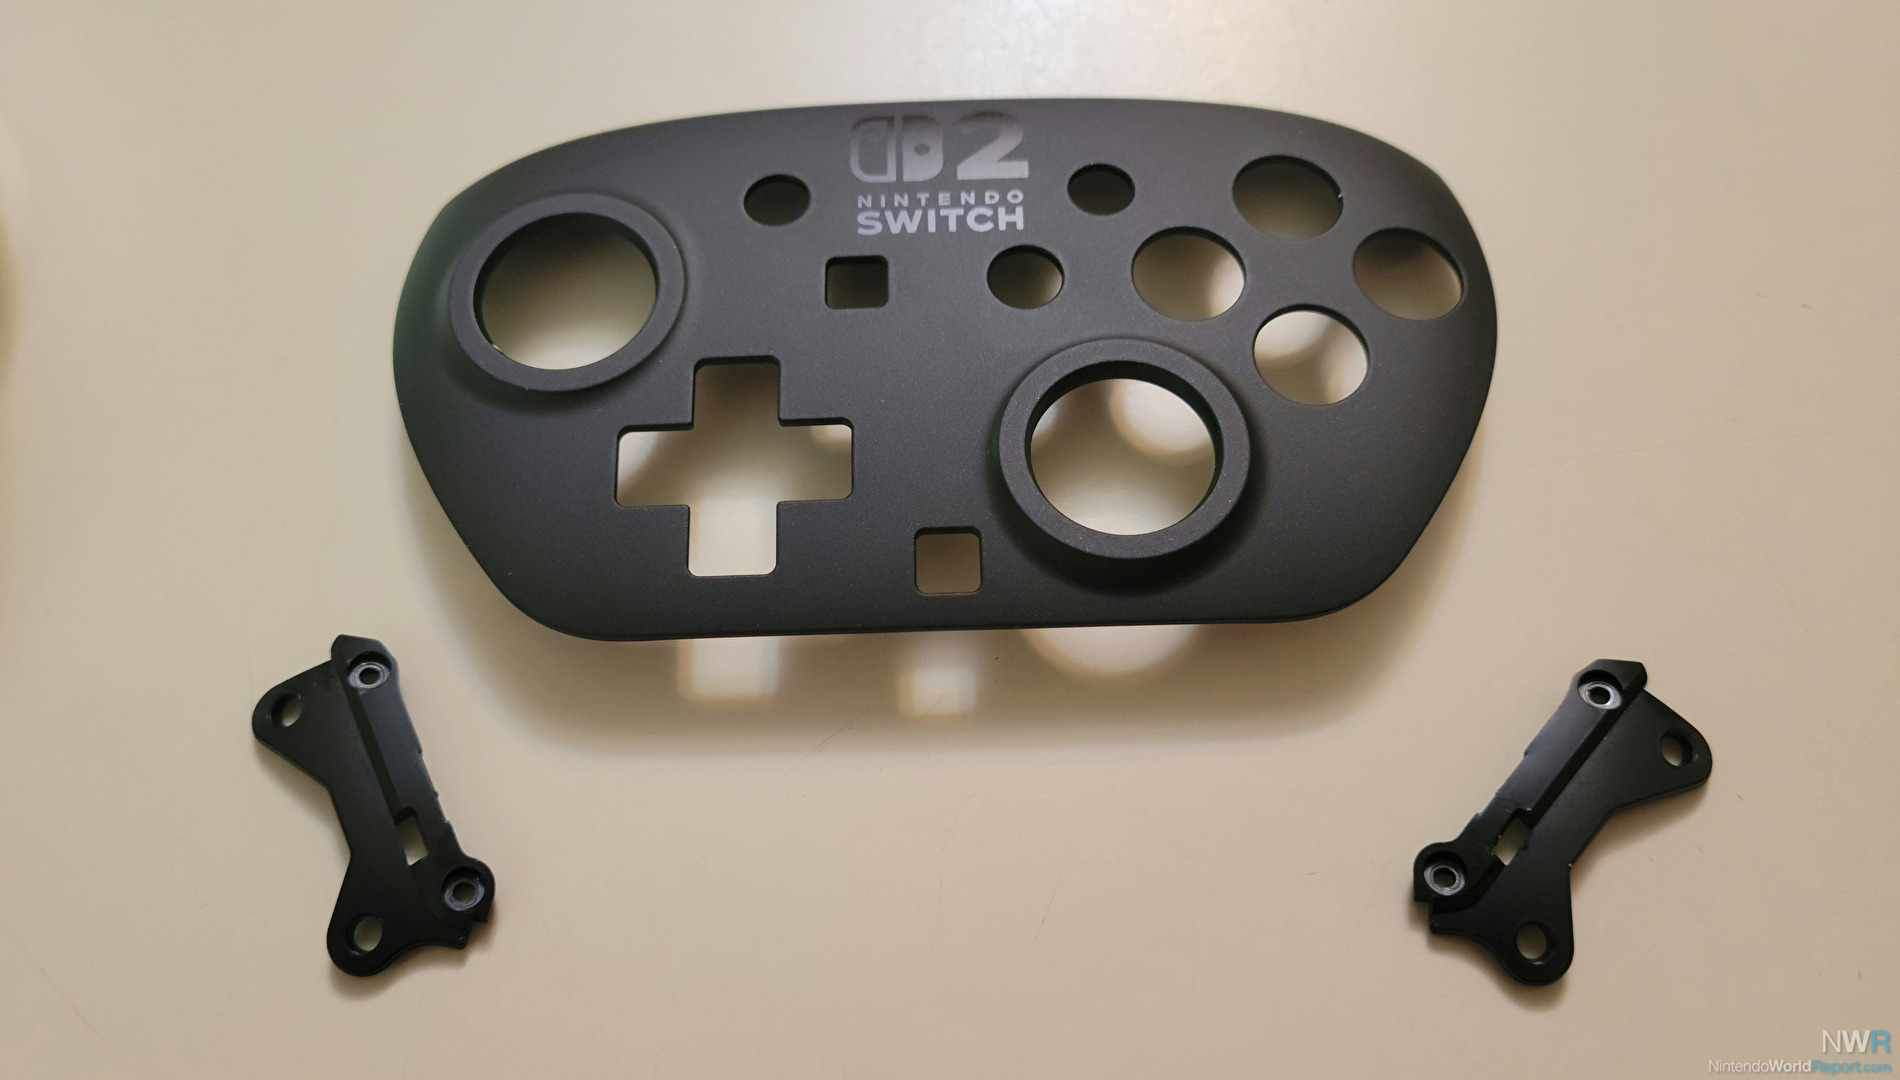
Once they are out make sure you know which side goes where. They can’t be swapped out as they are made for either the left of right side. A good rule of thumb is the side with the notch in it goes facing towards the bottom of the controller.
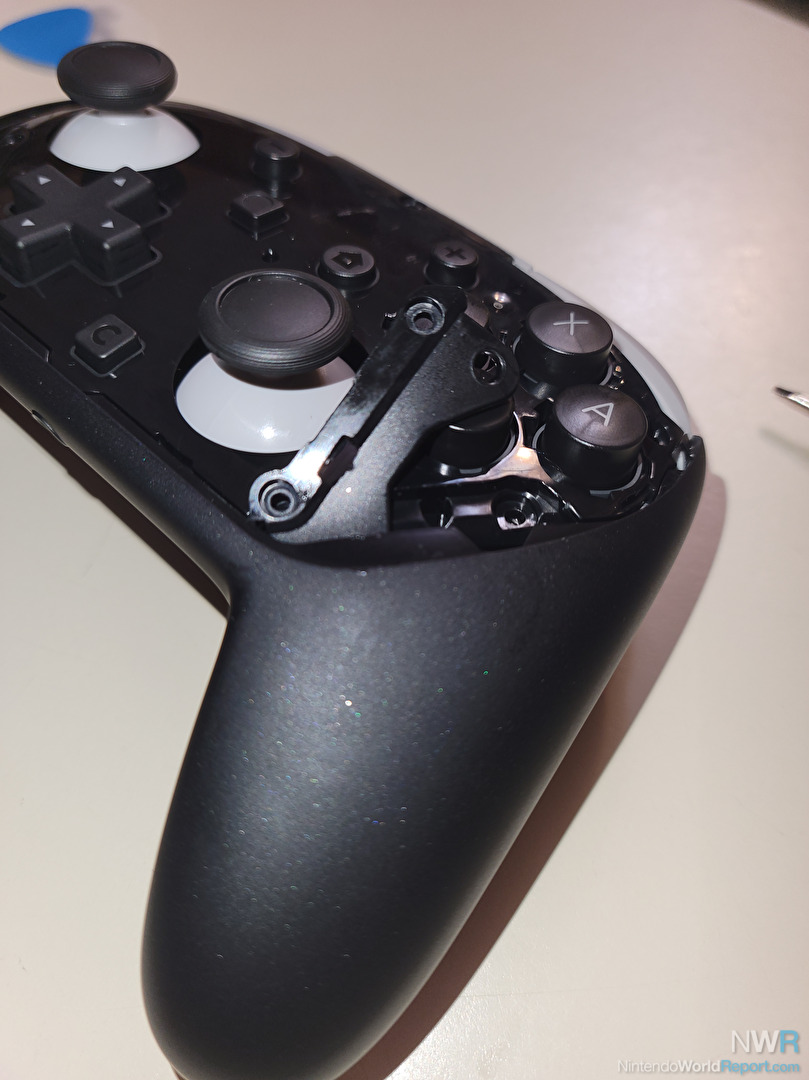
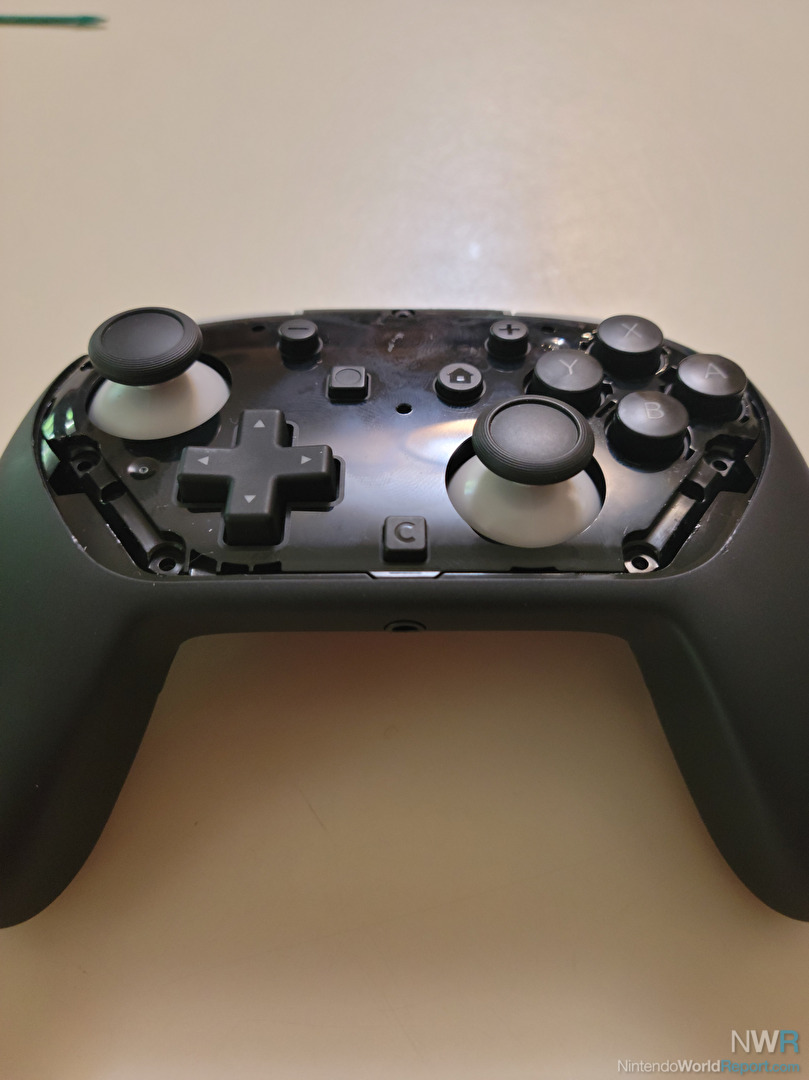
BE CAREFUL HERE! It’s time to remove the Button Plate holding all the buttons and pads from the rest of the controller but if you don’t read this carefully everything is going to spill out and make a big mess. I couldn’t get good pictures while doing this so again, READ THIS CAREFULLY.
You’re going to hold down the Button Plate of the controller you just removed the screws from down and flip the entire controller face down. You then want to gently pull the Button Plate off from the very top of the controller. Once that pops off a little you want it to hang a bit and then gently pull the bottom part out and away from the rest of the controller. There is a little tab at the bottom below the C (Game Chat) button that slots in to the main controller unit.
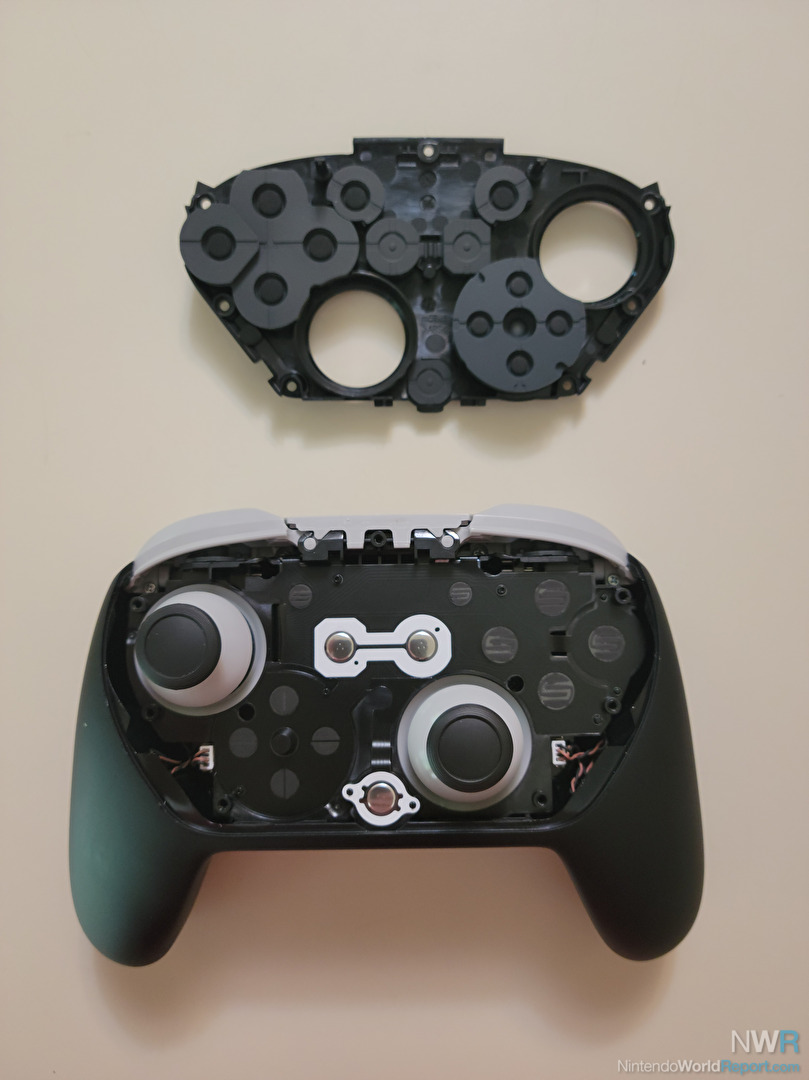
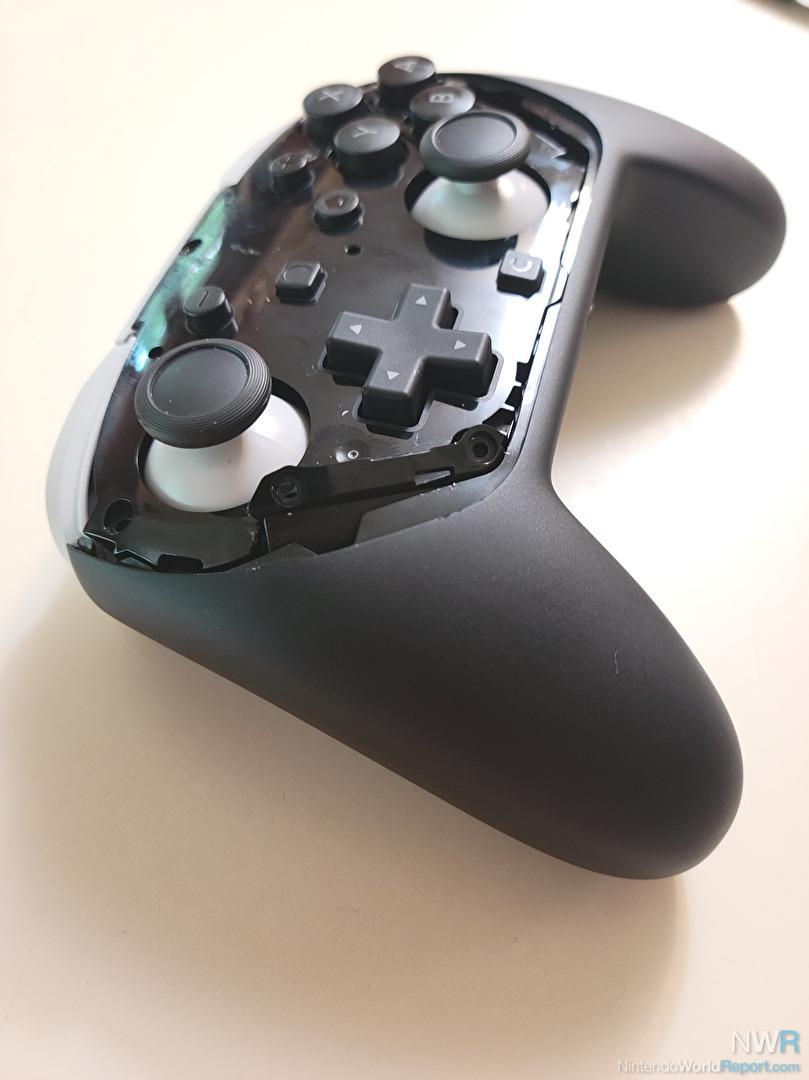
If you did this right you shouldn’t have a mess and all the buttons and pads should be in their proper place. If you mess up it’s not the end of the world, just a pain in the ass since you’ll have to piece everything back together. You’ll want to learn this step well as you will likely be repeating it several times during the calibration process. Luckily, you don’t need to dig deeper into the controller from here!
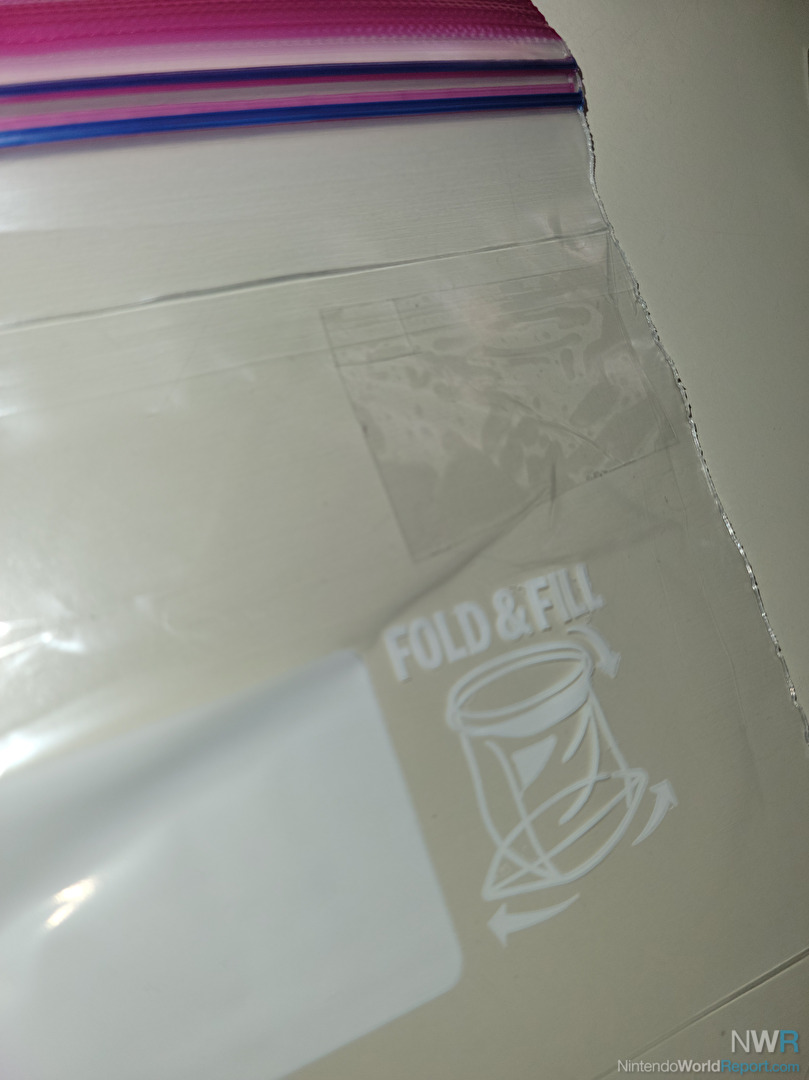
You’re next going to want to take a small chunk of clear packing tape and stick it on a surface you can cut it with a razor blade and while the sticky part doesn’t pick up any debris. I stuck it to a thicker Ziploc bag as I knew I could peel it off safely. Just don’t cut through the bag itself and damage any surface you’re working on.
Once you’ve got the tape there you want to cut small rectangles of tape that you can peel off with some tweezers. You are going to want to have four of these to cover roughly 2/3rds of each D-Pad Contact cover the inner most part to the outer. I also found trying to cut a smaller circular piece of tape and putting on the center plastic post in between the D-Pad contact helped too, but you are welcome to try the fix without doing this. The picture above isn’t my final placement but it’s the best picture I’ve got as a guide.
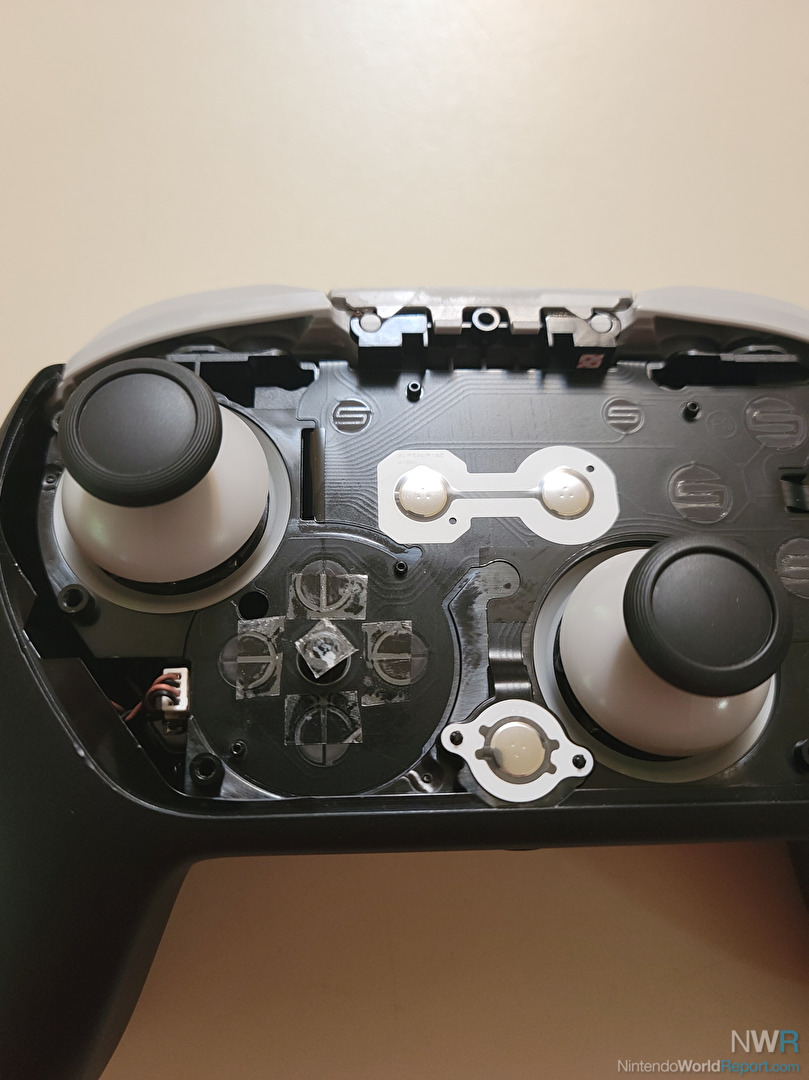
Now we have to test the work. Flip the controller face down and carefully put the Button Plate back on. Remember you want to slide the bottom nub under the C Button in first before pressing the rest of the Button Plate back together. Once attached firmly hold the button plate to the controller and flip it back over like you’d normally be holding the controller.
DO NOT reassemble the controller yet. While no screws are in it we need to test the work to make sure it’s function in a desired way. (In the picture above I reinserted the two side tabs but DO NOT DO THIS YET!) I have a number of tests to try. Please remember, even with my final work nothing was perfect. If I still press super hard and a direction and wiggle I can still get incorrect inputs. But pressing normally seems to get better results. Also light presses probably won’t register anymore.
Test 1: Turn your Switch 2 on, go to System Settings, Controllers & Accessories, Test Input Devices. From here you can hold each of the four directions down and wiggle it to see if it’s getting any wrong inputs. Remember Pressing fairly hard may still give wrong inputs.
Test 2: While in the Test Input Devices Menu try rocking between left and right, back and forth to see if it triggers bad inputs. Do the same for up and down. Just know when doing up and Down, because your thumb rests over the side directions it’s much easier to trigger them when going this way. You can also try holding the controller sideways here to see if you have more consistent results.
Test 3: I call this one the multiple Shoryuken test. From the Test Input Devices Menu we are going to do one of Ryu and Ken’s signature moves from Street Fighter in every direction. If you don’t know this move it may be more confusing on how to test it properly. Basically pressing Forward, Down, then Forward very fast on the D-Pad to make sure it registers correctly. (Hey Street Fighter folks, I know it officially ends with a Down Forward but this menu doesn’t tell you diagonals.)
Anyway you’ll want to test the following quickly. (R,D,R)/(D,L,D)/(L,U,L)/(U,R,U)/(R,U,R)/(U,L,U)/(L,D,L)/(D,R,D). If you can do these quickly without other directions being hit you’re on the right path.
Test 4: You’re going to want to open up a few games you have access to that allow for all eight directions of a D-Pad to be tested. If you have the Contra Collection you can open up NES Contra and see if you can point you’re gun/duck easily. Though I didn’t have much problem doing this to begin with on a stock Switch 2 Pro Controller. I also recommend trying it out in a shooter like Gradius Special on the Nintendo Entertainment System – Nintendo Switch Online app. You should start out being able to move quickly in the Special version and in all eight directions. Try rocking back and forth and make sure it feels right.
Test 5:One final test I like to do is in Super Mario Bros. Get a Super Mushroom and navigate to a space that’s fairly open. Try getting a run going, duck with the down button, and then doing a crouched jump while still moving forward with great speed. Then do it going the opposite direction. On a stock Switch 2 Pro controller I find this action nearly impossible. After doing the tape fix it’s much easier to do than before, though still not as good as on an NES. If you want to easily keep testing this remember to use Save States.
Now if you’re happy with the results you can move on to controller reassembly. If not you’re going to have to flip the controller face down again and remove the Button Plate. You’ll need to make some micro adjustments to the tape placement. If one direction is too sensitive move the tape outward from the center so that more of the contact pad is covered with tape. If a direction is not sensitive enough move the tape back inward so that more of the contact plate is exposed. Then retest.
Try not to get too frustrated on this step. You may have to make adjustments many times until you find a way you’re content with. Also don’t beat yourself up, it’s never going to be perfect, but it can be much better than the way it came.
Once you’re happy with the results you can move on to reassembling the controller.
Reattach the Button Plate, as you likely have done many times by now. Then put the removable tabs back in place, remembering they kind of go in at an angle closer to the controller and that they have specific sides they belong to. Refer to the picture from disassembly if you mixed them up.
Screw everything back together. There should be seven screws. The shorter screw goes in the top center where I drew the red circle in the picture above.
It’s time to reattach the main Face Plate. As you should remember, this was mostly held on by adhesive. I’ve seen online that many people have had no issues reattaching this after initial removal. So you are free to try just slapping it on and pressing it back together. That said, there is only so many times this will work, if it works for you at all. I had issues with the bottom right side of the plate, by the Right Stick, slightly, and I mean slightly, popping back out a little. It doesn’t affect anything but I do have potential fix.
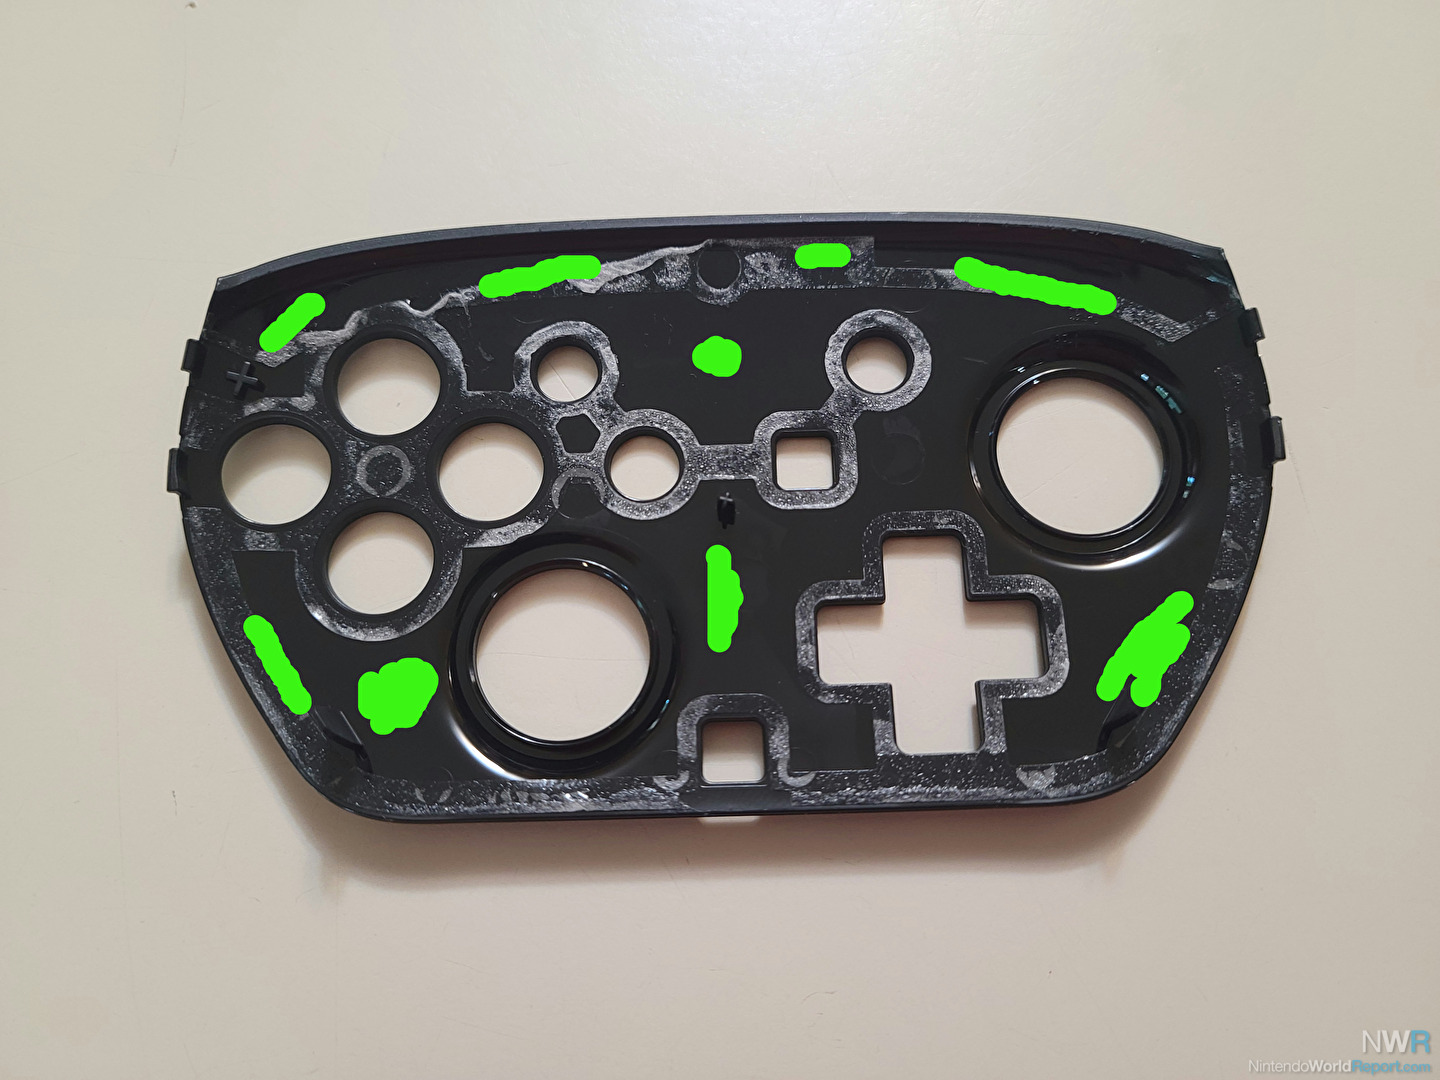
READ CAREFULLY! WARNING! You can get some ACID FREE Silicone Glue to reapply some adhesive to the Face Plate. And please, PLEASE, PLEASE MAKE SURE IT’S ACID FREE! If the Silicone Glue has a strong scent, you should NOT use it. Many Silicone Glues have an acid that can damage the electronics in devices. Now, many of you will say we’re just gluing plastic to plastic, but if the glue has acid the outgassing of the glue could still harm the electronics inside. So use ACID FREE Silicone Glue which is harder to find.
When it comes time to glue the plate I suggest getting a toothpick and just getting a little bit on it and spreading it around the areas I colored green in the picture above. You don’t want to get glue by the input devices. Remember, the less you have to use here the better. You just want it to stick, not get stuck. Also, the green spots are just a suggested gluing area and you may have better ideas. Less is usually better here. You want enough that it will stick nicely and still be easy to remove in the future. The only area I used a little more is by the Right Stick, as I have previously mentioned that this side was slightly popping up for me.
Once you have the glue on CAREFULLY put the Face Plate back on the controller doing your best not to get glue everywhere. Yes, I know some of the spots I put some glue may cover the screws, so decide for yourself if this is a good idea. I tested this glue on some plastic pieces a few days before hand and it shouldn’t be too hard to remove later on. Again, I’m no glue expert, so feel free to tell me how dumb I am in the comments below. I deserve it for going this far with a stupid repair on a brand new controller.
Once the Face Plate is back on, firmly hold it together for a few minutes. Then clean any excess glue off the controller with a damp, not wet, paper towel or any other safe object you have. You may then want to find a way to hold the Face Plate to the rest of the controller for 24-48 hours for the glue to set. I was able to wedge it between some objects on a shelf that pressed the plate together, but I don’t have a universal solution for everyone here.
If you made it this far you’re as crazy as I am because I said this article was for educational use only. But hey, congratulations on having one of the best working Nintendo Switch 2 Pro Controller D-Pads in the world. If you need more unsorted pictures from the process check out the gallery below.
Now, if there were only a way to fix the horrible Control Stick Snap Back on these controllers we may have one of the best gaming pads ever made.
Thanks to all game fans for reading.

")

