Satisfactory tips: How to make your factory way better than satisfactory
I’m going to open this article with a controversial tip: Don’t play Satisfactory unless you have a surplus of free time, because it could plausibly derail your life. I mean it! One minute you think you’ll build some fun assembly lines, the next you’re 100 hours in thinking about erasing the last dozen hours of progress so you can add, like, one more notch of space between each building just to make your masterwork 5% more aesthetically pleasing. It’s a curse!
Okay, that’s out of the way—if you’re still here, you should absolutely play Satisfactory. As we said in our 90% review, it’s “the new titan in building and crafting games,” a mix of light survival with an incredibly powerful building toolset that rewards creativity just as much as math and optimization. There’s satisfaction to be found for every type of builder, and you shouldn’t be discouraged by any imposing, monolithic factories you see YouTubers or Reddit posters with 2,000 hours in the game showing off. You can build something you’ll be incredibly proud of in Satisfactory even if you’re not on that level (but play long enough, and I bet you’ll create something a lot more impressive than you ever thought you could).
Satisfactory explains its basic mechanics quite well, but I’ve sunk enough time into the game to now have some tips I wish I’d known at the start. Let my inefficiencies be your gains!
Play with a friend
Okay, yeah, I know this is more lifestyle advice than a “tip,” but seriously: if you have any co-op pals, Satisfactory is absolutely a game you should convince them to play with you. Everything about the game is better with at least one more player by your side. The slow, fiddly moments where you’re laying down a dozen of the same building or deleting a ton of conveyor belts to build them a bit more cleanly no longer feel like busywork. That’s chatting time! And most likely you and your friend(s) will find you gravitate towards different parts of the automation process, which makes the whole game more fun for both of you.
I quite enjoy the exploration in Satisfactory, making my way around the huge map to find new places to build, useful items, and constructing ludicrously long roadways or conveyor belts to attach two factory setups to one another. I do like setting up a smooth-running operation, but not as much as my buddy who lives to see every machine operating at precisely 100% efficiency, not one iota of productivity wasted. He’s happy to break out a calculator to get it just right, where I’m more likely to just build in overkill. I love going off on a mad mission or messing around with vehicles while he’s perfecting our oil power facility. We both get to spend more time doing our favorite stuff, and we make much faster progress working together.
Make sure you’re doing manual crafting the easy way
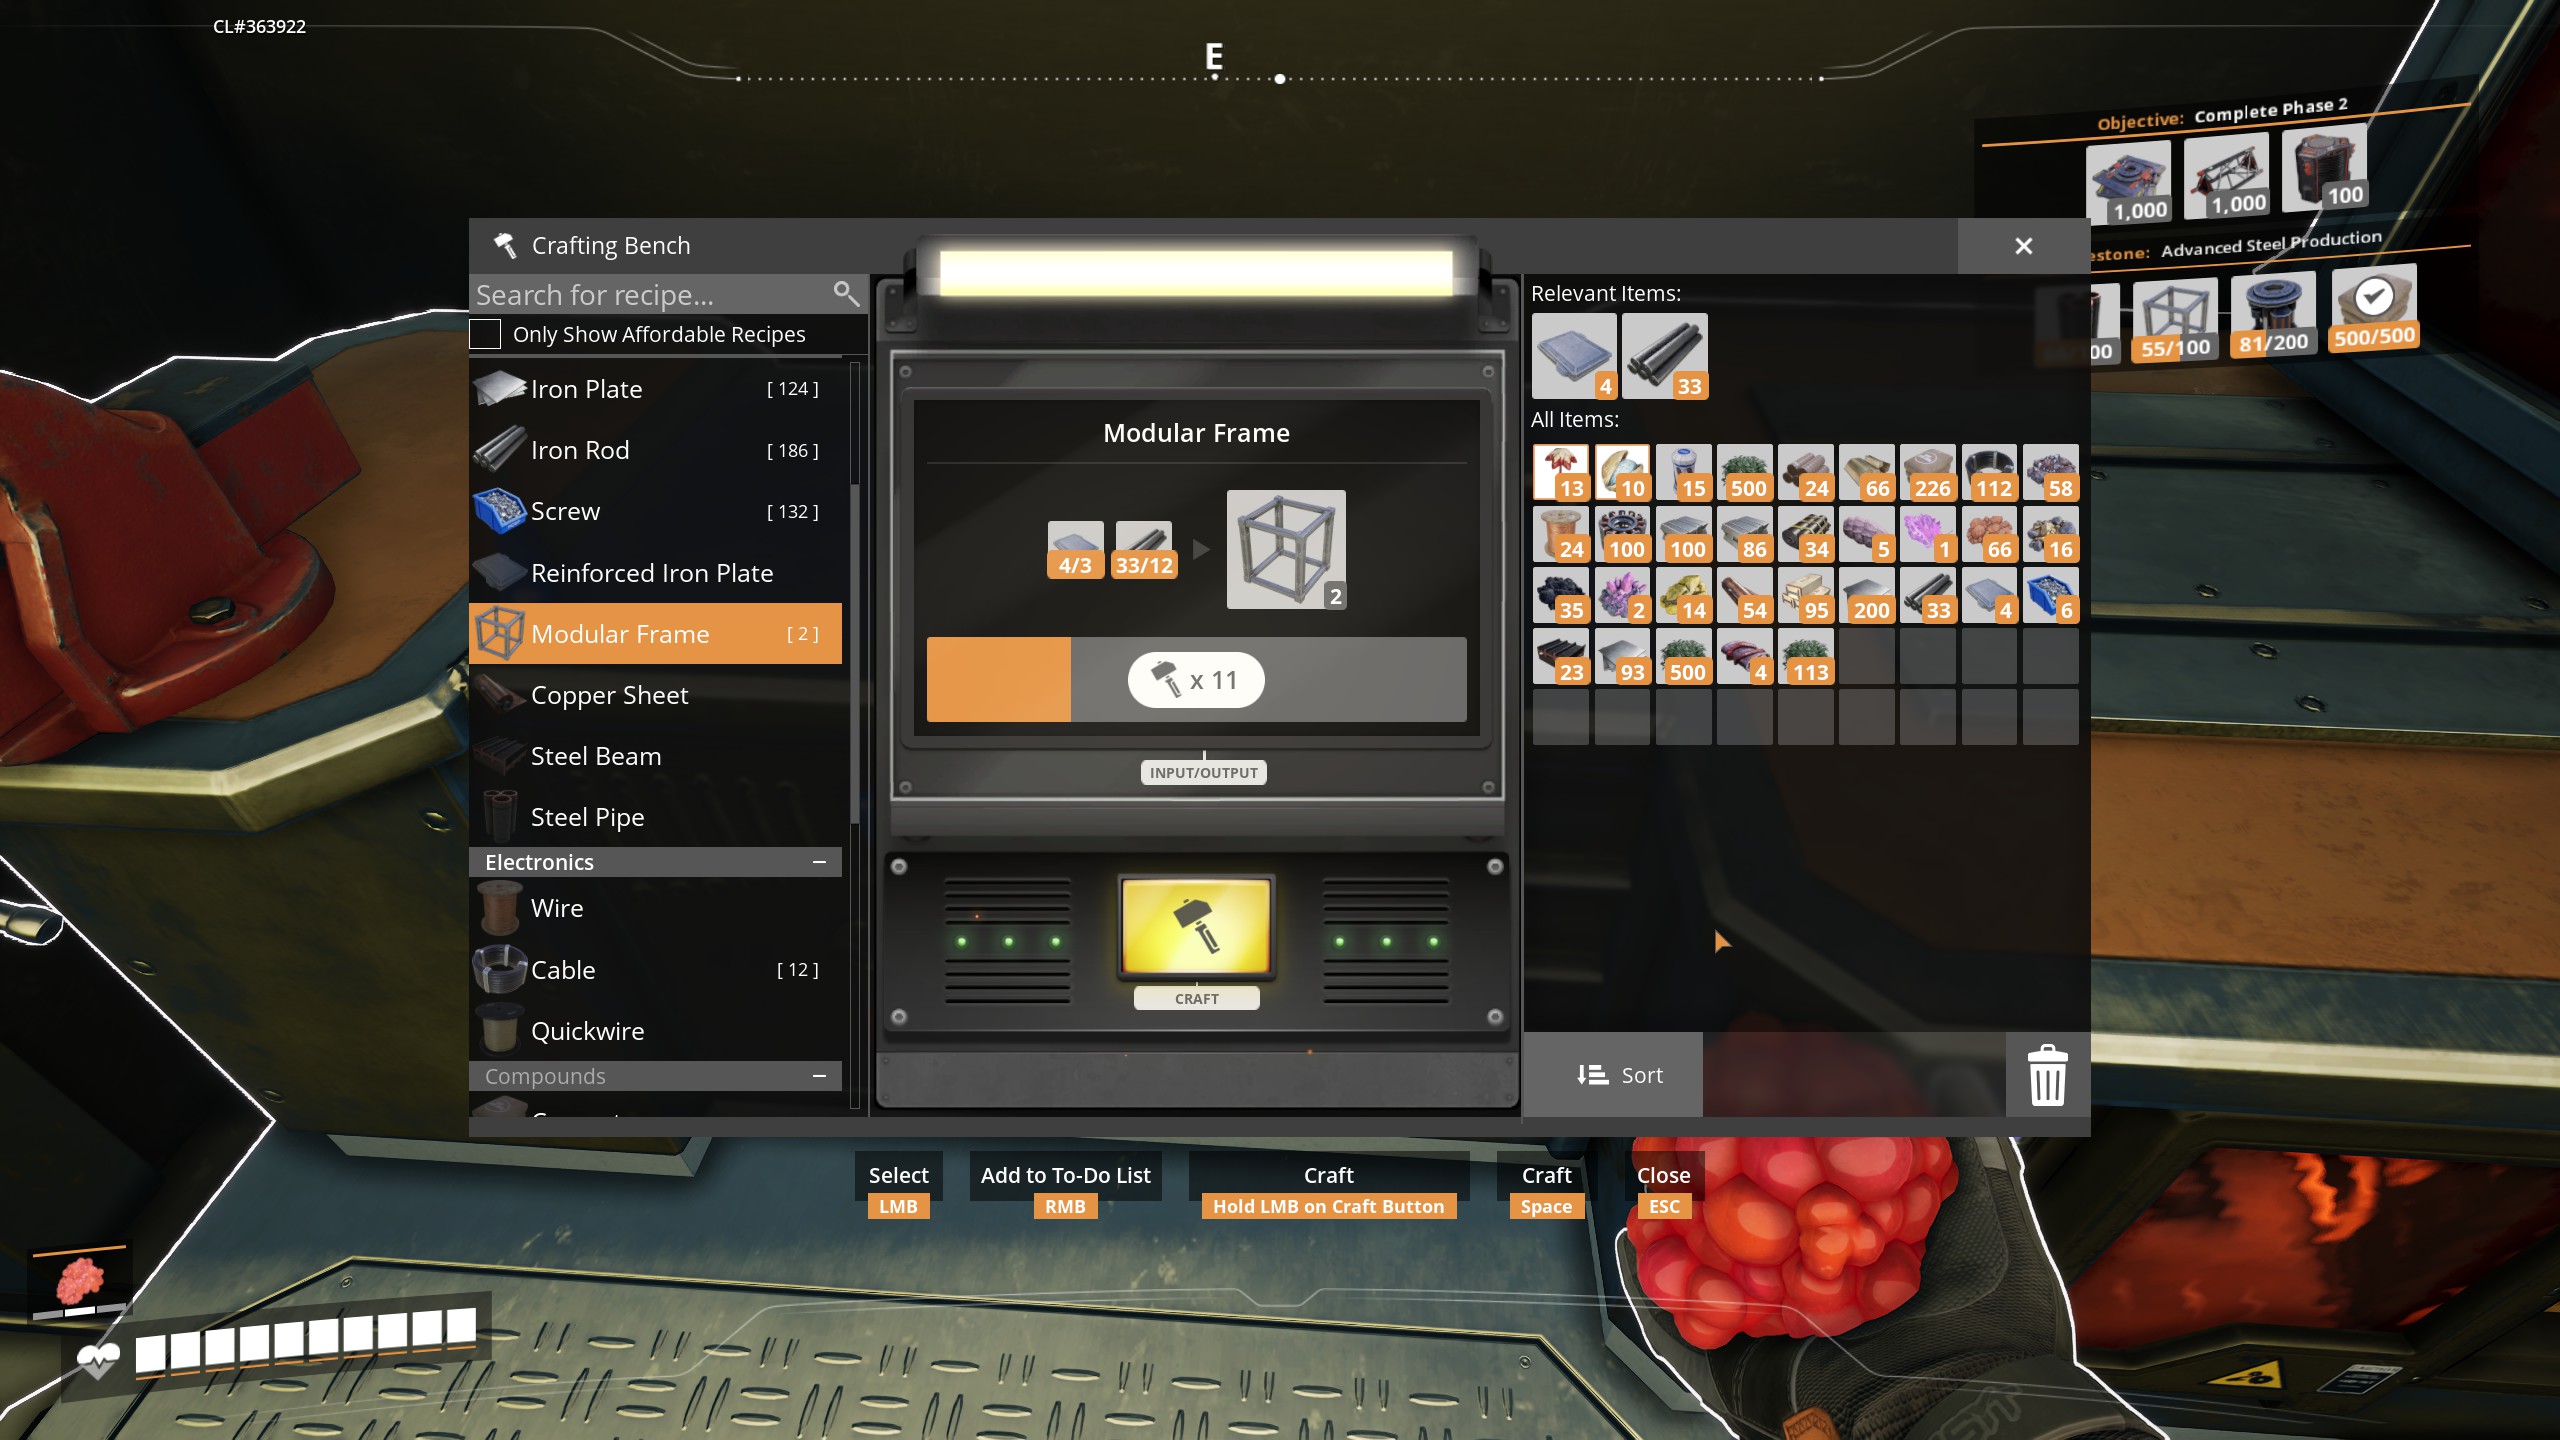
At the very beginning of Satisfactory, you’ll find it faster and easier to build some parts by hand than to accrue the resources necessary to set up machines to mass produce them. You want to move on from this mindset pretty quickly, because later in the game you’ll need massive quantities of parts and many of them won’t be buildable by hand. But still, from time to time you’ll find yourself lacking a few parts that are easiest to just bang out at a craft bench, which you do by selecting a part from the menu and hitting spacebar.
Let me be very clear: When manually crafting at a crafting bench, only press spacebar once. Do not hold the spacebar down. It might seem like you need to hold spacebar, but you can just press it one time to initiate building a component. It’ll keep going until you run out of parts. Go grab a drink!
Build way, way more concrete and iron plates and rods than you think you need
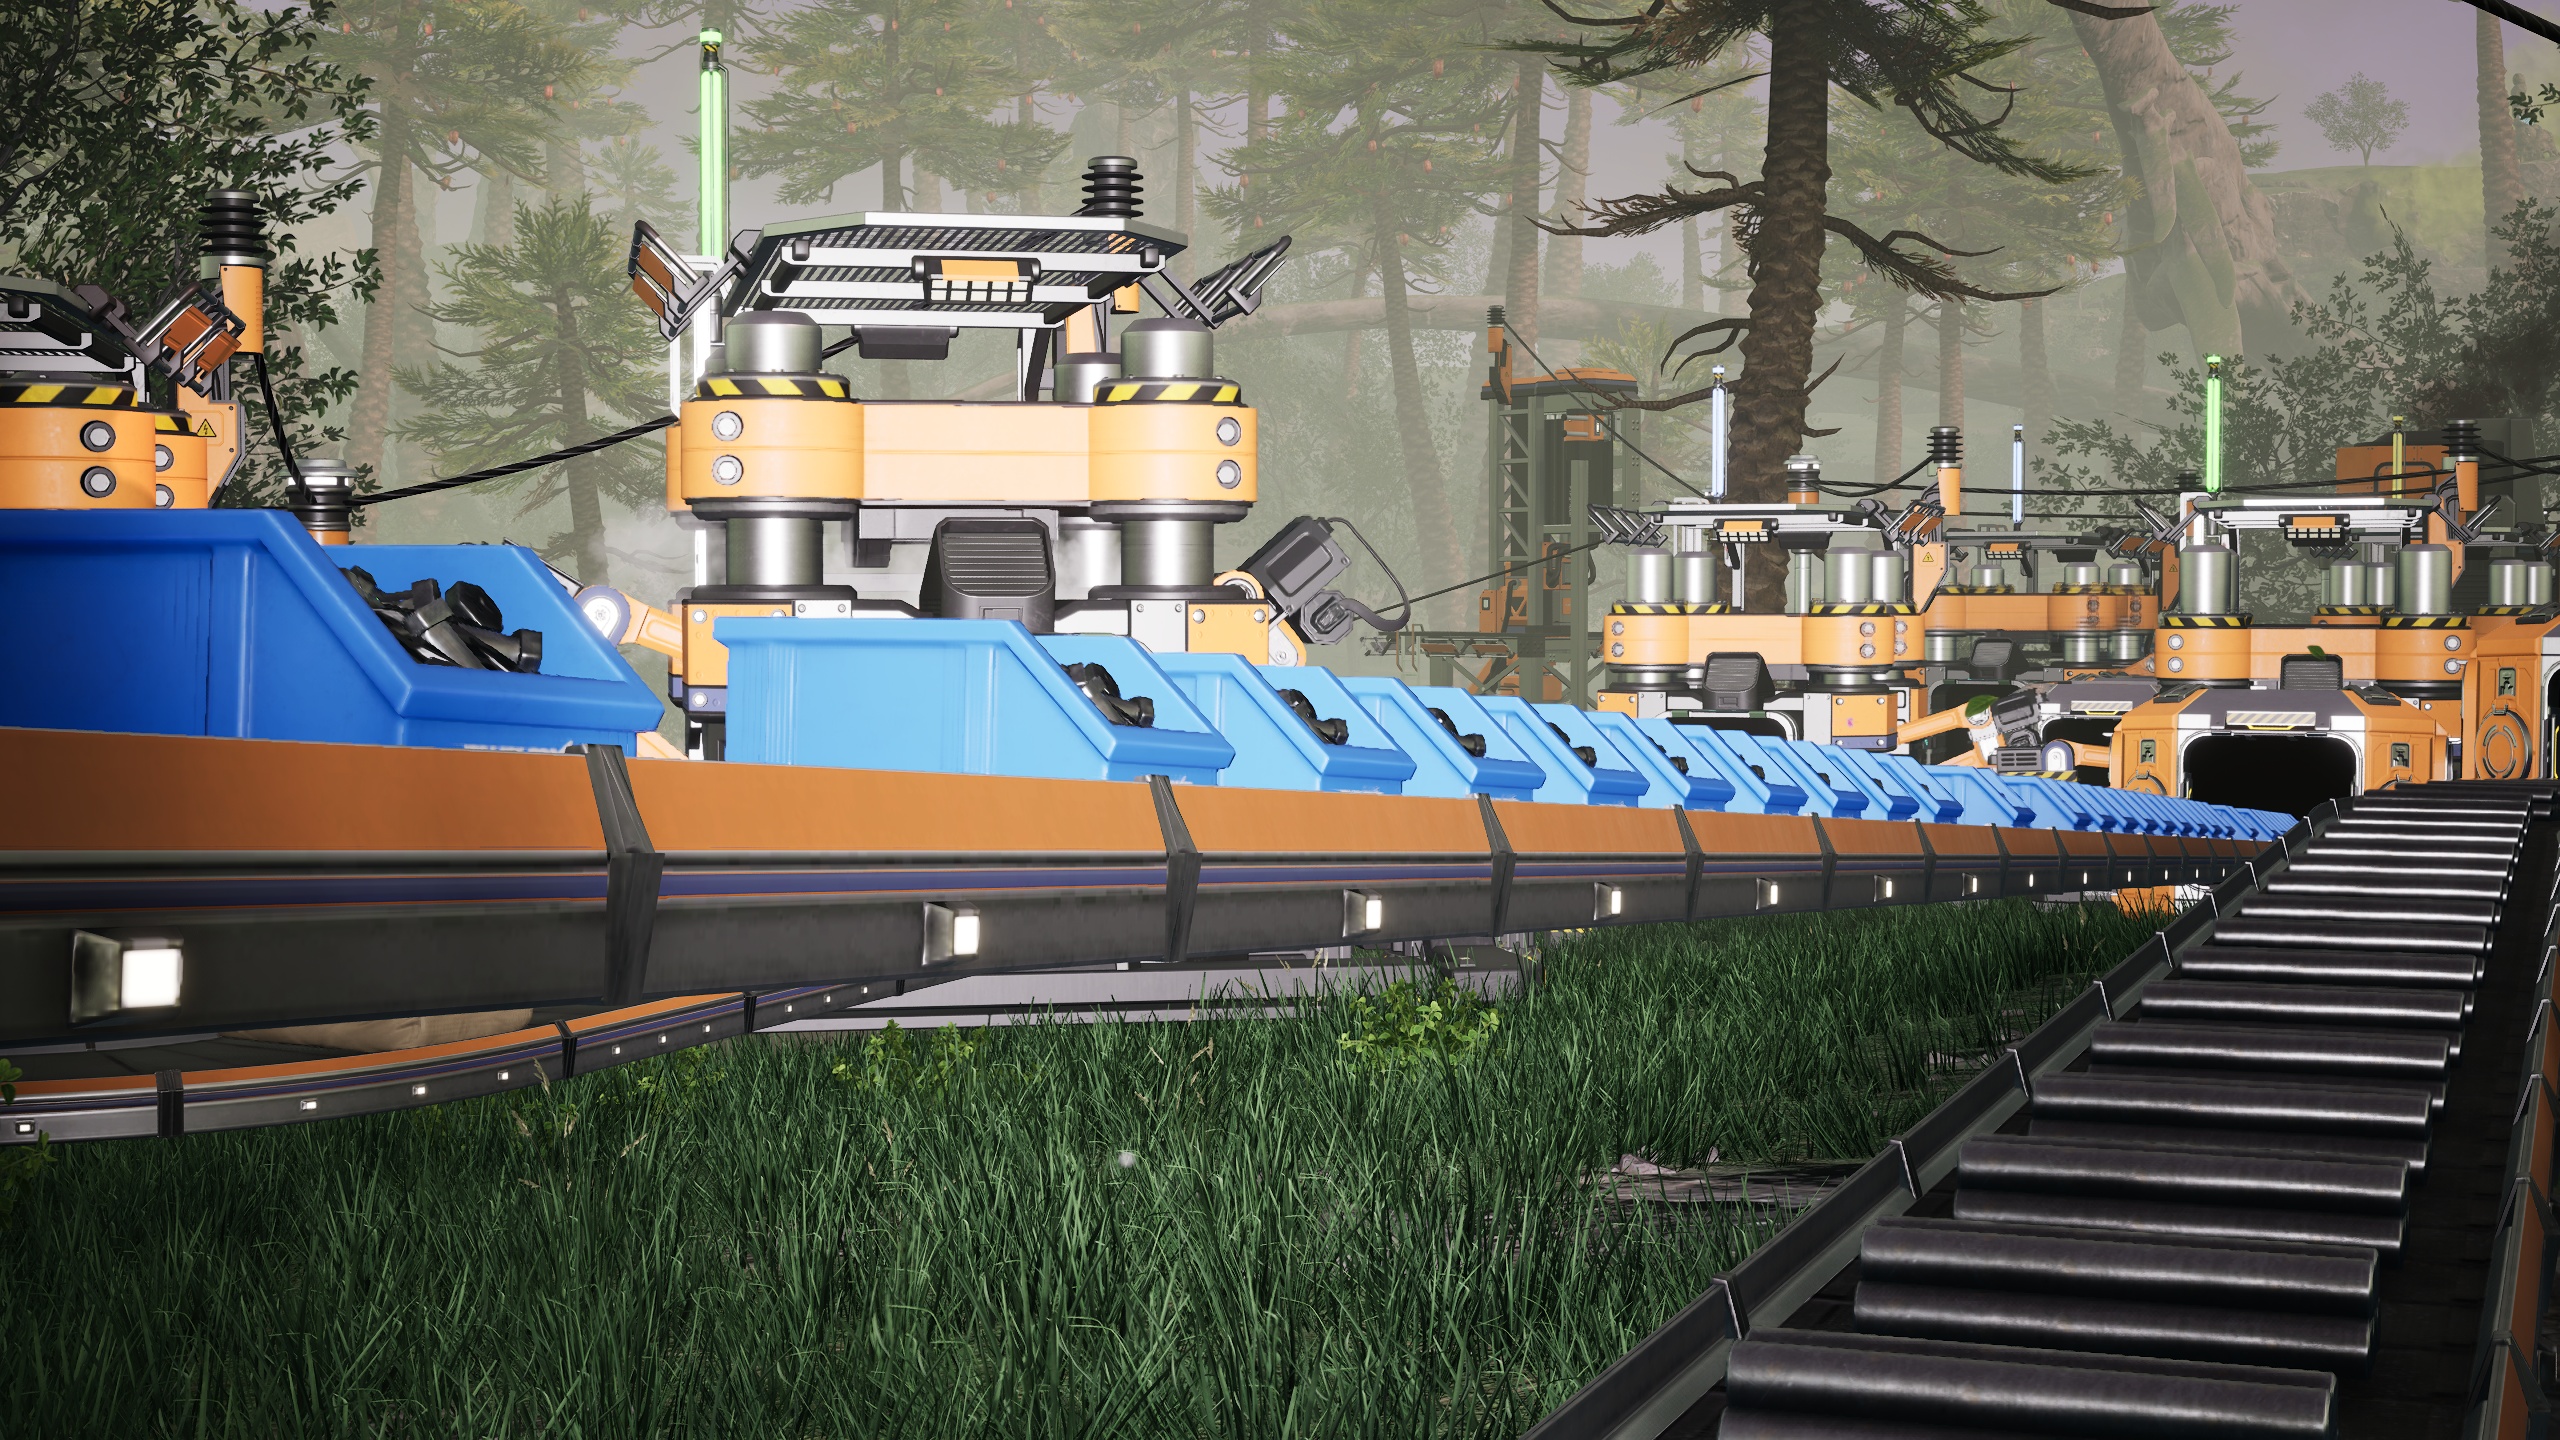
The very first objectives in Satisfactory will have you mining iron ore to create iron plates and iron rods, and mining limestone to compact into concrete. Initially you’ll have plenty of these parts, because the early quotas for them—which you’ll fulfill to unlock the first several progression tiers—are pretty modest. But iron plates and rods end up getting used in freaking everything, so the more of them you plan to build from the start, the better.
Don’t worry about it at the very start of the game. But as soon as you’ve finished Tier 1 and unlocked storage containers, conveyor belt splitters/mergers and foundation pieces (which makes it much easier to align rows of machines), go spend some time expanding and optimizing your iron rod/plate production. Max out two or three iron nodes and then build as many constructors as you can feed to bulk up your output. As soon as you have to start making screws, reinforced plates and more advanced parts that pull on those simple iron components, you’re really going to be thankful you have a healthy surplus.
That surplus will inevitably disappear, inspiring you to build a whole new, bigger factory to catch up to demand, but that’s kind of the point of the game. Still, making sure you’re well-stocked on iron from the beginning will make the early game smoother.
You’ll also want loads of concrete and iron plates for this next tip.
Exploring to find power slugs and crashed drop pods really pays off
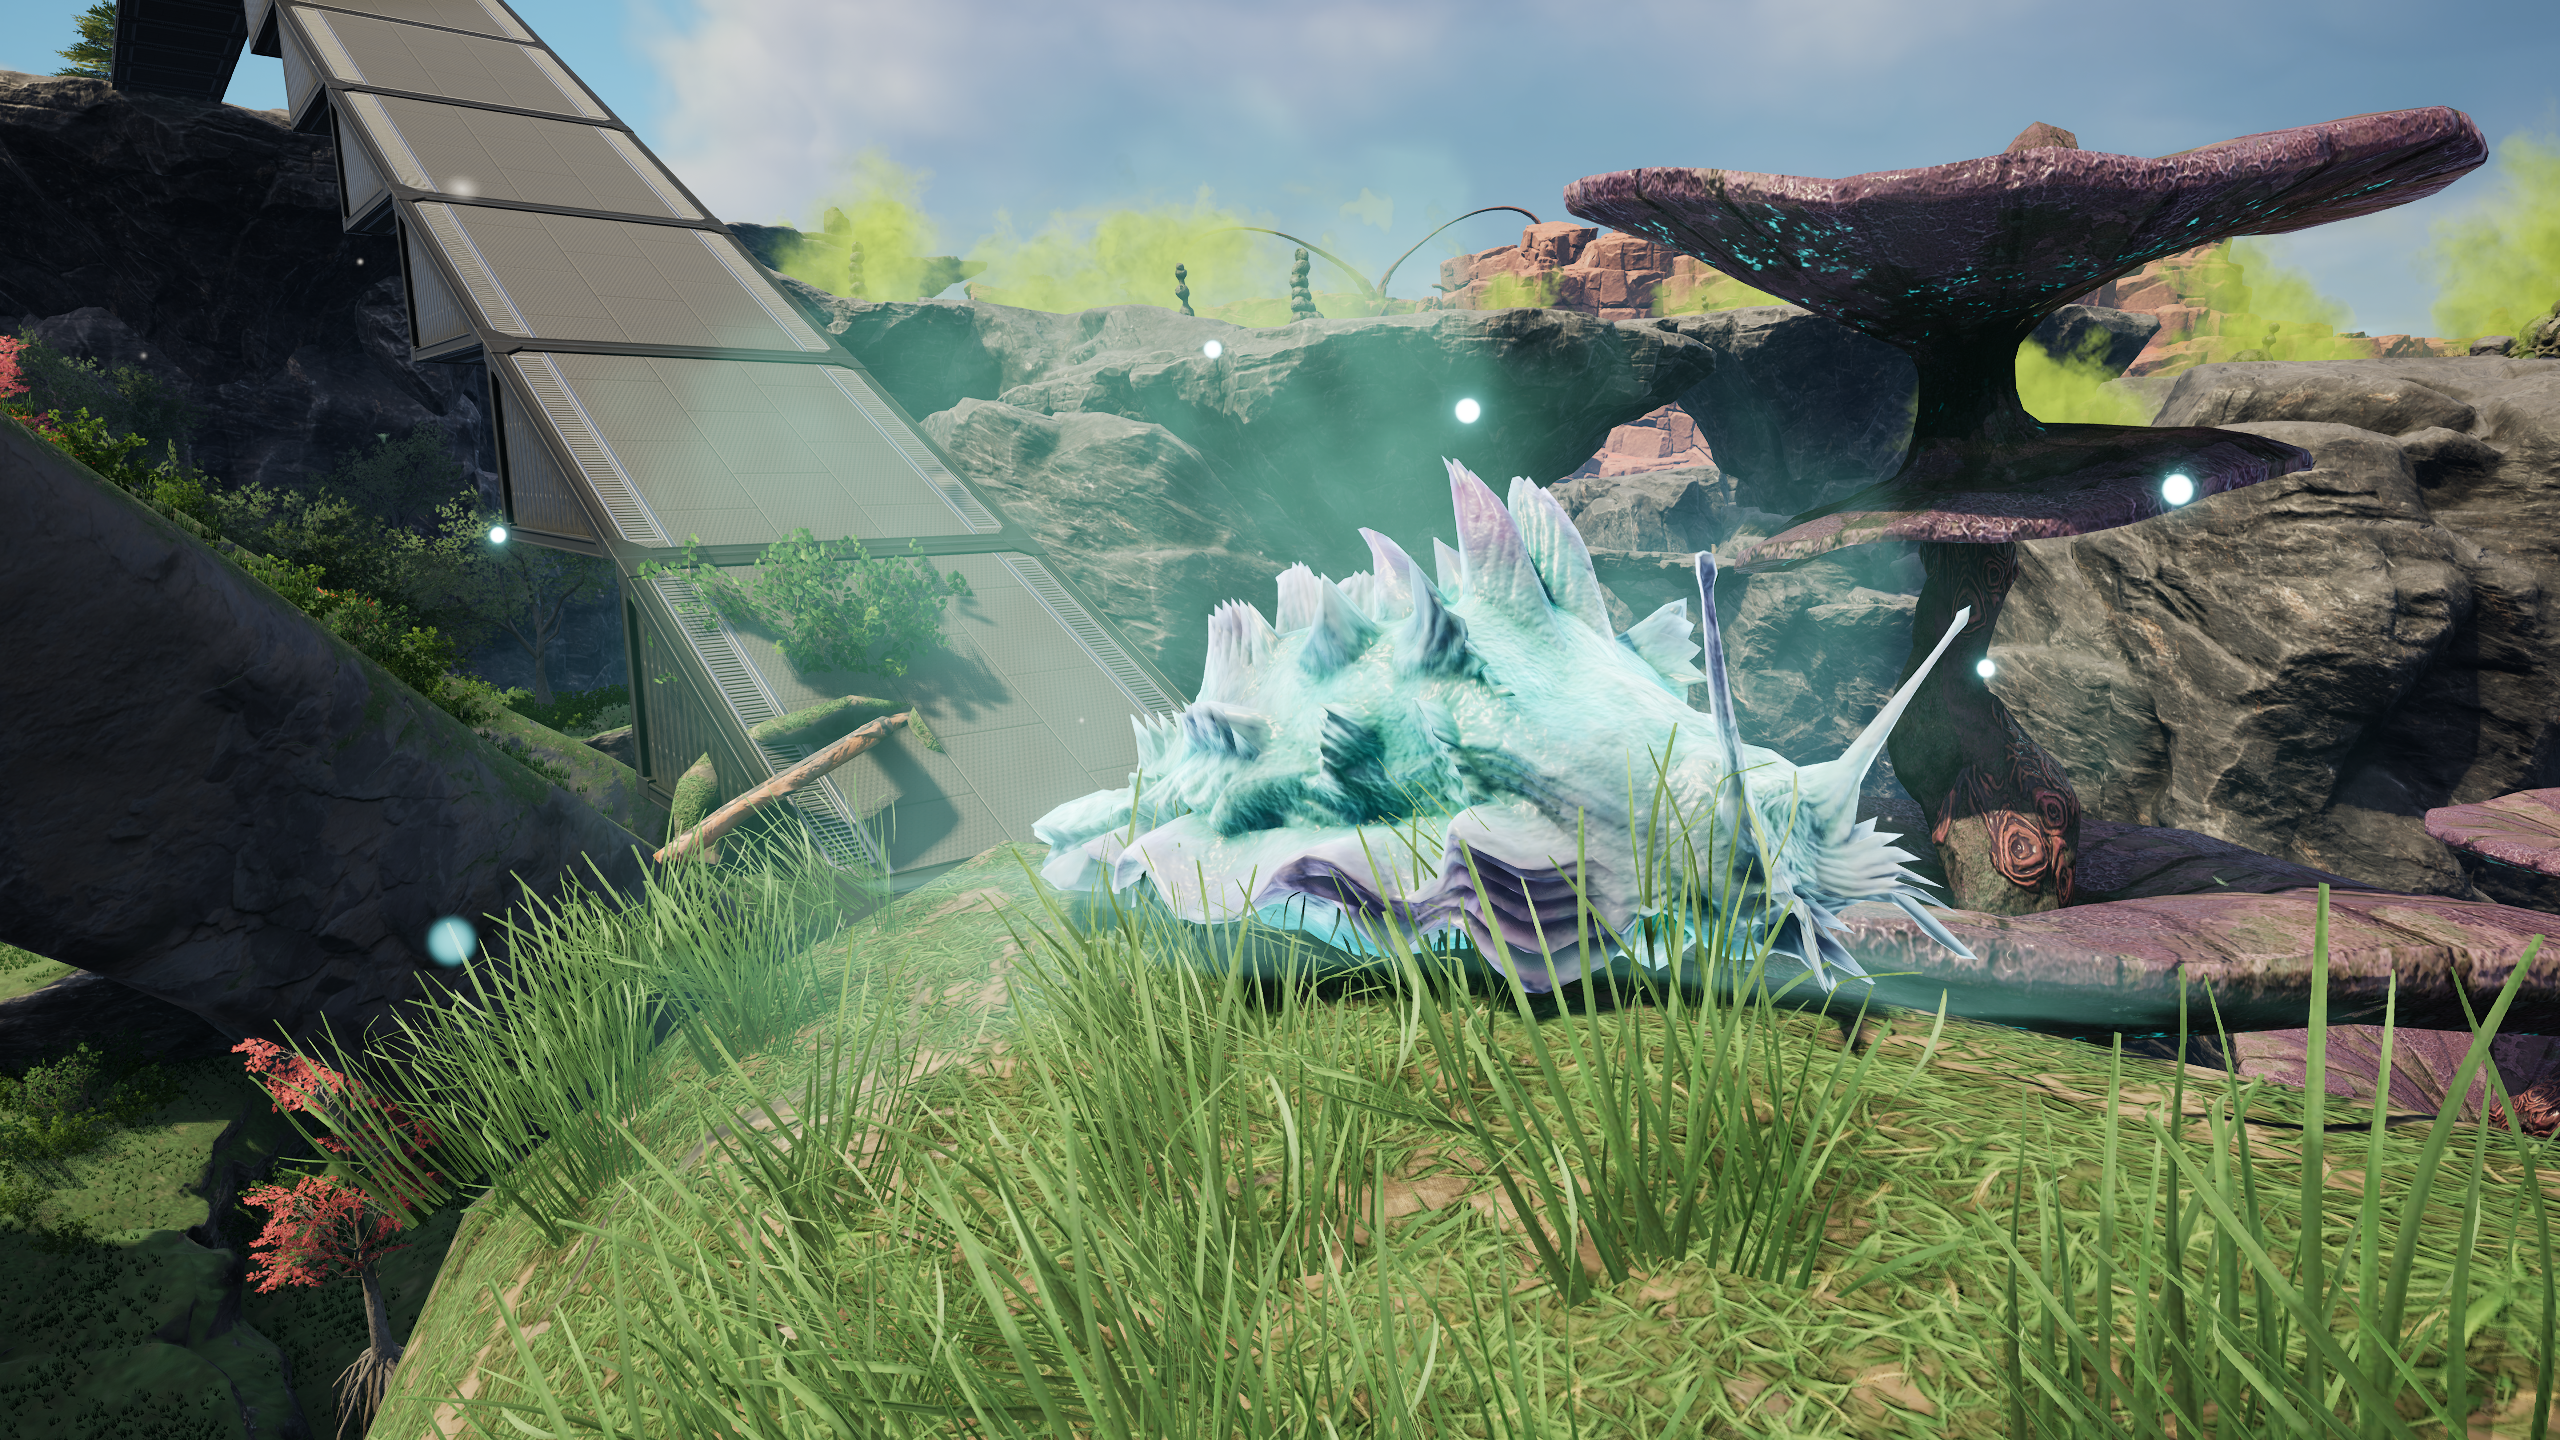
Satisfactory’s map is big and hand-crafted, and it’s covered with two very valuable resources aside from the ones you use to construct your factories. Power slugs, which glow and thus are pretty easy to spot from a distance, can be used to create power shards—key items you insert into your buildings to overclock them and improve their output. You’ll eventually want as many of those as you can get. My favorite way to find them is to load up my inventory with concrete and iron plates, which are used to create foundation floor pieces and ramps, and set out to build my way across gaps and up and down sheer cliff faces, picking up slugs as I spot them. Keep in mind there is fall damage—hence needing to build safe passages for yourself early on, before you gain access to helpful tools like the jetpack.
While you’re slug hunting you’ll likely also spot some crashed orange drop pods like the one you rode down to the surface. These pods all require some kind of resource to unlock, but your reward for opening them is a hard drive, which you can take back to your research facility, the MAM (which costs very few resources to build!). Hard drives provide alternate recipes for building components, some of which can be really useful depending on your factory setup. You may be able to bypass a part that you’ve really struggled to build enough of, or better tap into a resource you’ve been mining in excess. Each hard drive offers a choice between two recipes (and a single reroll), and as of Satisfactory 1.0 you can “bank” drives to choose a recipe later. Don’t forget you have them, and make sure to use them as soon as an alternate recipe will come in handy!
Learning hotkeys will pay mega dividends
There are multiple hotkeys in Satisfactory that feel as essential as Ctrl+Z or Alt+Tab do in everyday computing—especially if you’ve played hours of the game without realizing these superpowers were lurking on your keyboard the whole time. Here’s a few you gotta take advantage of:
- Building mode: “Ctrl” triggers Snap Mode to align your current construction to a foundation grid or another building in its vicinity. Use your mouse scroll wheel to rotate.
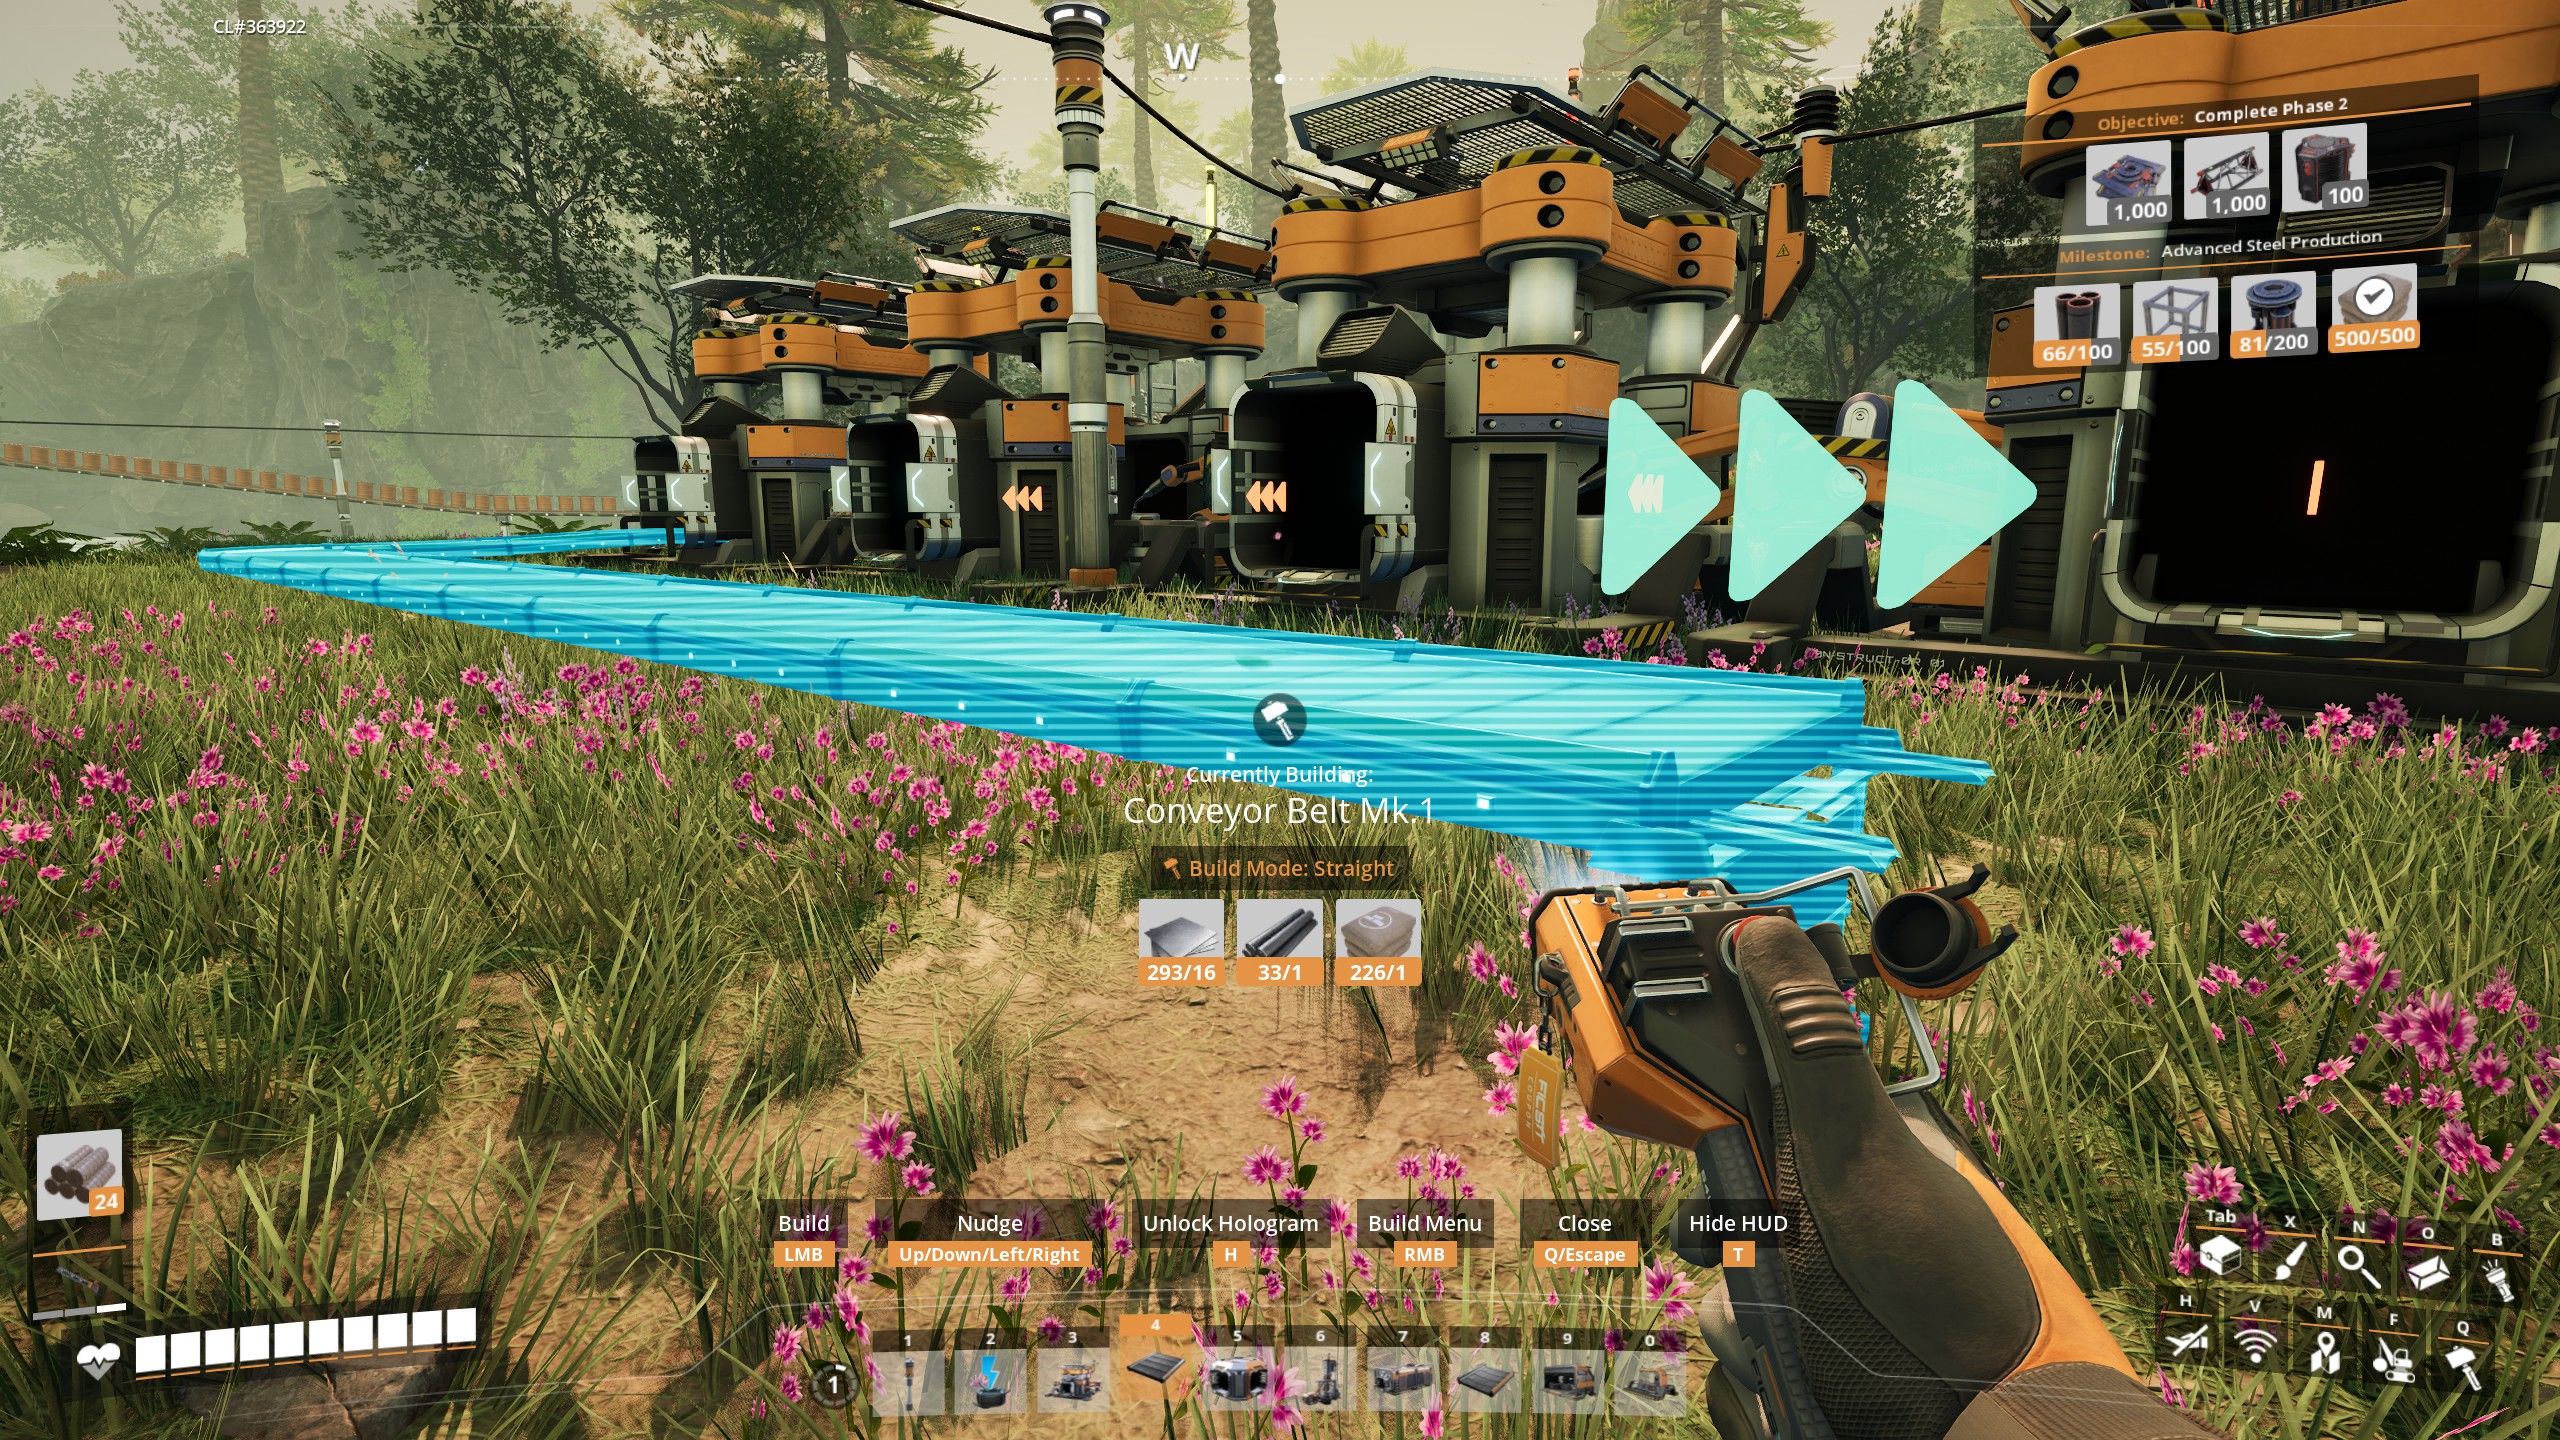
- Building mode: “R” changes building modes. For some objects like foundation pieces, R toggles “Zoop” mode, allowing you to place up to 10 pieces in a row. For conveyor belts, R toggles “Straight” mode to create smooth 90 degree turns instead of freehanding curves.
- Middle mouse click “samples” any structure you’re aiming at, letting you instantly switch to build mode with that building selected.
- Building mode: “E” is a “quick switch” toggle when placing objects that have multiple variants (e.g. mark 1 and mark 2 conveyor belts, or splitters and mergers).
- “N” opens quick search, so you can type the name of any structure, component or resource and look it up in the codex to see what it builds, what it’s used in, etc.
- Dismantle mode: “Ctrl” triggers mass dismantle mode to delete multiple structures at once
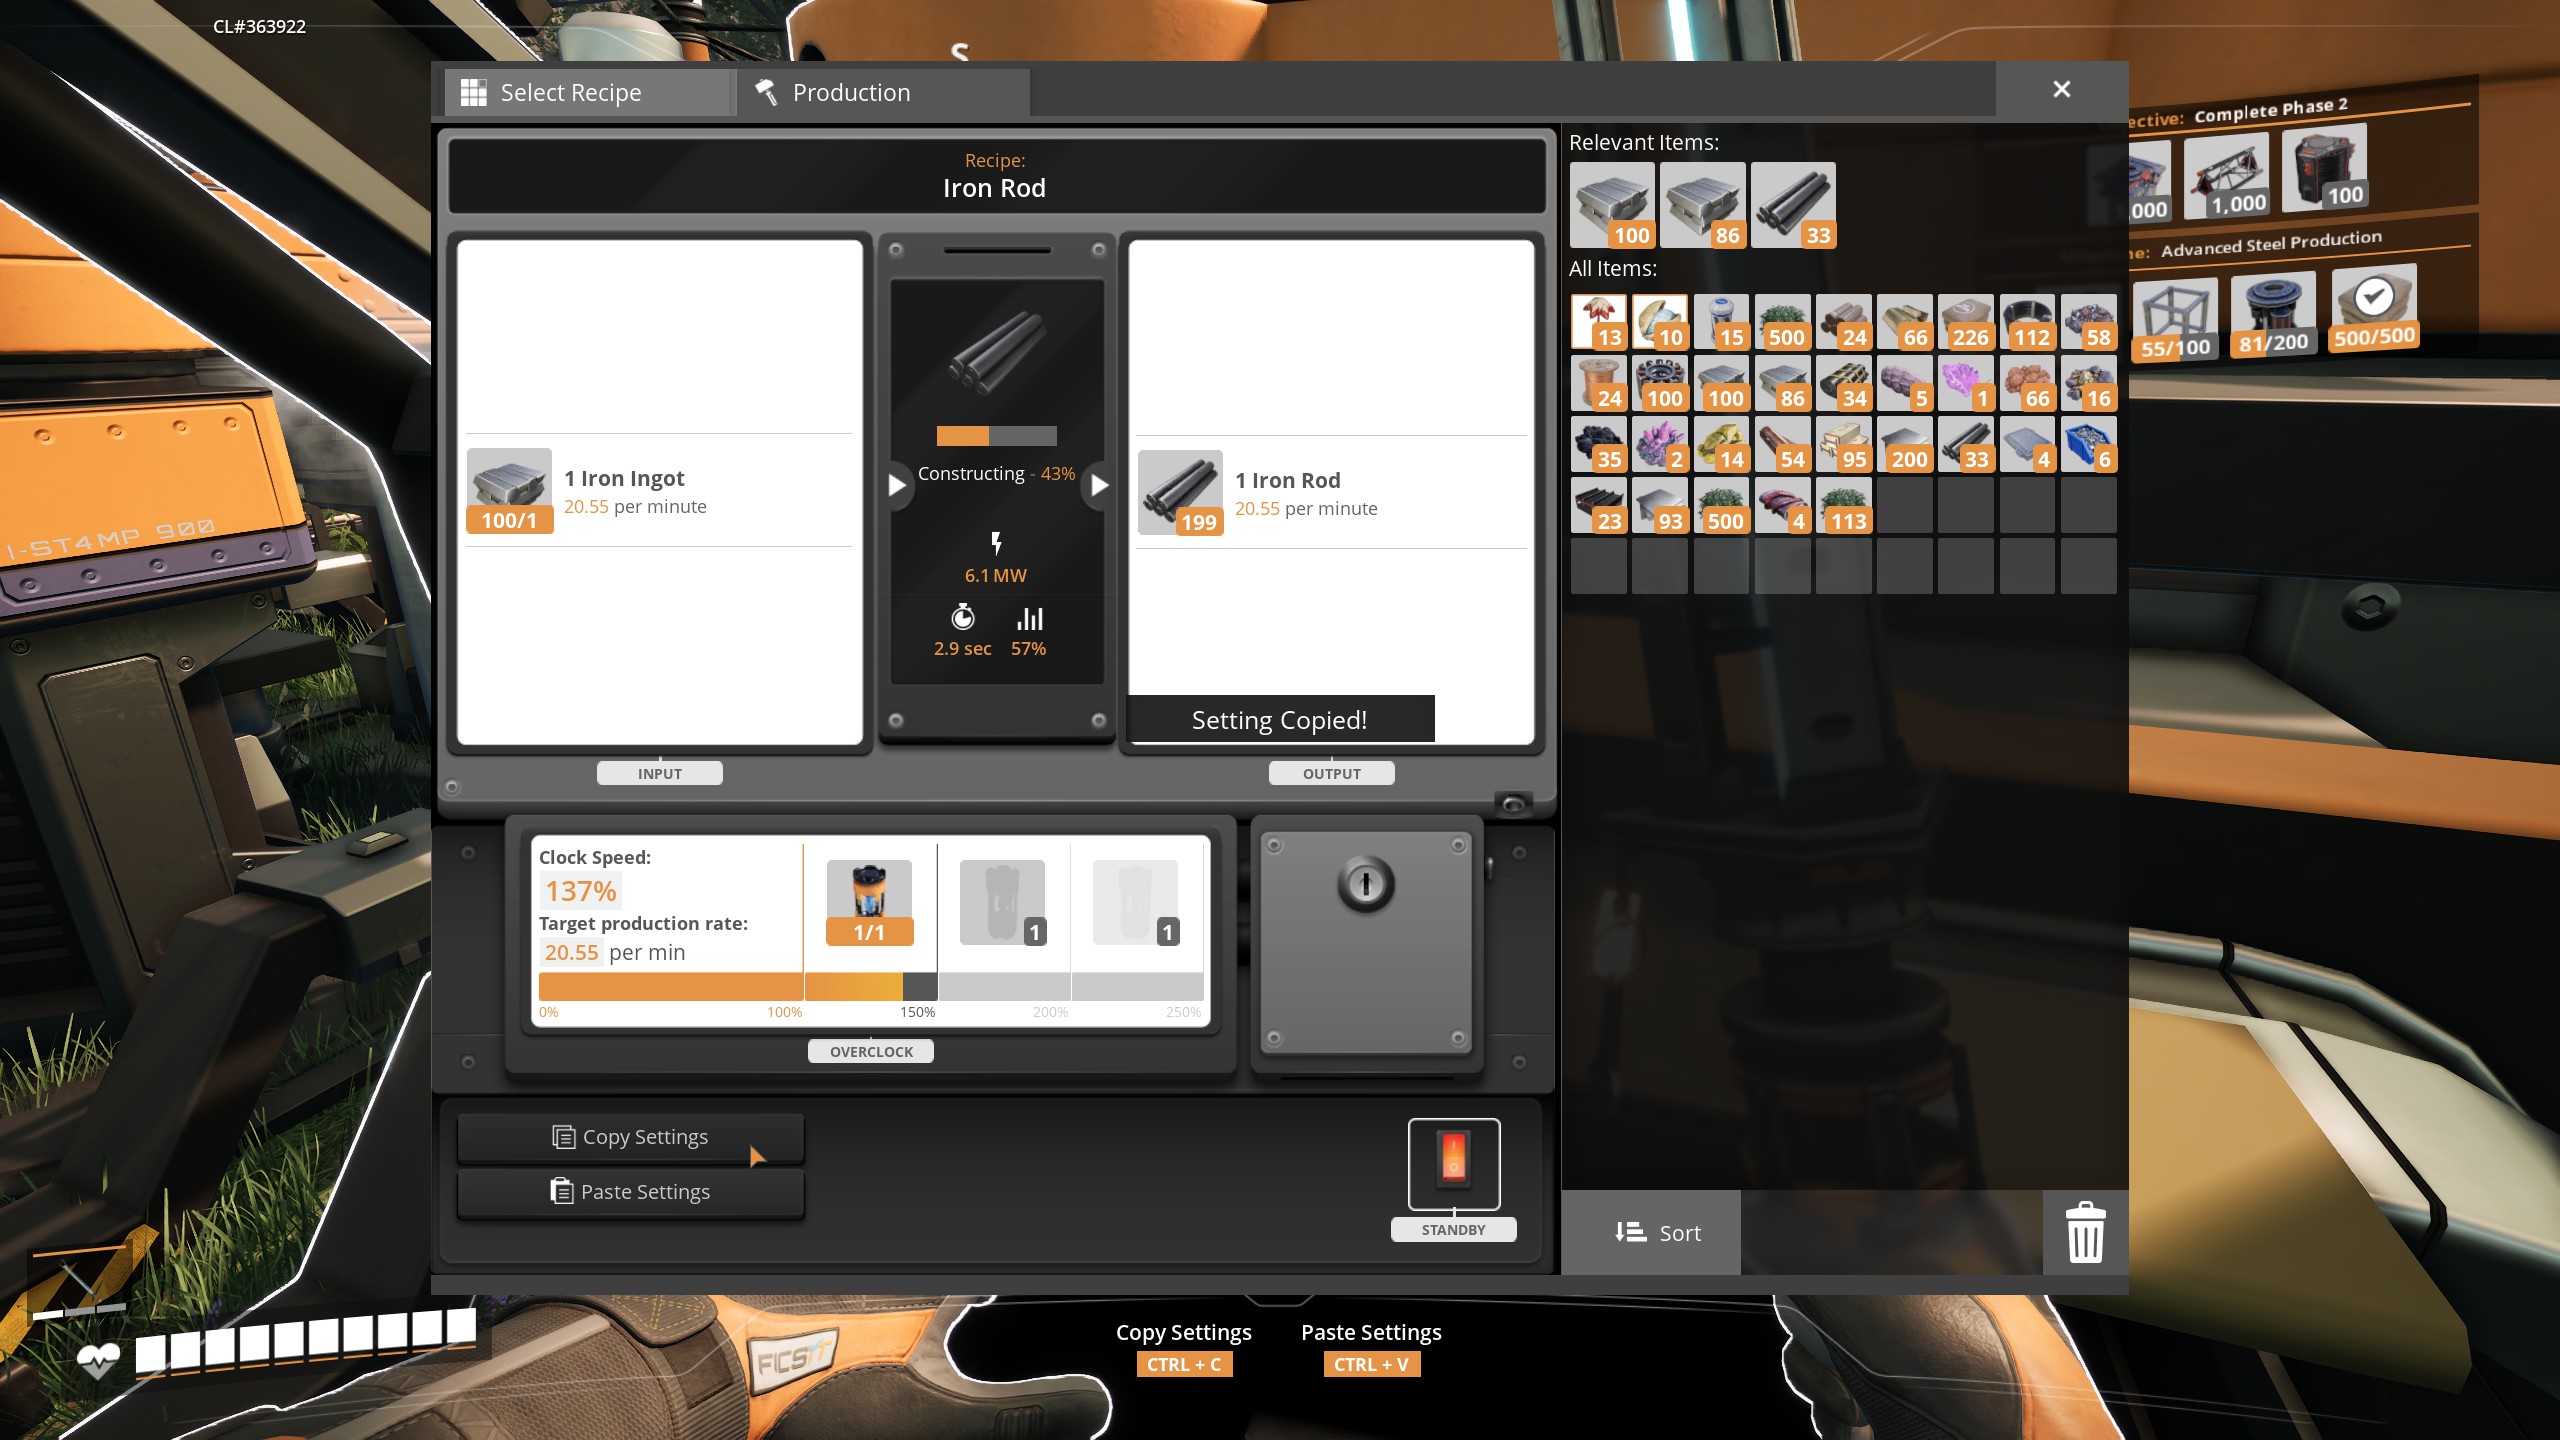
This is another hotkey tip, but significant enough to break out on its own. When you’re laying down a row of 10 (or 100) constructors, it’s a pain to click into each one to select the part you plan to build. They’re all going to be doing the same damn thing! Well there is, indeed, a better way.
Open up one building, select the recipe you want, and then hit Ctrl+C. Close the building’s menu and then just aim at any other building you want to apply the same recipe to and hit Ctrl+V. The settings will copy over, no menu action required. Efficiency!
Train tracks carry power
At some point in Satisfactory you’ll find yourself walking halfway across the map placing power lines to deliver power between outposts or connect up a far-flung coal or oil or nuclear facility to your main base. But there’s a way cooler way to unify your power grid: Trains! Rails convey power, so if you build a train station at each base and lay down some tracks, you can keep everything collectively juiced without defacing nature with a whole bunch of power lines.
I mean, you’ll still be defacing it with monstrous assembly lines and miles of train tracks elevated atop enormous concrete pillars, but hey, fewer cables!
Use the Satisfactory Calculator (or a regular calculator) if you get in deep
Make it into the mid- or late-game of Satisfactory and you may well find yourself needing (or even wanting) to do some serious math around the inputs and outputs of your production facility. While it’s always possible to just build more, a lot of the satisfaction comes in when you have a series of constructors and assemblers and snaking conveyor belts all carrying the absolute maximum number of parts possible, ensuring not an ounce of power or per-second productivity is wasted. This can get pretty complex, requiring you to overclock or underclock certain buildings to balance everything. But there are tools to help you figure out those numbers!
Most popular is Satisfactory Calculator, a community website with data on resource extraction rates and a production planner to help you, well, plan your production.
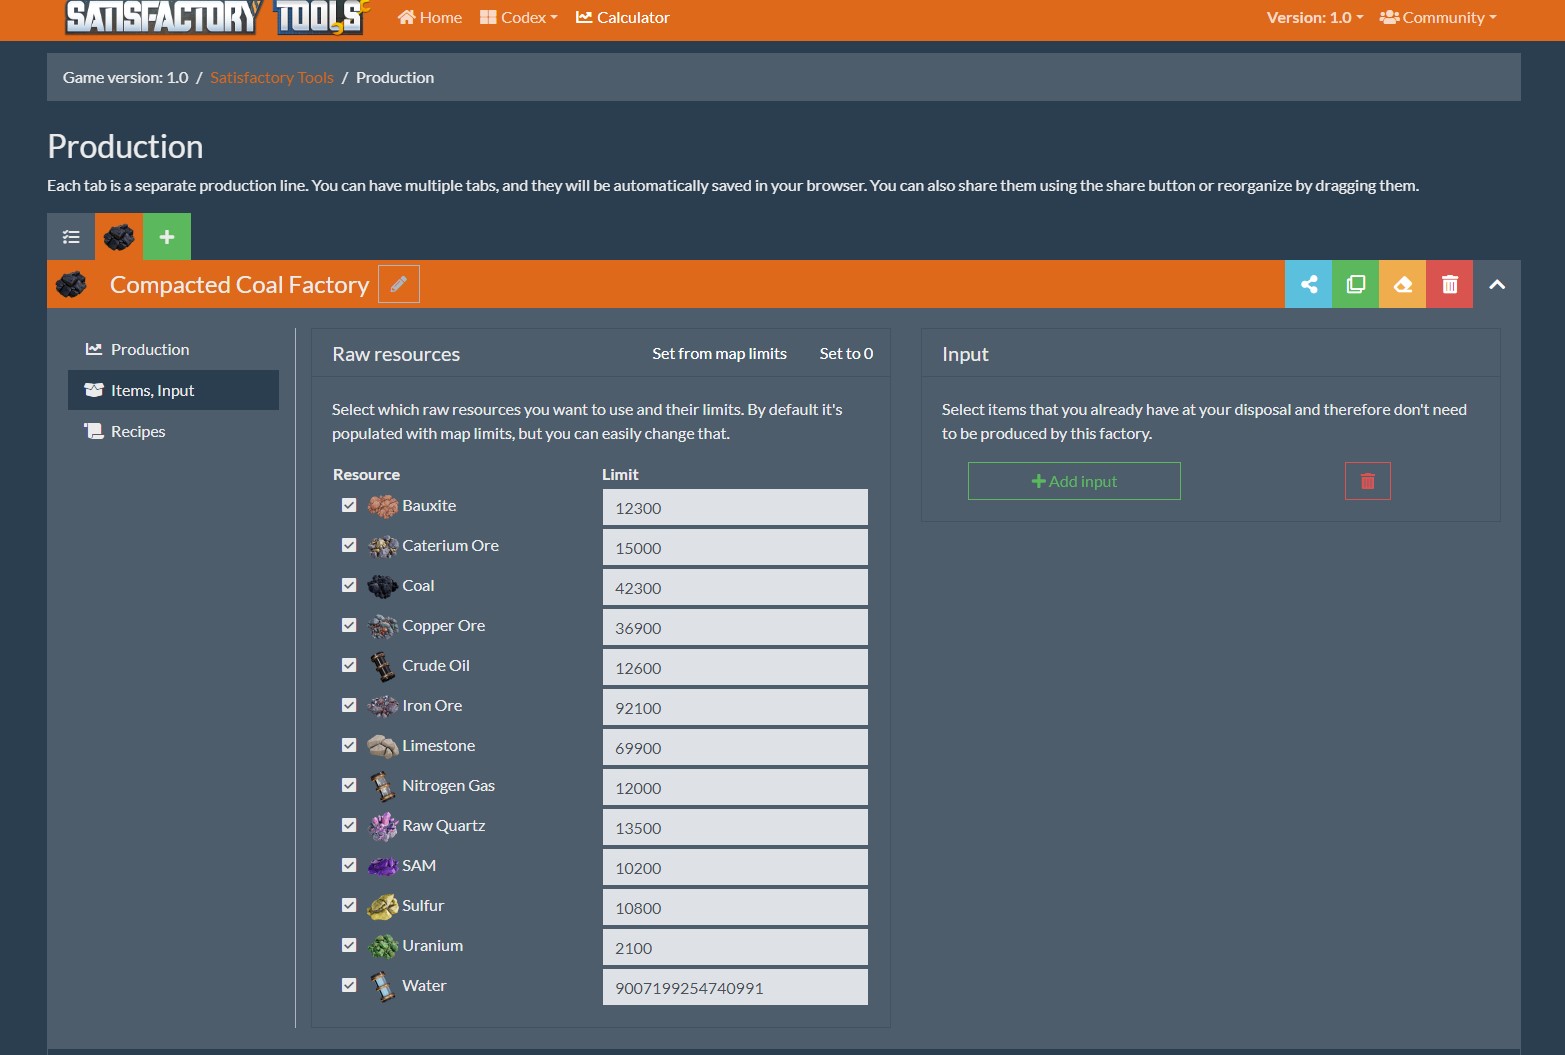
You can also check out the site Satisfactory Tools, which offers a similar resource. You can choose what part you want to build or even input the data for an entire factory to get info on your production totals, power usage, etc.
It’s also completely okay not to get this granular with the game if you don’t want to—it’s just an option if you thrive on spreadsheets and eking out 3% productivity boosts.

